Pages

Wednesday, August 27, 2014

Currently

I have to tell you guys, life is good right now. I'm just feeling very grateful, excited, and happy!

Untitled

WATCHING: Criminal Minds on Netflix...I was so excited when I saw this show finally became available on Netflix! I used to watch it in college when I had cable. But, after graduation, I had to pay for a lot more of my things, so cable went bye-bye. Mr. Sweet and I haven't had cable for 4 years now.
READING: A Time to Kill by John Grisham...I think I've seen this movie, but if I did, it was many, many years ago. I'm looking forward to watching the movie after I finish the book.
LISTENING: Harry Potter and the Deathly Hallows...my saga of Harry Potter on audio book has almost come to a close. Which is convenient with the timing (more on that later).
MAKING: well, more like attempting to make-Christmas crafts...I'm trying to get ahead with the holiday season, mostly for my Etsy shop.
FEELING: renewed...like a weight has been lifted off my shoulders.
PLANNING: a major planner overhaul...I'm thinking I may need separate planners for different areas of my life. I know, it sounds crazy, but I've been doing some poking around on the Interwebs, reading different posts about reasons behind multiple planners exclusively for different life areas. Having one planner is just not working. So, I'll be trying out some new things. Don't worry, I'll keep you filled in along the way!
LOVING: the direction my life is going...like I said, I'm feeling very happy and grateful!

Do you guys play along with the #currentlylist challenge? If so, link me up to your post or photo below!

xoxo,
Heather

Tuesday, August 26, 2014

30 Days of Lists Blog Hop!


You guys should all know by now how much I love listing! I am super looking forward to September for another round of 30 days of Lists!

As a way to get more people to get the excitement going-c'mon, you know you want to!-a bunch of us are doing a blog hop. We were asked to pick a list from a past #30lists challenge.

Untitled

Weekly Rituals
  • every morning, once at the office, I get myself organized with my planner(s)
  • one load of laundry a day
  • facial mask on Wednesday and Sunday


When I was writing this list, I realized I don't really have weekly rituals. Especially not set days for certain tasks. I don't even have a regular/weekly friend date! I got to change that!

Okay, now go check out all the other lovely ladies who participated in this challenge! All blog posts can be found here.

There's still time to sign up for September's round of #30lists! Play along with us!

xoxo,
Heather

Monday, August 25, 2014

Love For the Week/35

This post is a bit late, but hopefully you'll still enjoy all these links!

via Etsy
In an effort for you all to know me a little better, as well as spread the love to other bloggers, sites, etc that I enjoy, I will be posting various links every Friday. These links will be whatever I've found interesting, exciting, or what I've absolutely fallen in love with over the past 7-ish days. Enjoy!

I've linked a post to Sarah's blog before, in this same blog series. This post is good!

I really want to read this book, especially now that I'm seeing it on Elise Cripe's Instagram feed!

If you've missed what Just Two Midwest Girls have been doing this month, check out this round up post.

This is such a cute idea! Also, I love the name because it's my mom's, even with the "right" spelling!

So excited for one of my favorite memory keepers! I love this new direction she's heading. She reminds me all the time why I started and should continue documenting my stories!

And because I'm on the hunt for the best way to schedule blog posts and basically to run my blog efficiently, I've been scouring the net for ideas. Here's what I have so far.

Have a great week! Come back tomorrow for a fun blog hop!

xoxo,
Heather

Thursday, August 21, 2014

Mini Album Mayhem: Thirty Days of Lists Album


I am a lister. Like, to the extreme.

As I mentioned in a previous Love For the Weekend post, I registered to participate in the 30 Days of Lists challenge coming up in September. This will be my third challenge. Although, this will be my first go around sharing my lists in entirety. At least I hope. This past March, I shared my last-minute album and even a handful of lists on Instagram, but that was it. This go around, I'm determined to share throughout the whole month!


Untitled

I knew I wanted to use my stash to construct my album. I didn't want to buy anything, even though I really wanted to. Using my limited supplies (as most of my supplies are packed away because our house is still on the market-ugh), I went through all my patterned paper and picked out my favorites.

I didn't worry too much about the color combinations, although, I did a pretty good job at coordinating most of the papers. 


Untitled

A couple things I knew I wanted with this album:

  • 4" x 6" size
  • my favorite patterned papers
  • Project Life cards, especially some of the new Heidi Swapp collections
  • these lovely scripted die cut numbers
    • These numbers were a set of free files I found on this blog. I love them!
  • kraft cardstock
  • at least one envelope (because I'm obsessed!)

Untitled

And to help hold myself accountable to actually fill out the lists each day, I already printed the list of prompts. I printed the prompts on kraft cardstock, which I will cut into strips. I'll adhere each respective prompt strip on the same page as the die cut numbers. I obviously did not do that in these photos as a way to keep the prompts secret for those people that either like the surprise of the daily prompt or haven't registered for this awesome challenge (which you definitely should!). 

Untitled

My plan is to post each list daily on my Instagram account using the hashtag #30lists. Follow me @hsweet12. I also plan to do a weekly roundup post of my lists throughout the month of September. 

If you're interested in seeing more photos of my album, check out my Flickr album here. I'll also be adding my completed lists to this album throughout September.

So, are you guys participating in this challenge? Link me up below to how you're playing along with #30lists!

xoxo,
Heather

Wednesday, August 20, 2014

My DIY Planner

So, as you all probably know by now, I am OBSESSED with planners. I also really, really enjoy trying out new systems of planning and staying organized. 


DIY Planner Blog Post Promotion

As of right now, I'm using two planners: my beloved Filofax and my DIY planner.


Current Planners 

Right now, in my Filofax, I'm using these DIYfish inserts (although mine are obviously August, as it isn't September yet). Next month, I'll be doing a review on those, so stay tuned for that.


Today, I'll be talking about my DIY planner. 

DIY Planner Collage

My planner is inspired by the infamous Erin Condren Life Planner. I would LOVE to get my little manic planner hands on one of these. They are a bit pricey upfront, but it lasts you until the end of 2015. In my mind, it's worth it. **I say that as I'm making my own planner from a notebook...**

The only reason I haven't purchased one is because I'm trying to save up money for a DSLR. And Mr. Sweet and I are going to Tennessee in September for a wedding, which we're extending a bit as his birthday and our anniversary celebrations. So, I do mean it when I say I think the investment is worth it (even though I haven't used one); I'm just trying to be more financially responsible.

Enough about that boring stuff, let's dive into my planner.


Untitled 

Now, I'm not the originator of using a notebook to make your own planner. There are various Pinterest planner boards I follow-such as this one and this one. But lately, this particular board has been my absolute favorite, Composition Book Planners and Bullet Journals. And this board is where I found a post on the transformation of a moleskine notebook.

I used Kyla's (from kylaroma.com) post as the additional inspiration for my DIY planner.
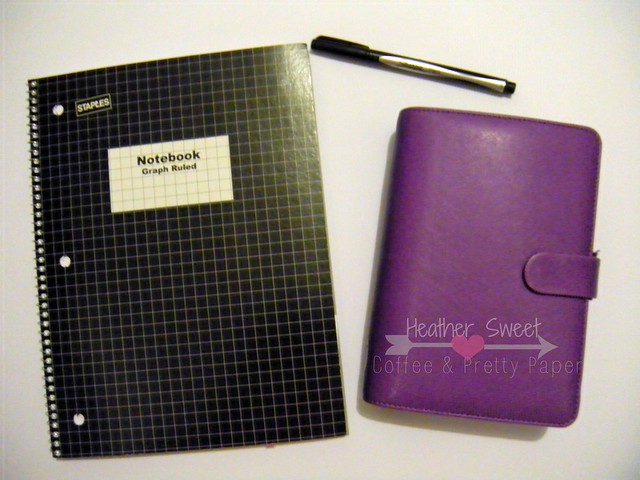
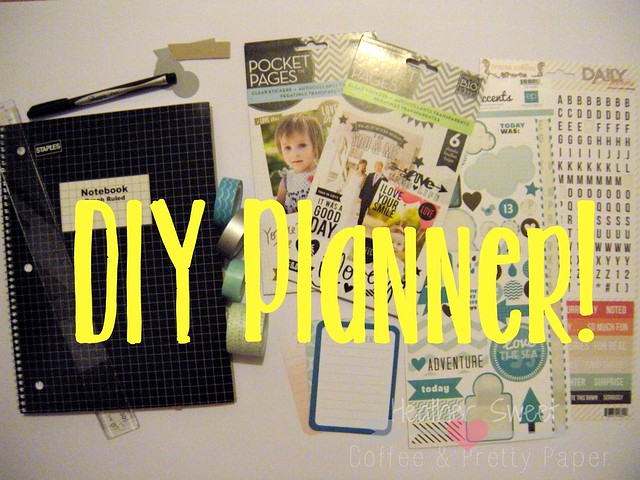
Supplies
  • a graph paper notebook-I purchased mine at Staples for a whole $2
  • a ruler
  • a pen/pencil-I use a Sharpie fine point black pen
  • Post-Its
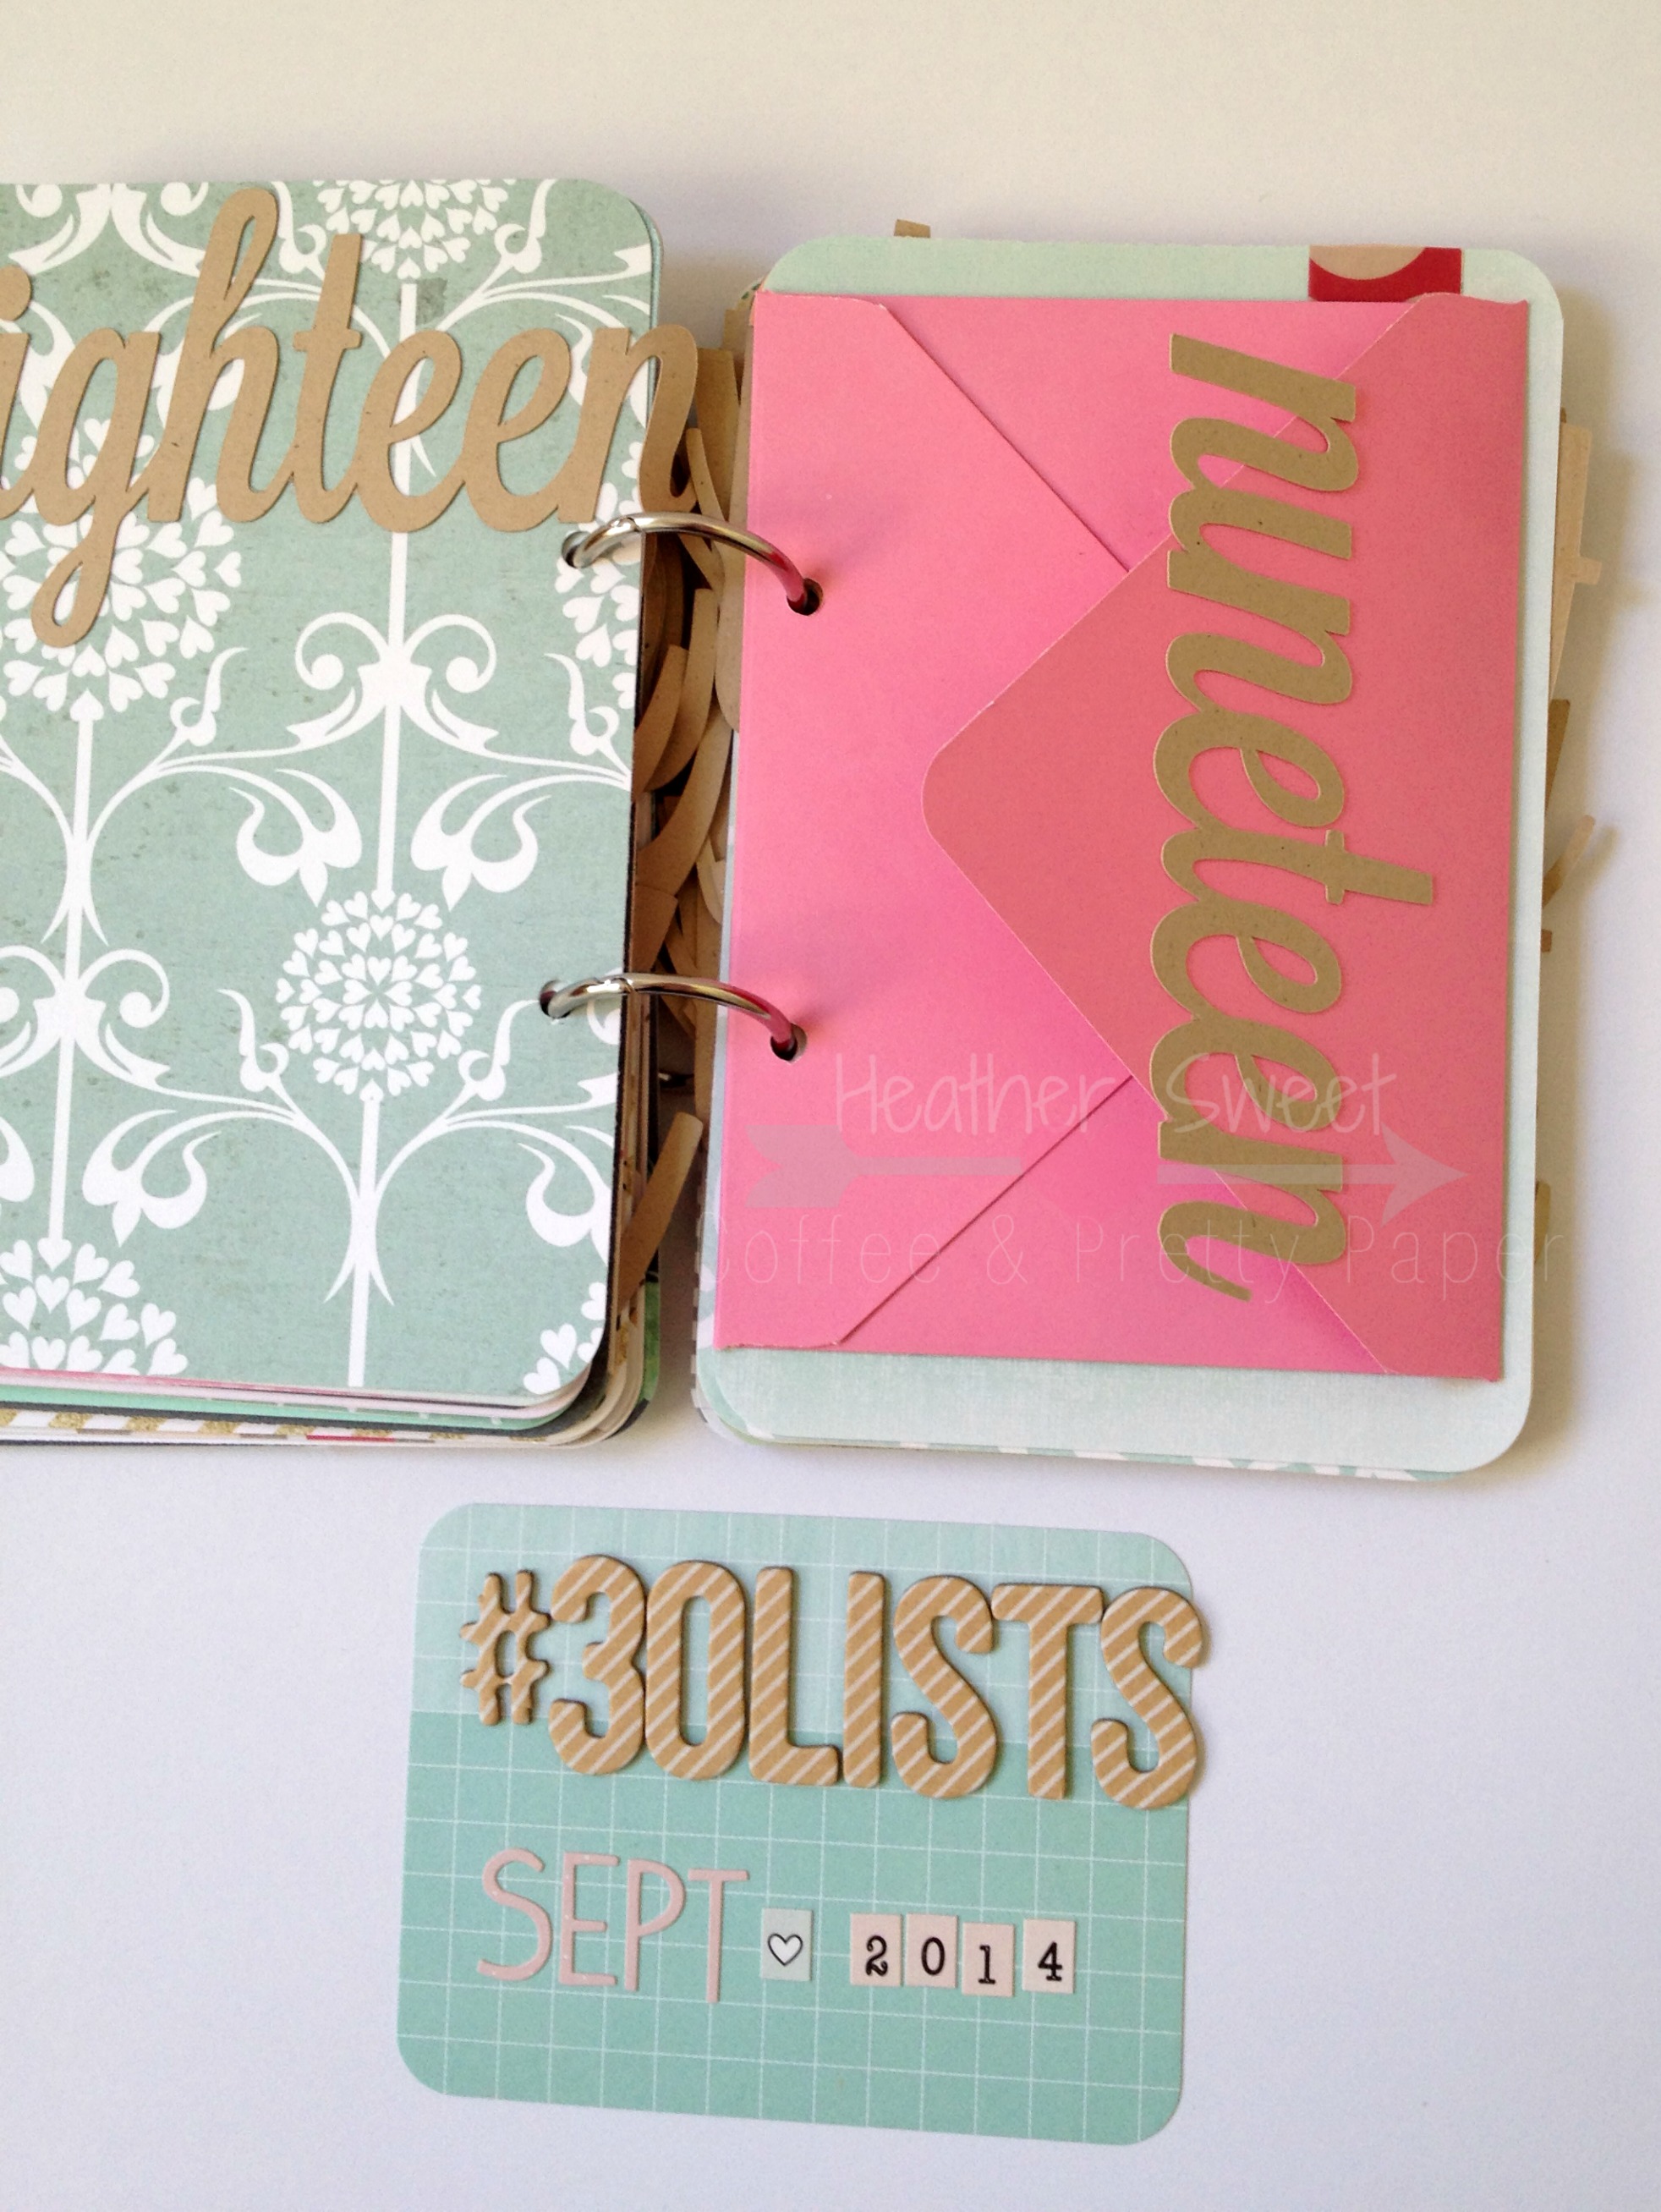
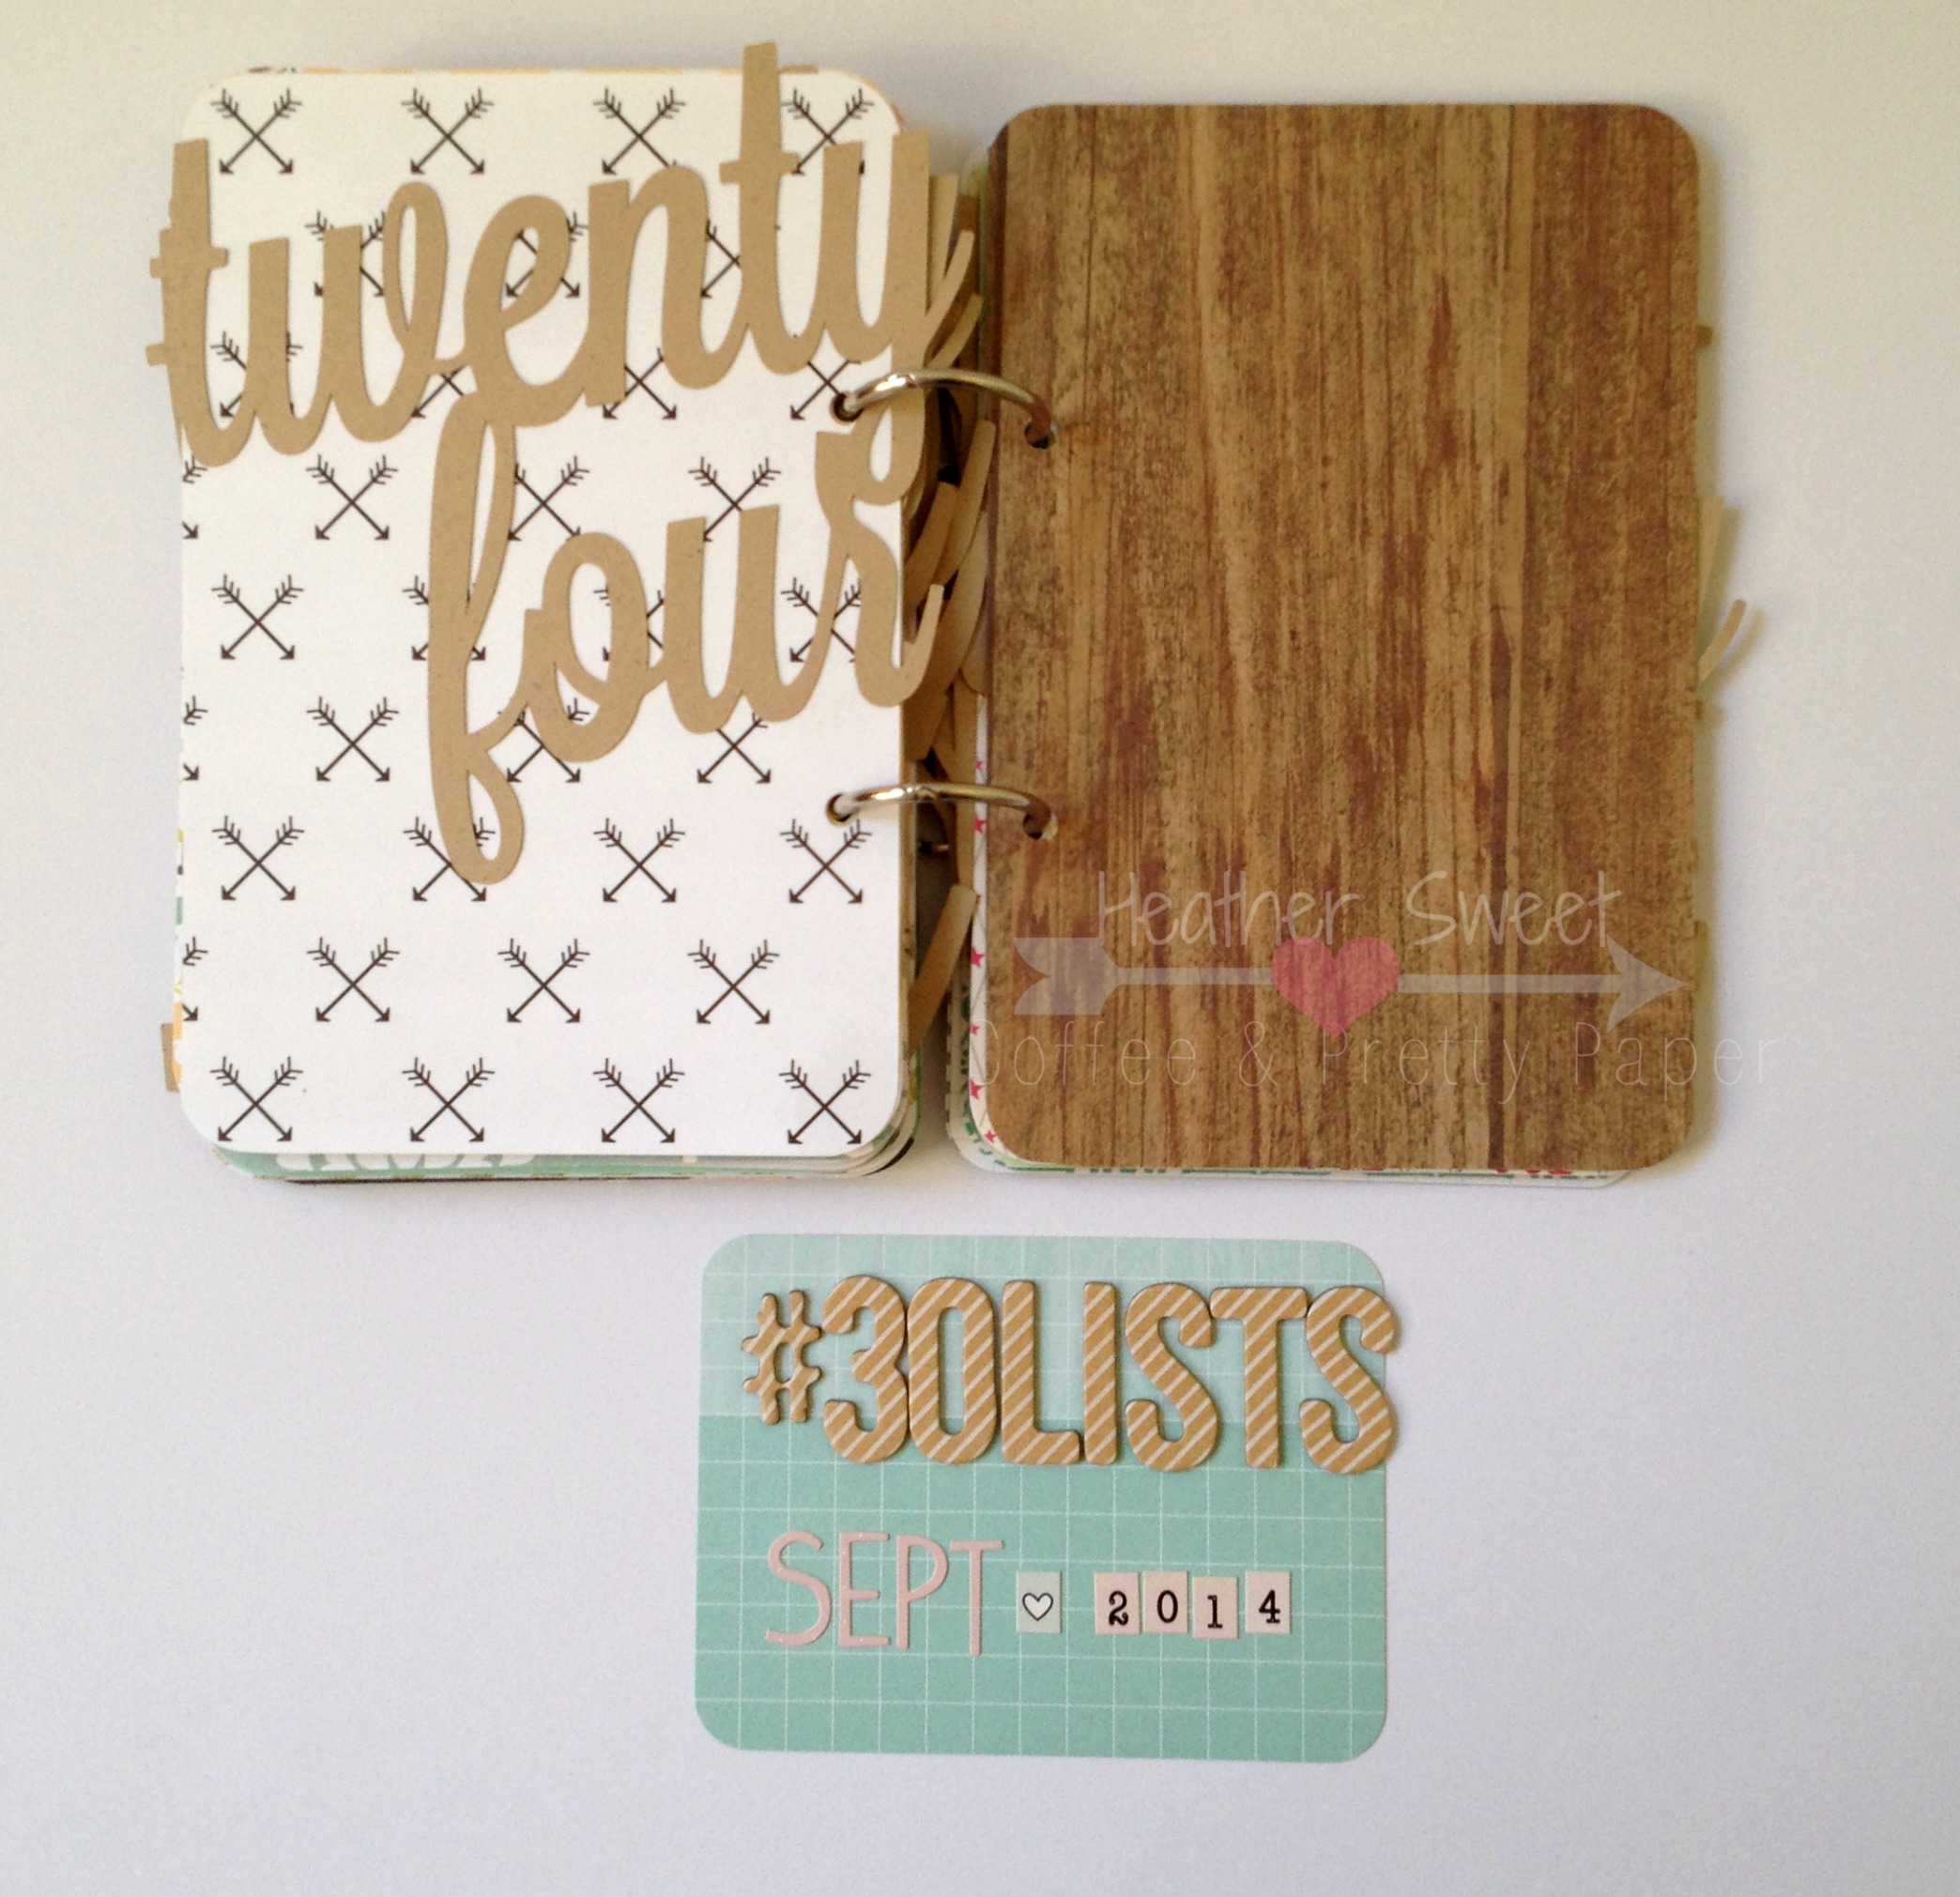
  • optional: stickers, washi tape, alphas, patterned paper/cardstock, diecuts

DIY Planner Supplies 

The Inside

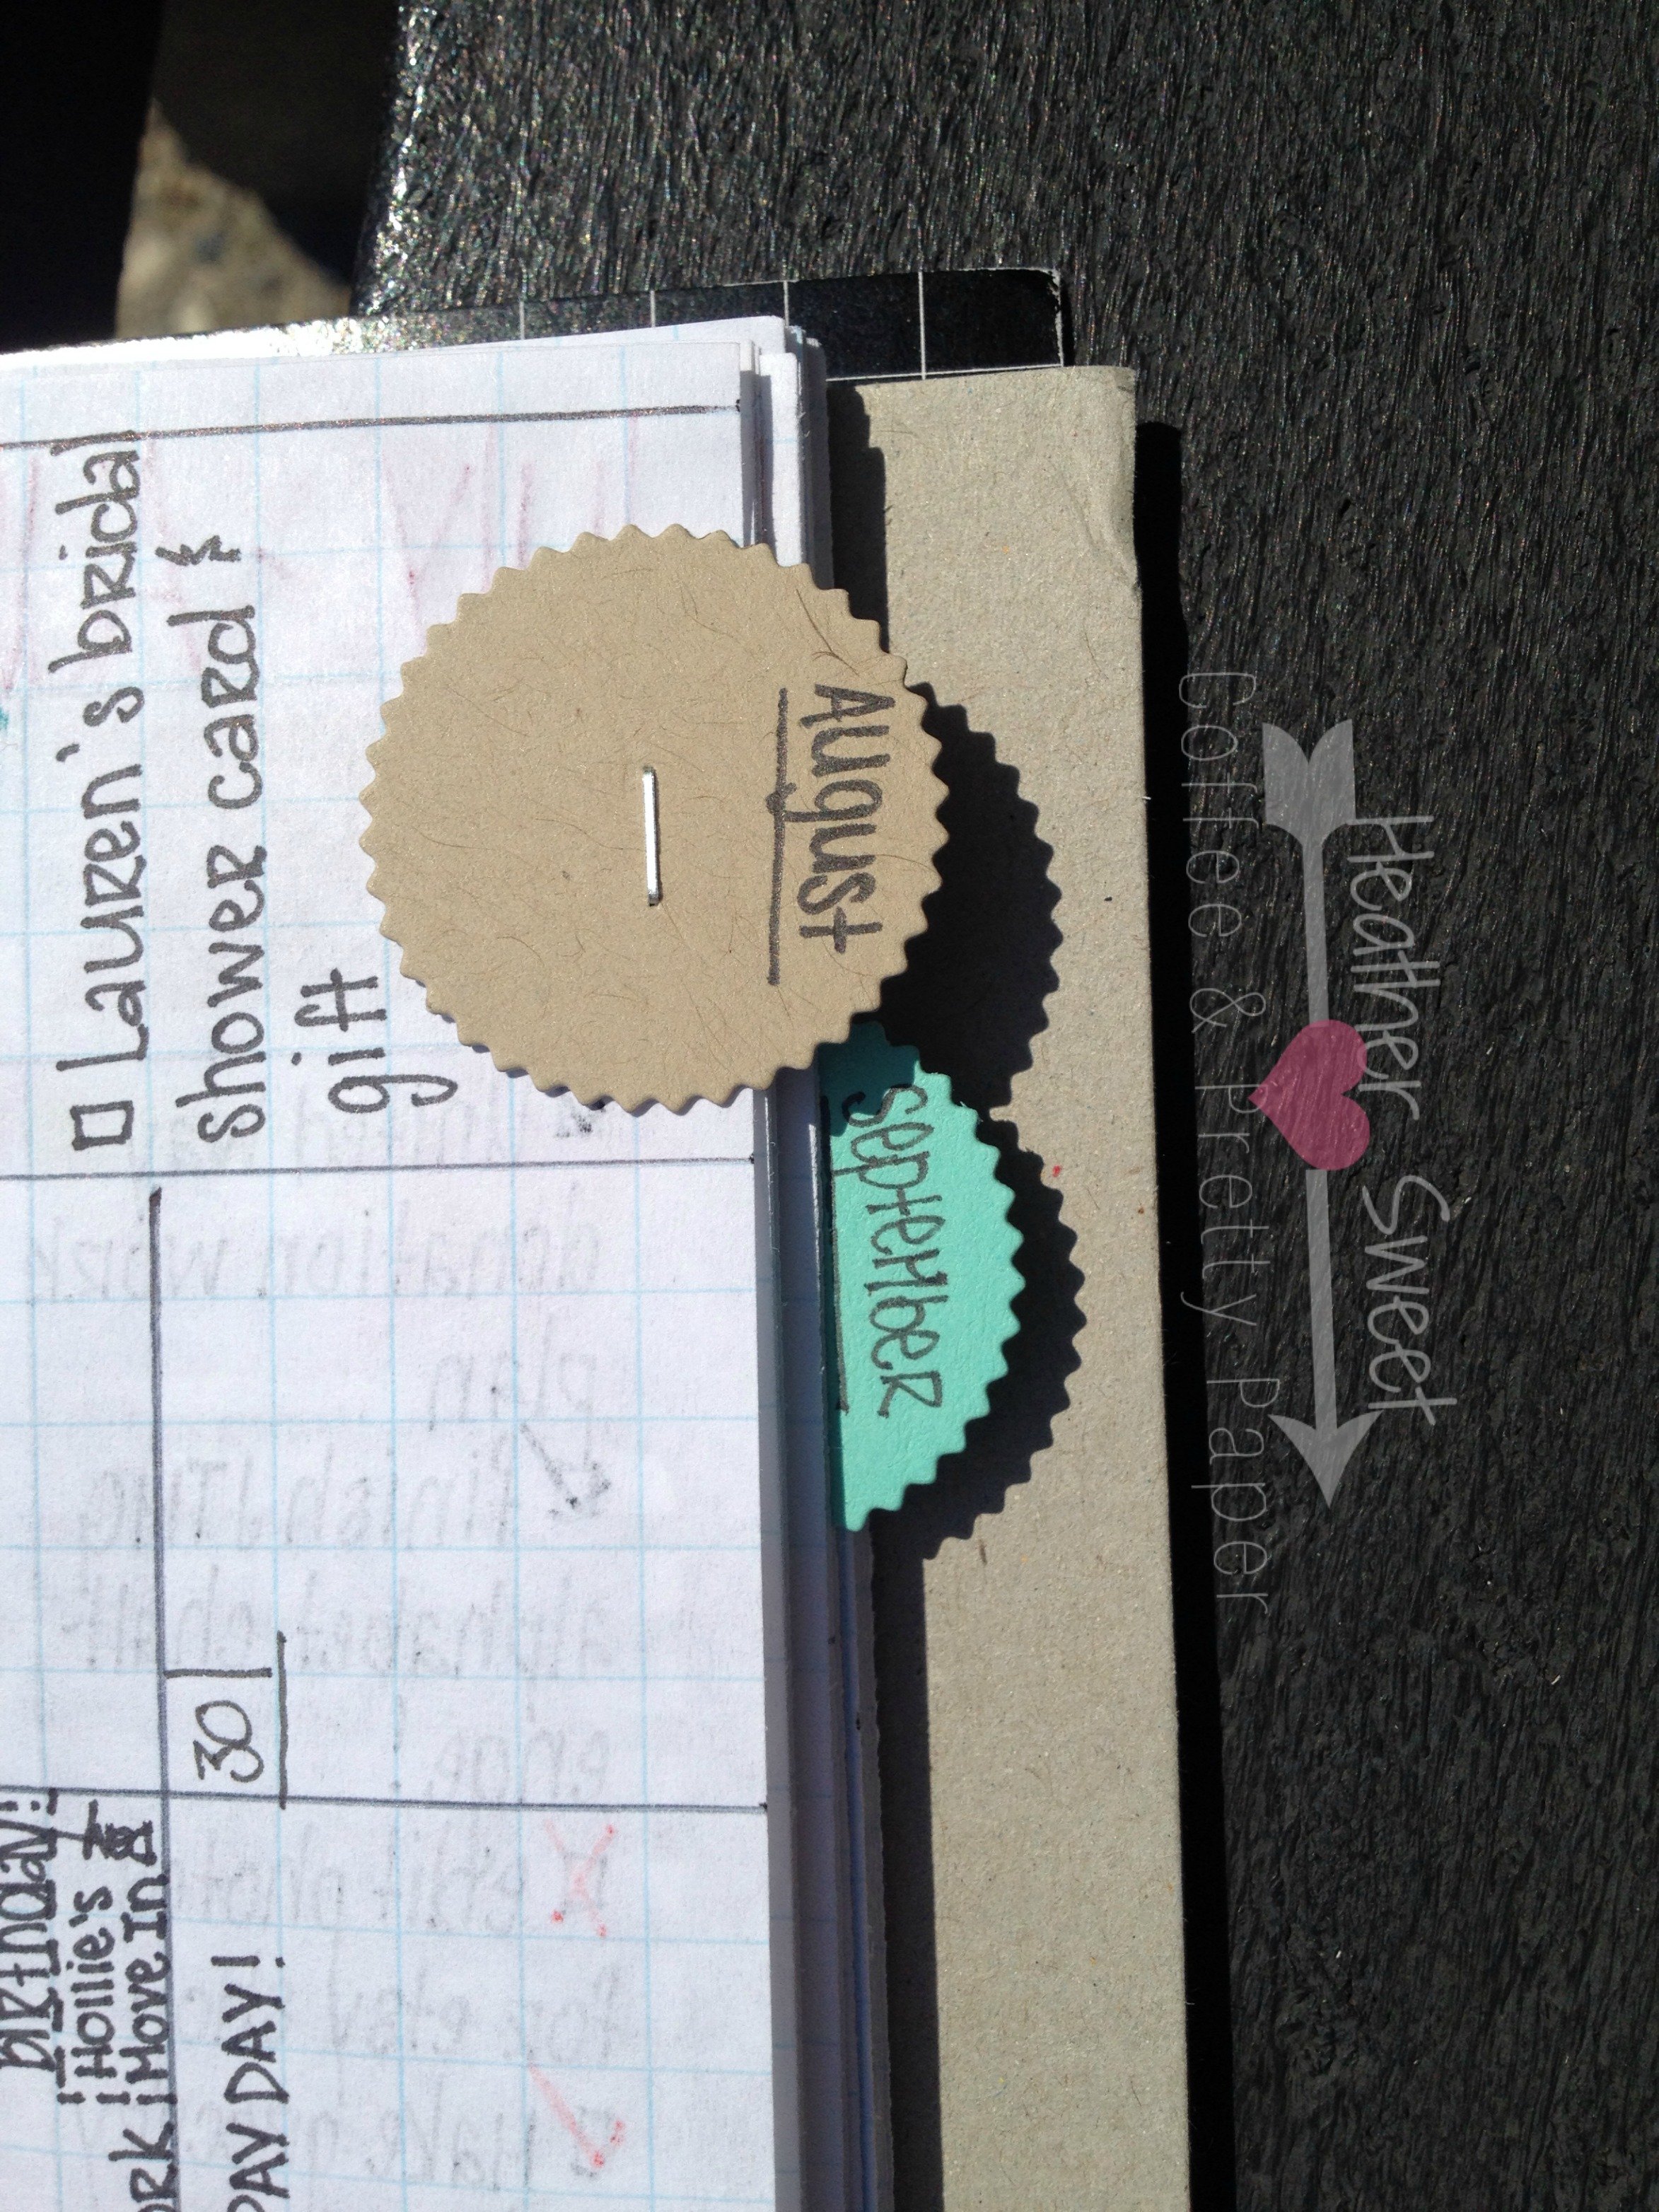
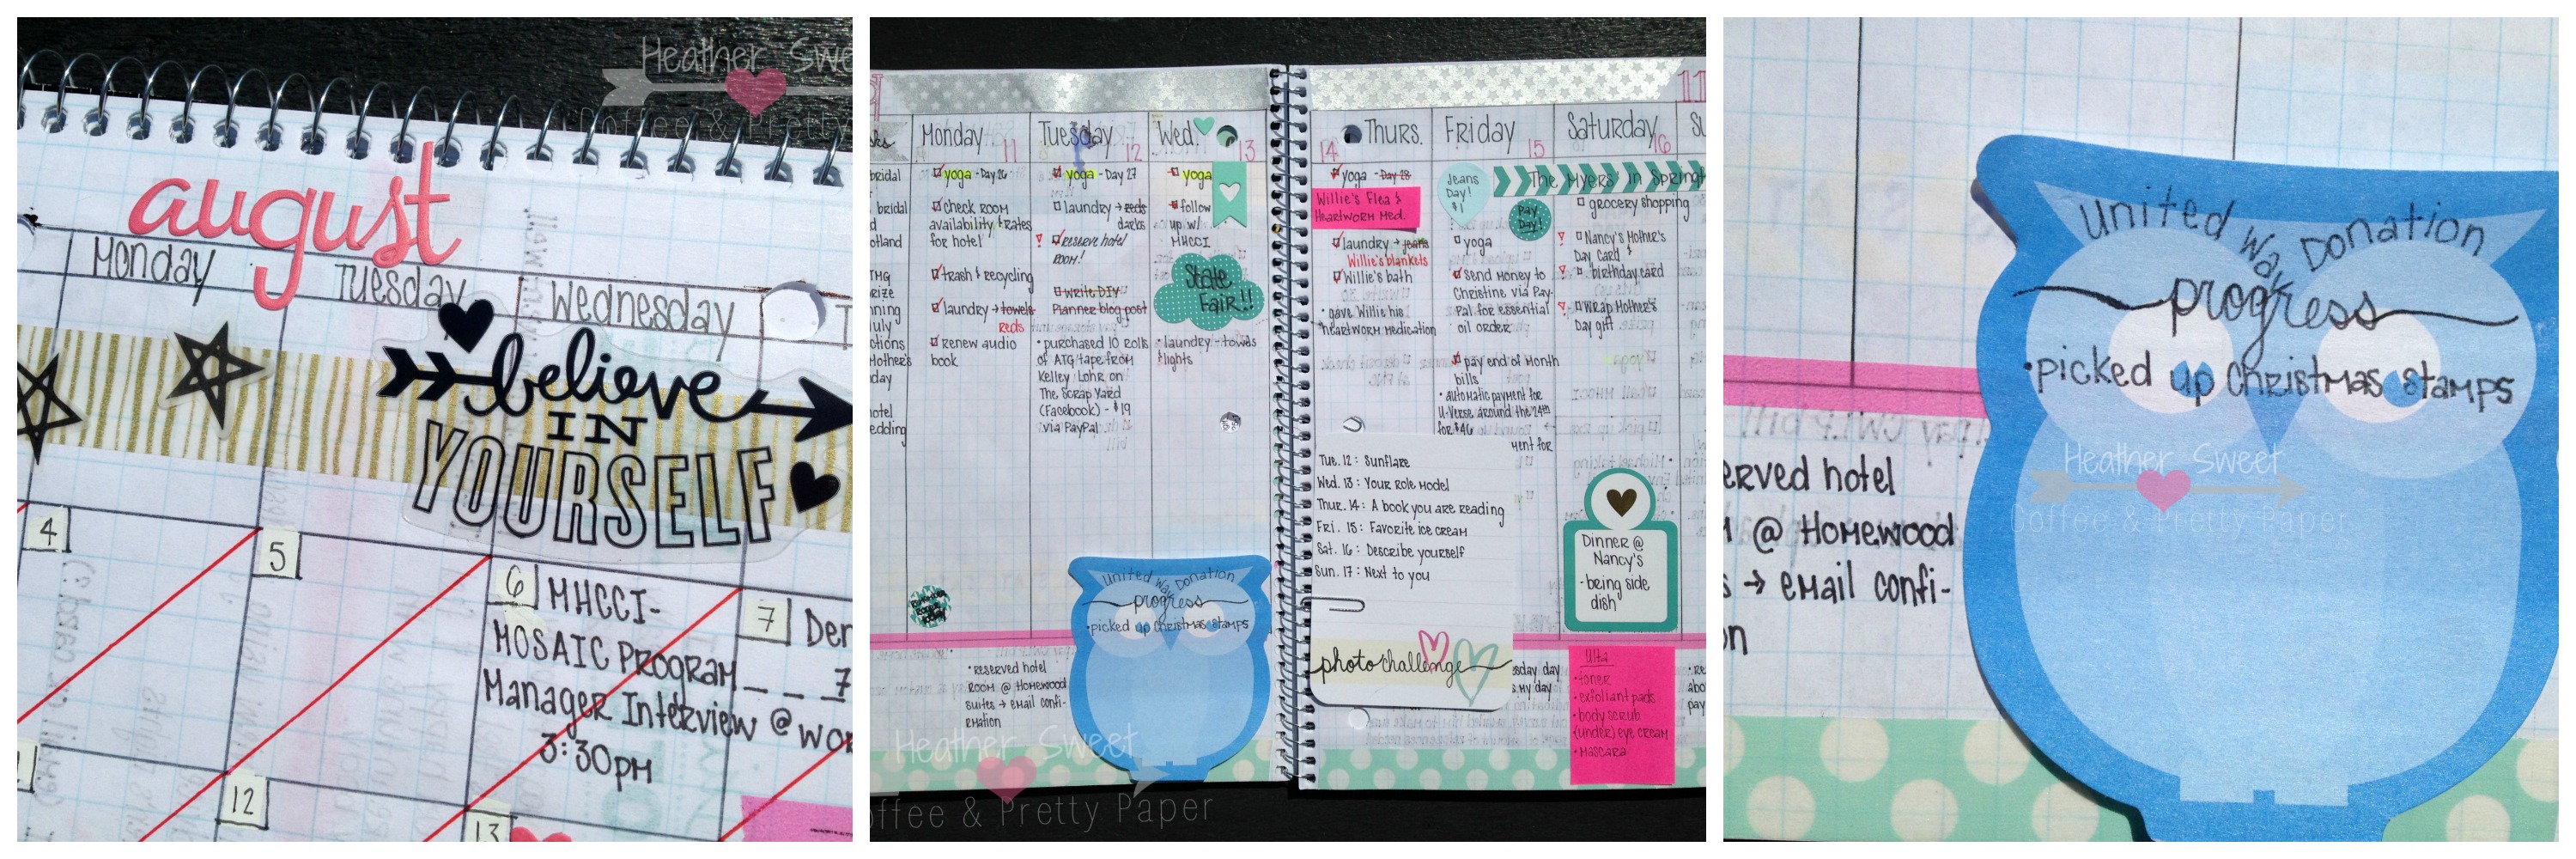
Before I even started outlining my month(s) and weekly spreads, I cut about 1/2" off the long edge of all the pages in the notebook.


Untitled 

This was to facilitate the use of monthly tabs. I didn't want the tabs to stick out from the width of the front and back covers because I didn't want them getting bent or torn when my planner is in my work bag. 
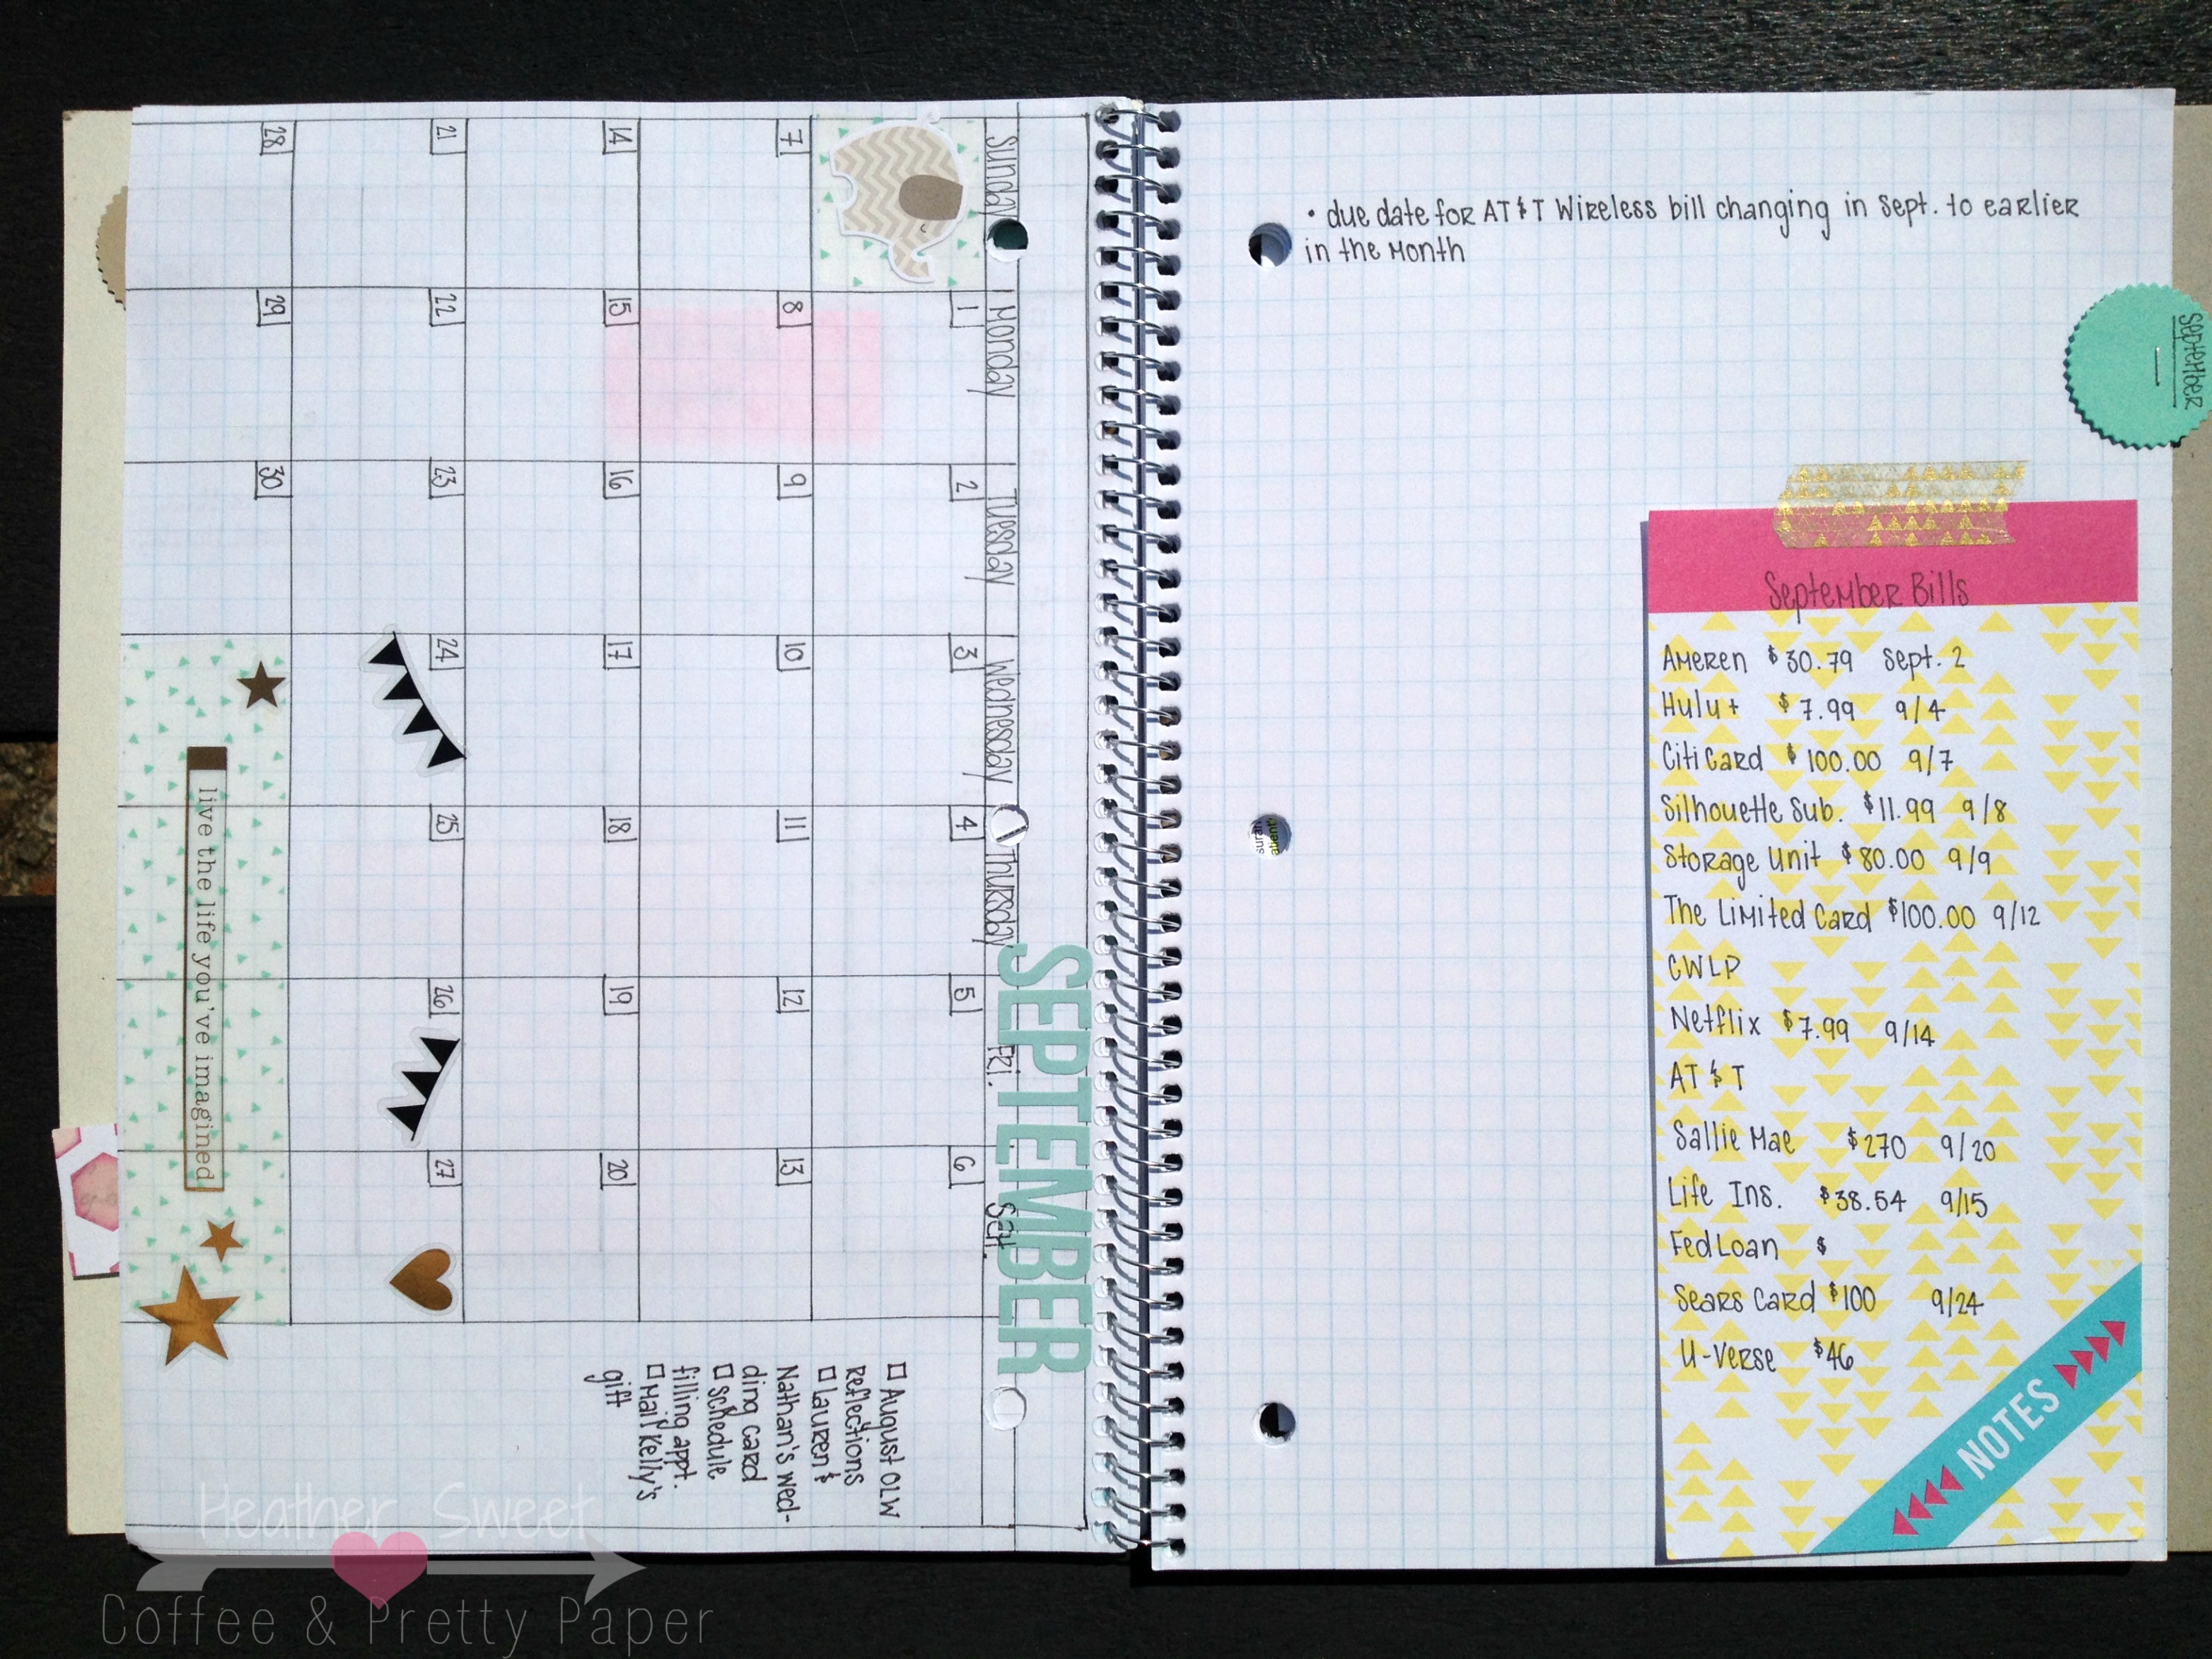
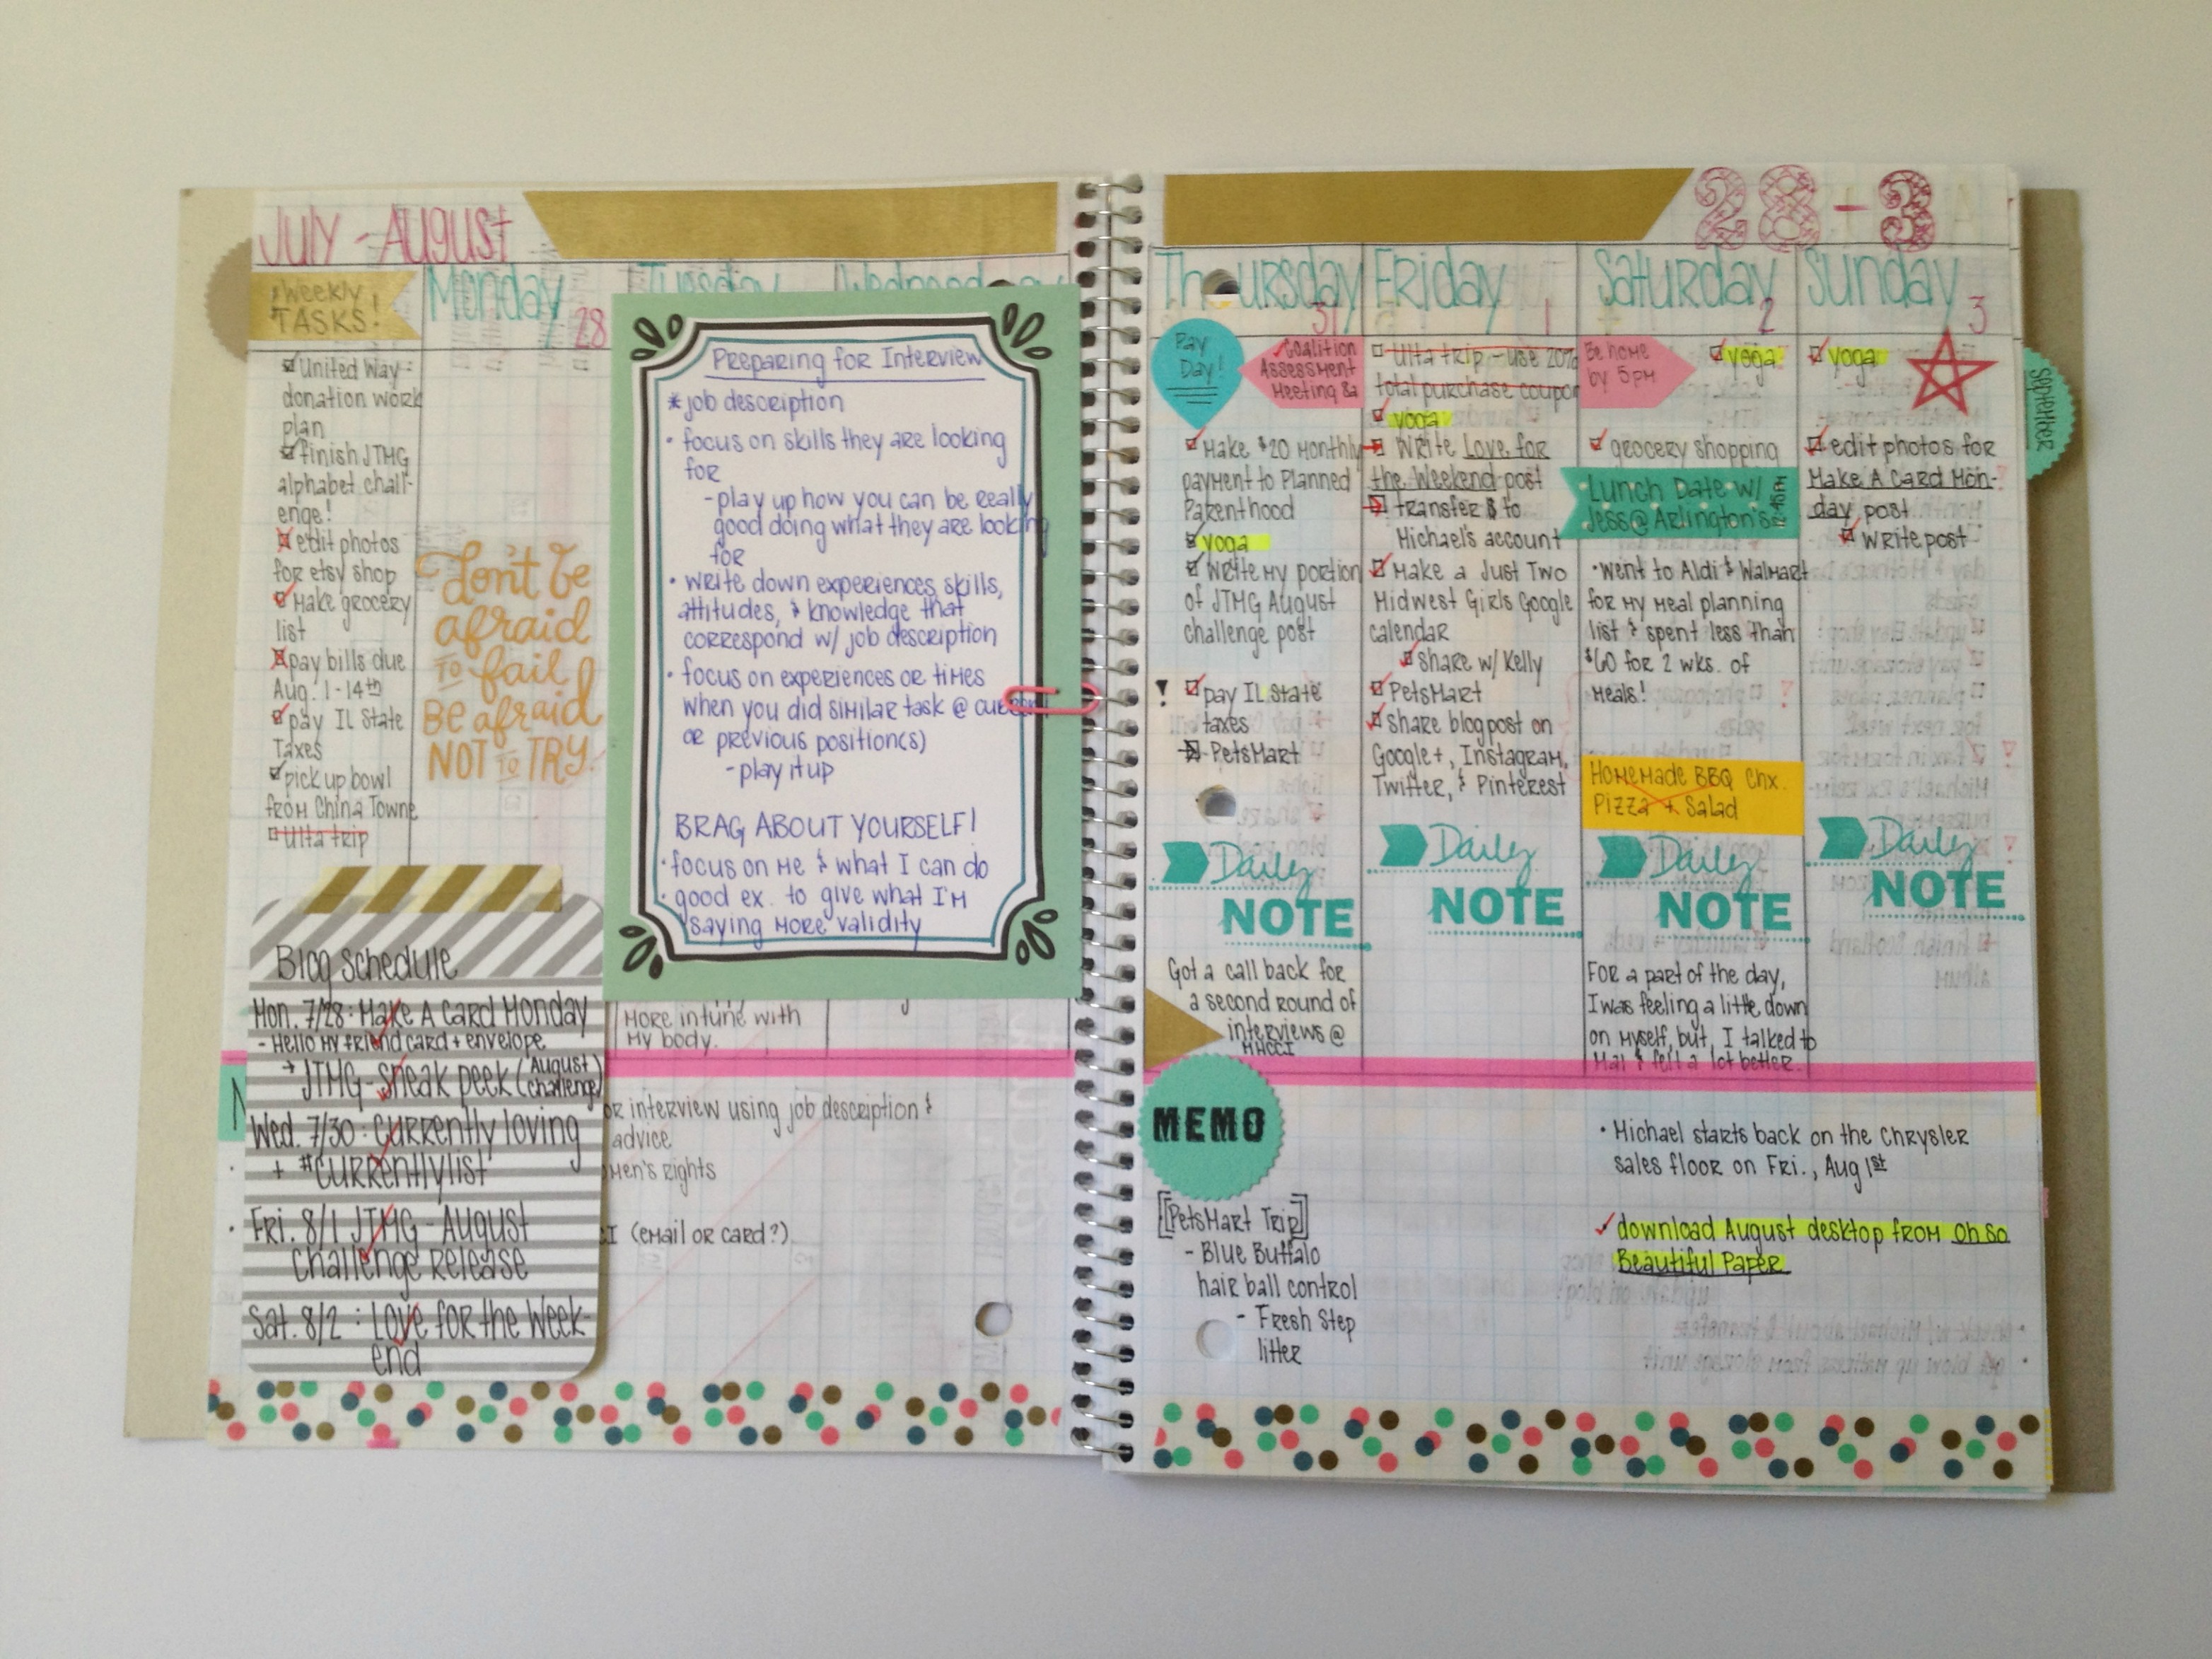

Monthly Calendar

Untitled

The most important part of my calendar page is the column to write my monthly tasks. I really like having a place to write these tasks that I don't designate to specific weeks until I'm ready/have time to work on them.


Untitled

As my calendar is on the left side of my notebook, I had a blank page on the right. Of course, I couldn't start a weekly spread on the right, so I'll be using this space to write notes for the month. For instance, it's still August. I've been writing notes (and making a "September Bills" list) for September on this blank page to help me remember things going on that month.


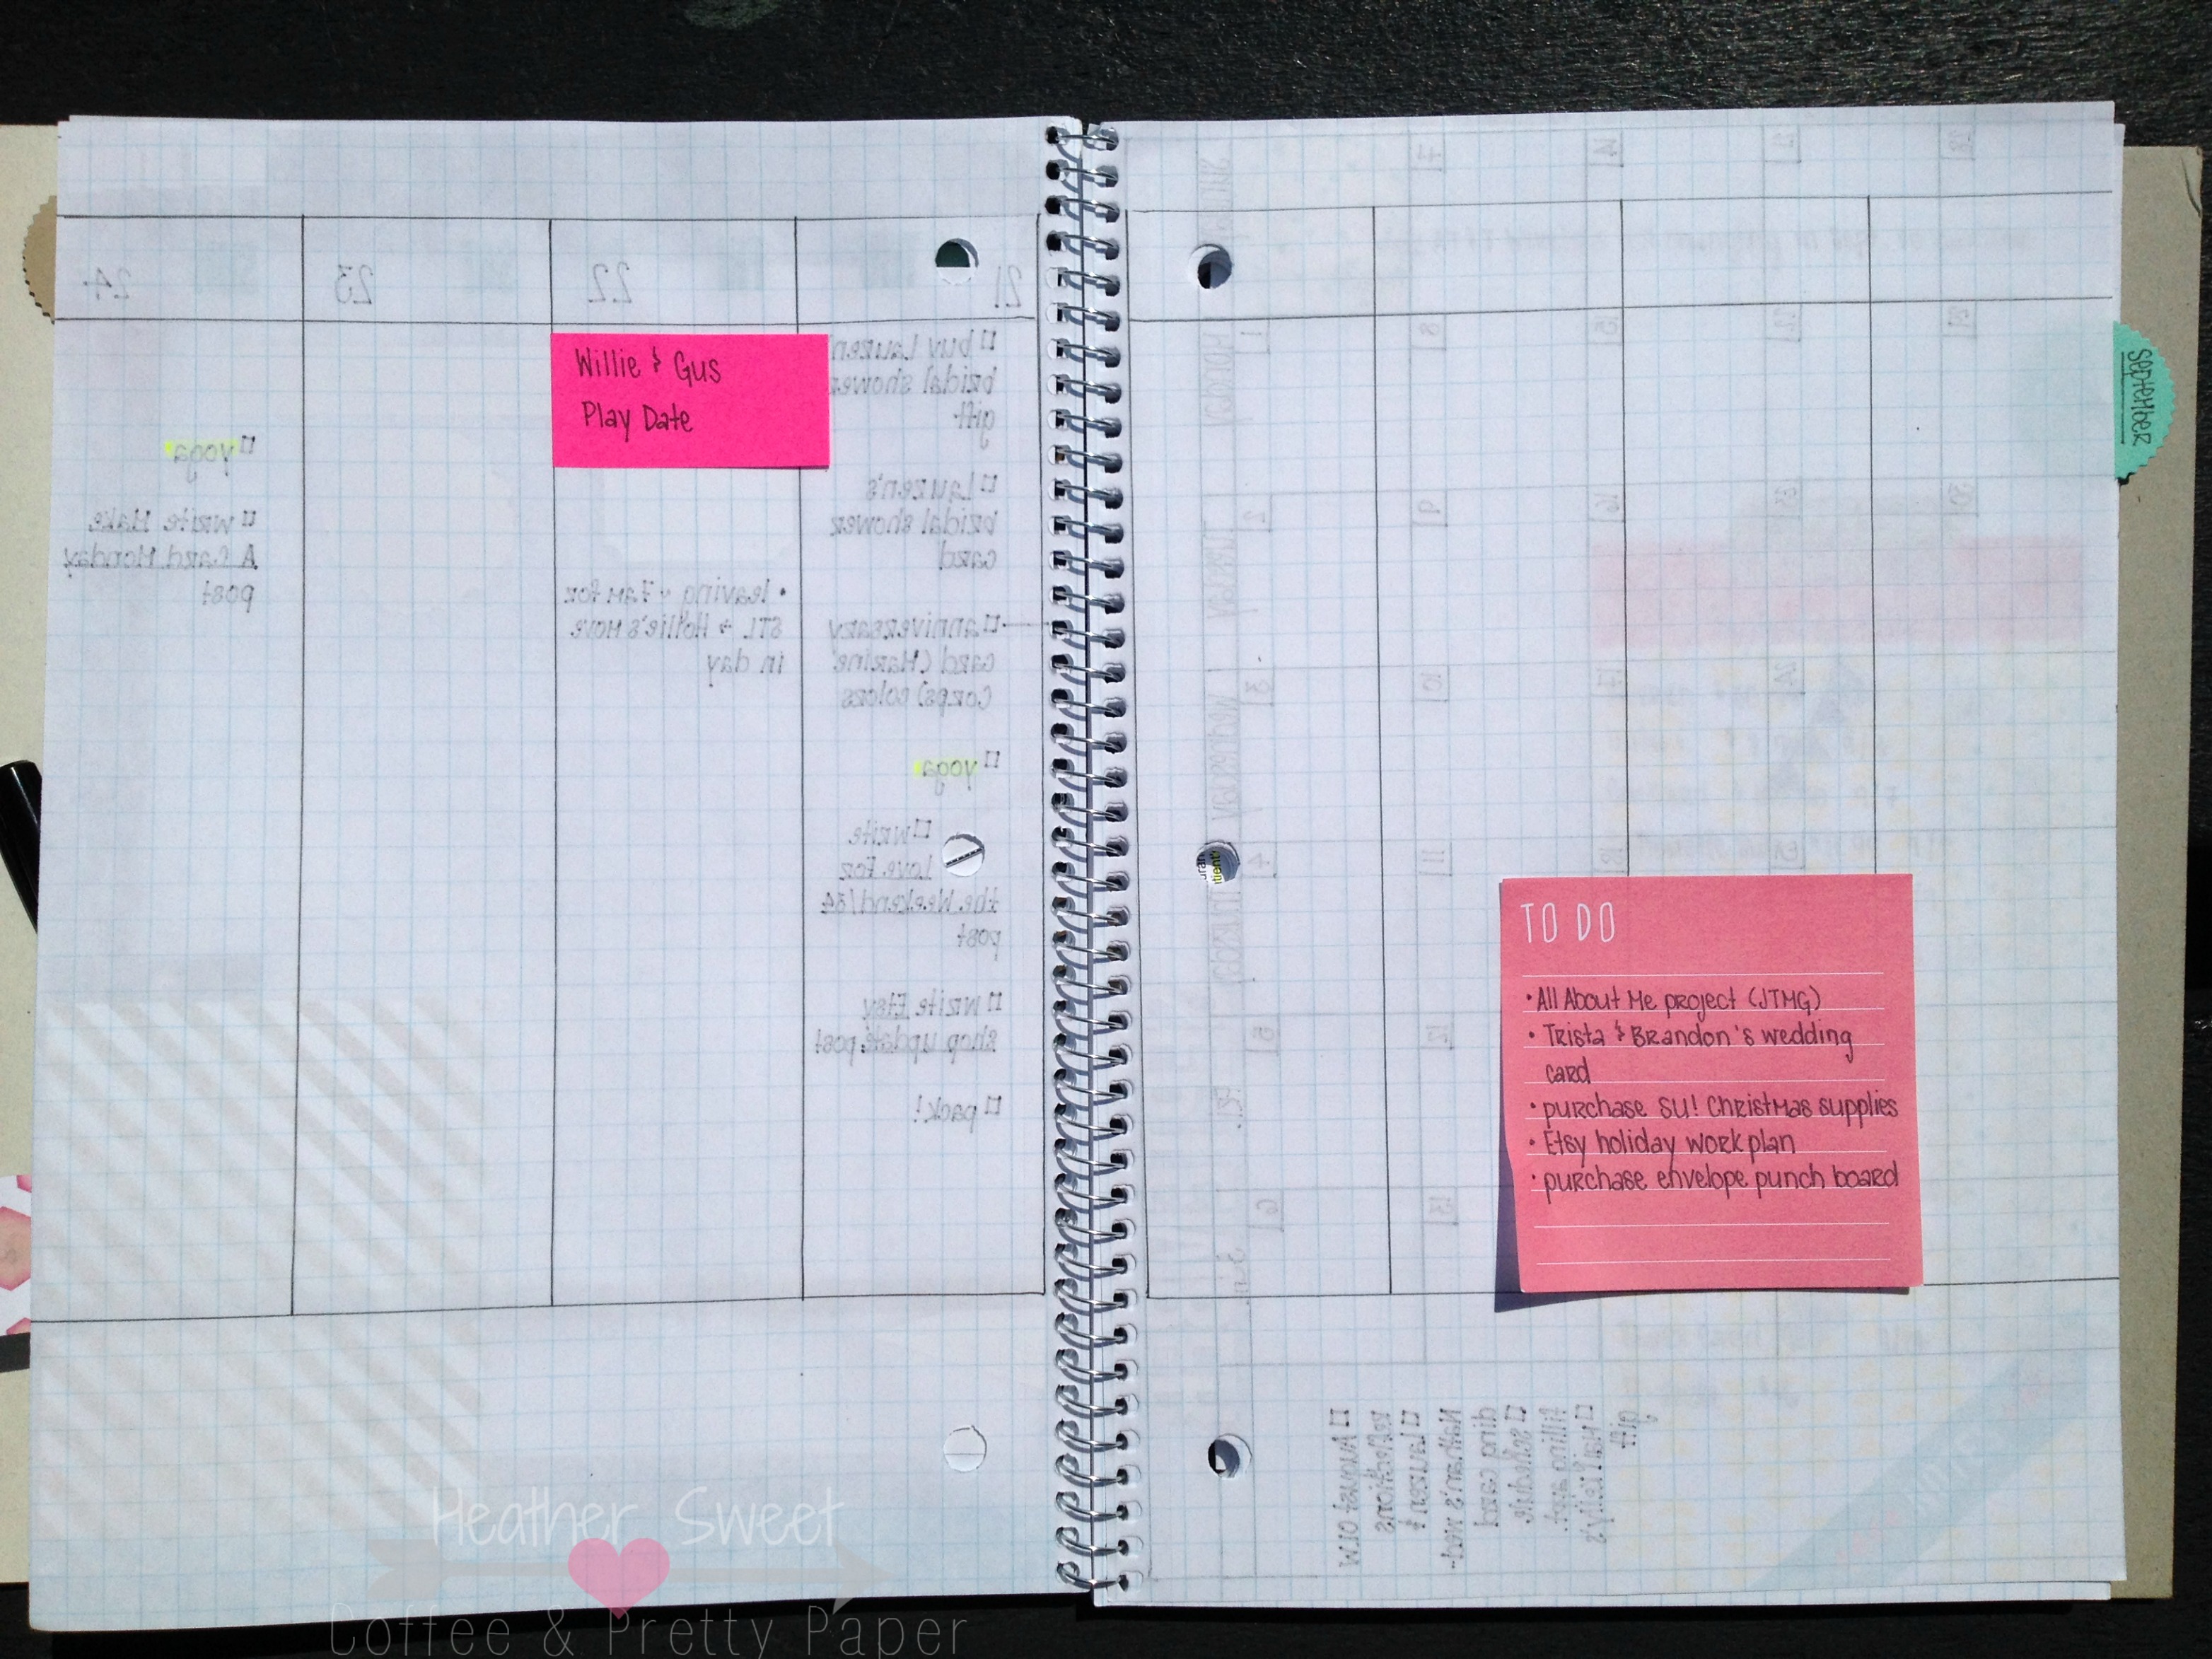
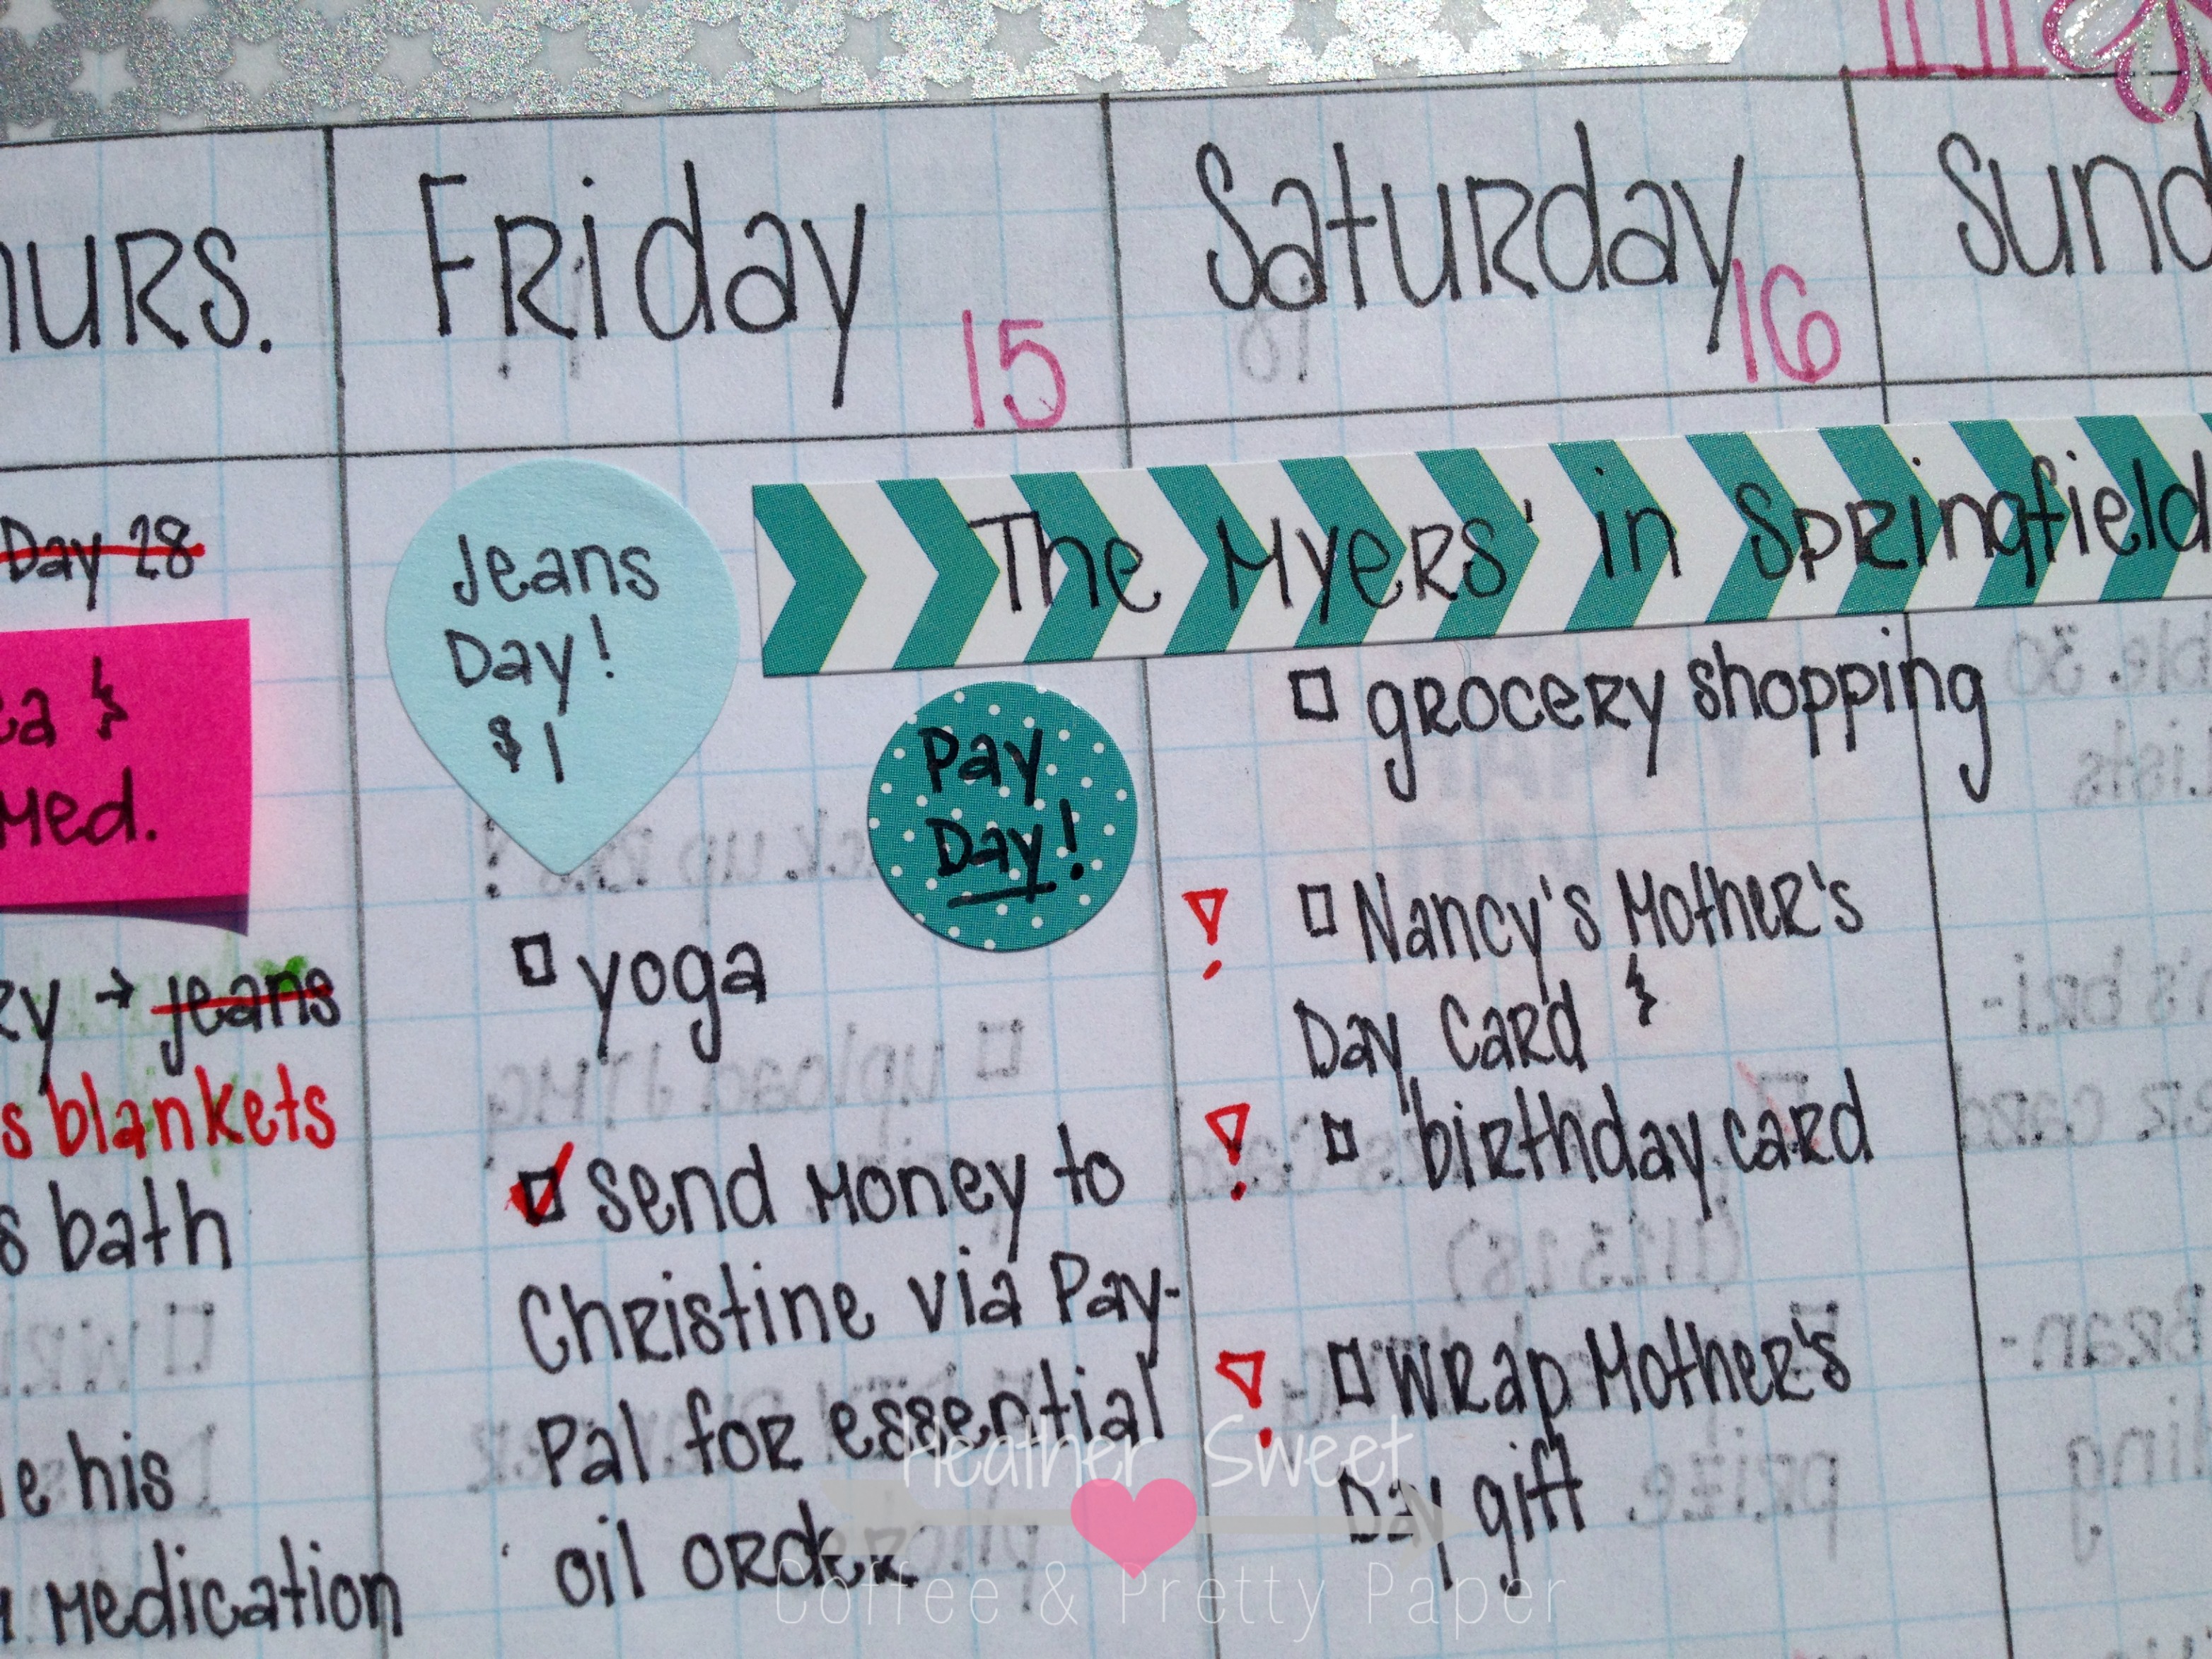
Weekly Spread for the Daily Stuff

Untitled

This is how I outline my weekly spreads. There are eight large columns: one for each day of the week and one column for my weekly tasks.

Untitled

The bottom of my spread is for additional notes throughout the week.

How I Use My Planner

Untitled 

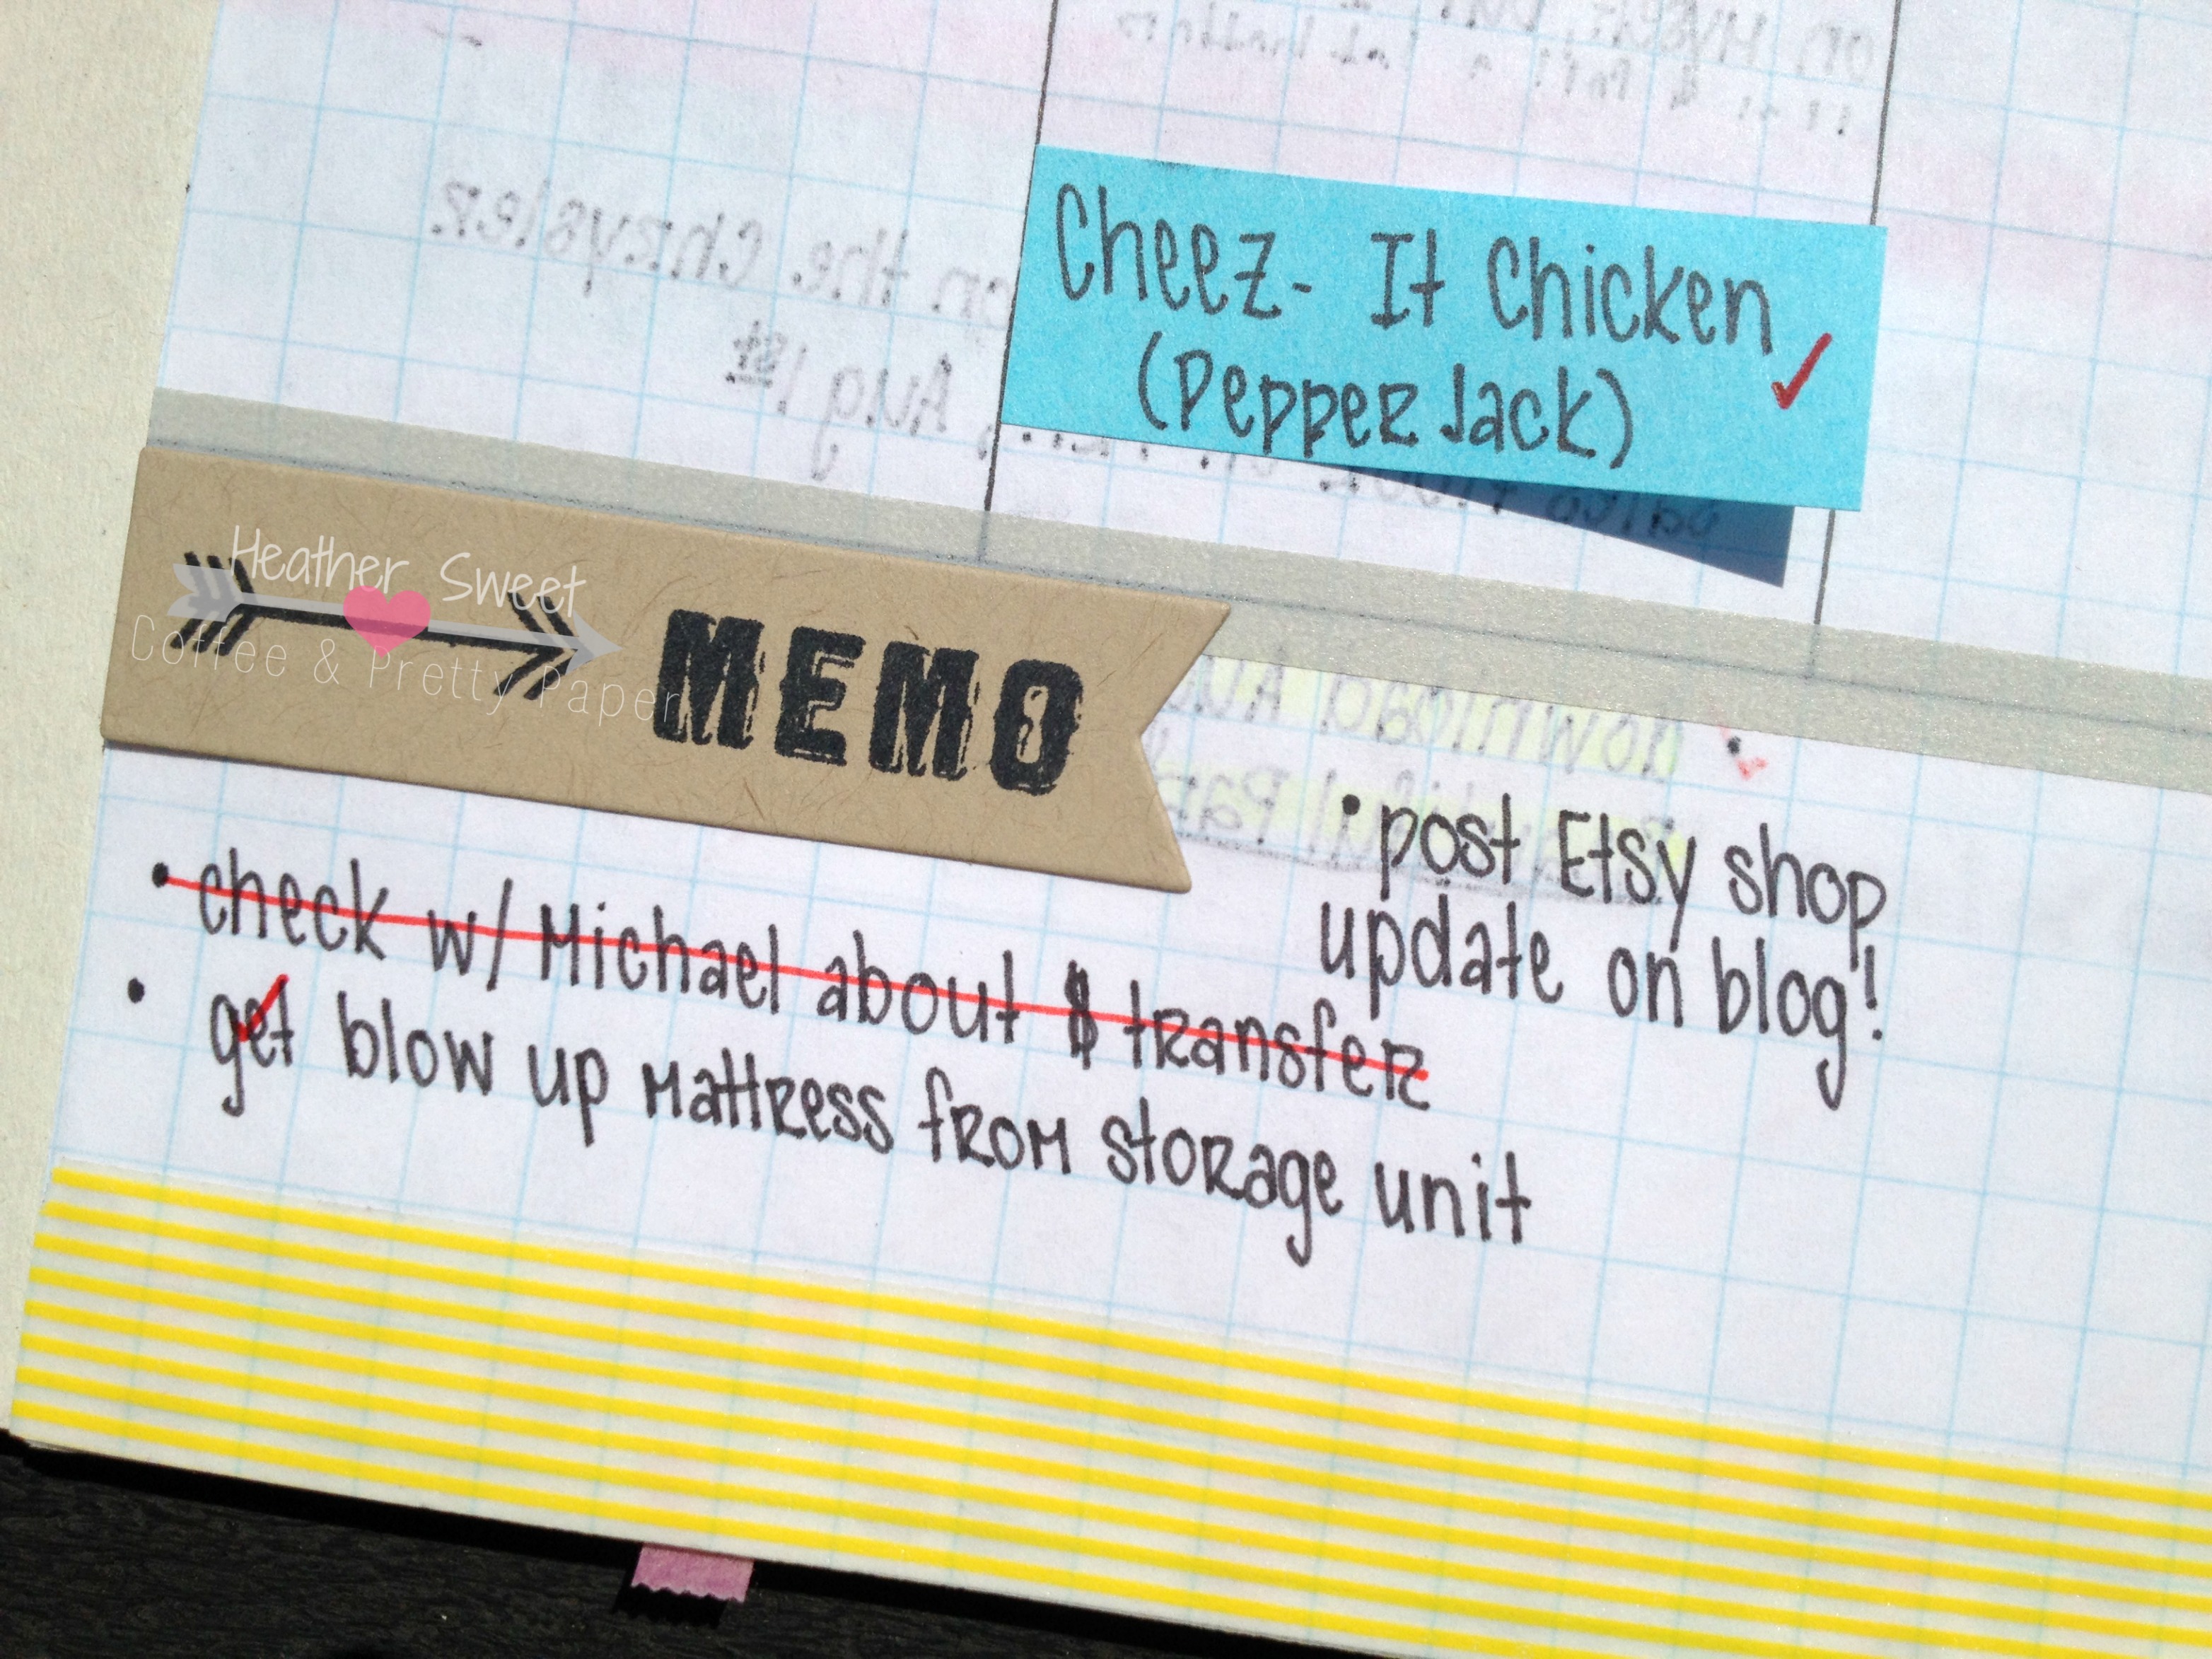
Decorating your planner is completely optional. I love to add some color and personality with washi tape and stickers. I use Post-Its for reminders for the next week, for daily events, for meals. 

Untitled 

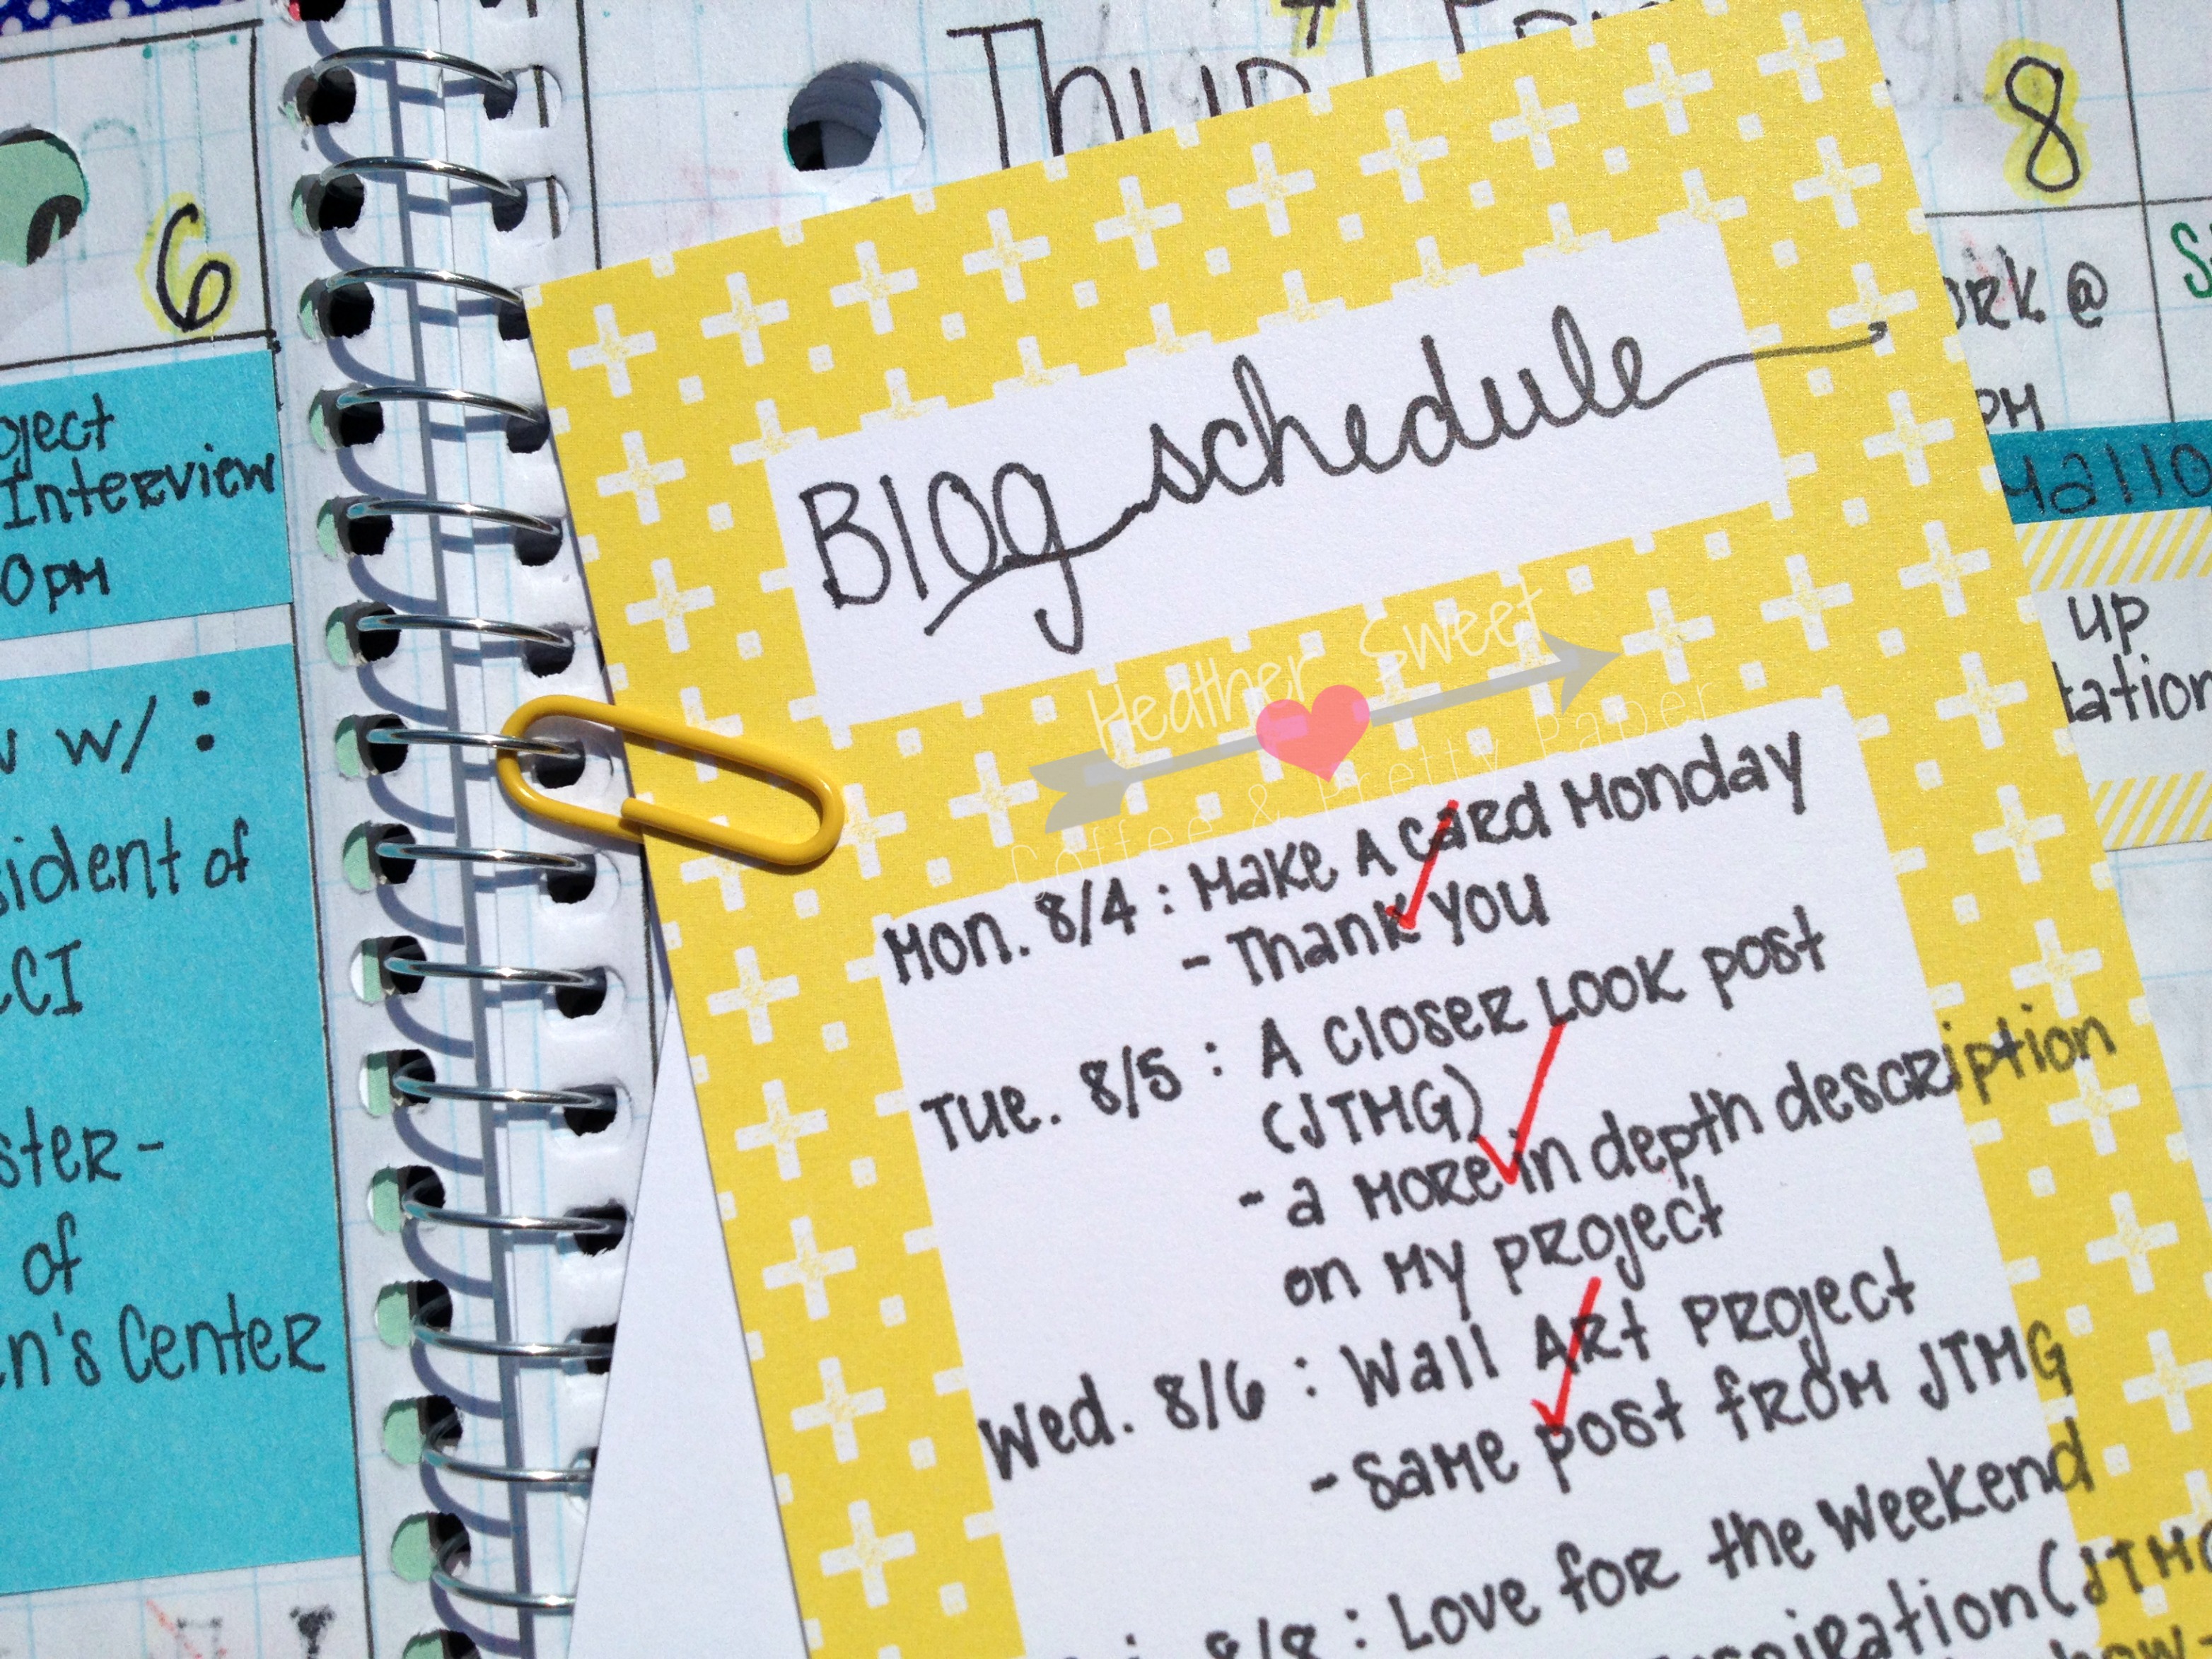
I can even attach additional lists or papers to my weekly spread with washi tape, or, this is my favorite, with a paper clip in the notebook coil!

Untitled 

So far, I really like my planner. It's a little big, so it's not something I can carry around in my purse, but it does come to work with me in my work tote. This is part of the reason I'm still using my personal Filofax. It's much smaller and can fit in my medium/big purse (I usually carry big purses. I love them!).

I hope this post has inspired all my fellow planner nerds to make your own planner; a planner that works for you! It's difficult to stay organized if you're using something-whether it be a planner or system-that just doesn't work for your lifestyle. Making my own has obviously helped me customize a planner to my wants and needs. 

If you have any questions, just let me know below!

xoxo,
Heather

Monday, August 18, 2014

Coming Soon!

I have got a lot of fun things coming to my blog in the next week or so!

Thirty Days of Lists
DIY Planner

Untitled

A (Not So) Mini Album


Get ready for lots of great ideas and lovely inspiration heading your way!

xoxo,
Heather


Friday, August 8, 2014

Love For the Weekend/32

Source via Pinterest
In an effort for you all to know me a little better, as well as spread the love to other bloggers, sites, etc that I enjoy, I will be posting various links every Friday. These links will be whatever I've found interesting, exciting, or what I've absolutely fallen in love with over the past 7-ish days. Enjoy!

Lately, I've been on this kick to make these kind of better decisions.

I think this will help with those better decisions.

I really like how this (which is very popular in the papercrafting world) is linked to those said better decisions I want to make.

I registered for this, starting in September. You should play along too!

Of course, I HAVE to have all the things! All of them!

I read this weekly...because I'm a nerd.

xoxo,
Heather

Wednesday, August 6, 2014

Wall Art Project: How-To (Just Two Midwest Girls Scrap Challenge)

Happy Hump Day! Yesterday, I was up on the Just Two Midwest Girls scrap challenge blog giving ya'll a closer look at this super cute wall part project for the August challenge! I figured I'd share it here on my blog too.

DSCN2863

Reading the challenge launch post, I was kind of scrambling to finish, let alone, start this challenge. I definitely did not give myself enough time for all my grandiose plans, again, which I discussed in the post linked above. Even though my original plan(s) were not the turn out, I still love my wall art piece.

I have seriously been obsessed (borderline unhealthy) with this Coastal Cabana color from Stampin' UP! Like, I don't think there's been a project recently in which I HAVEN'T used this color. I'm constantly gravitating to it.

Anyways, when picking the color scheme for my wall art, I was trying to think of to whom I would gift this. It's a perfect "print" for a nursery or child's room. And of course, I thought of my best friend's son, who's still pretty brand new. Blue and gray it was!

DSCN2867

Using my Silhouette Cameo, I die cut the letters of the alphabet using the Coastal Cabana cardstock and Smokey Slate cardstock, also by Stampin' UP! I used the Aharoni font and made each letter about an inch in height. The alphabet was typed in one text box, so I could resize the letters as one item, making everything proportional. I die cut a super cute Echo Park heart I found in the Silhouette Online Store. This was die cut in Coastal Cabana at a slightly larger size to highlight it as the focus piece.

I cut a piece of white cardstock-I believe it's the Bazzil white orange peel cardstock-to 7.5" x 9.5". I adhered the letters, alphabetically (obviously) paying close attention to the layout of the I (heart) U focus. You obviously want this in a diagonal layout. I replaced the "O" with the heart. I then cut a piece of Coastal Cabana cardstock to 8" x 10", mounting the white piece of cardstock on top.

And there you have it! Super simple and easy. This project would make a great baby shower gift. Just plop this guy in a frame and voila!

Make sure to play along with us over on the Just Two Midwest Girls scrap challenge blog this month. Show us how you're using all those letters! Challenge details can be found here!

xoxo,
Heather


Monday, August 4, 2014

Make A Card Monday: A Multitude of Thanks

And here we are, another lovely week. I had a pretty relaxing weekend, at least compared to some more busy and chaotic weekends I've had as of late. Surprisingly, I'm welcoming the start of this week! It's another pretty week in my DIY Planner (a photo of which can be found here). That really helps to put an optimistic spin on a Monday.


DSCN2851

I am back with a super cute and easy square thank you card! It seems like I can never have enough thank you or birthday cards. This is something you can whip up really quickly and is perfect for assembly-card-making. It's also really simple to change out the sentiment.

How To

  1. Cut your white cardstock to 4" x 8". Fold in half, making the card a square at 4" x 4".
  2. Die cut a banner using white cardstock. Stamp the sentiment using a teal blue ink onto the die cut banner.
  3. Figure out where you want the banner with the stamped sentiment. This is important as it will serve as a focal point and a placeholder to stamp the additional, identical sentiments above and below the banner. Line up the straight edge of the banner with the edge of the card. Adhere onto card front. **Before you do this, make sure to adhere a thin piece of ribbon that coordinates with your stamped sentiment under the flag/pennant side of the diecut, making sure to extend the ribbon a little past the ends of your banner points. Again, this is to bring more attention to your focal point.**
  4. Once the banner is adhered, stamp the same "thank you" 3 times above the banner and once below in a pink stamp ink.
  5. Using a standard size single hole punch, punch small circles out of a coordinating pink cardstock. (Mine matched, as I was using Stampin' UP! products.)
  6. Sprinkle and adhere those punched circles in the opposite corner of your stamping.
  7. Using a similar size solid circle stamp as your cardstock circles, stamp a few circles in the same corner with a teal blue stamp ink. Make it a little haphazard or confetti-like.
  8. Envelope: Make using the We R Memory Keepers Envelope Punch Board-follow the measurements for an envelope that will hold a 4" x 4" card. I used the same color pink cardstock I used on the card.
  9. Envelope Liner: Using the same technique in last week's tutorial, I made the white envelope liner. That tutorial can be found here. On the envelope liner, I used the small solid circle stamp to stamp the confetti look in both the pink and teal blue found on the card.

DSCN2854 

Next week sometime, I will be posting a picture tutorial on using the envelope punch board to make an envelope and envelope liner. Stay tuned for that!

So, there you have it. I quick and simple thank you card! I do have to say, I really enjoy this square size. I will definitely be making more square cards. Too bad that weren't such a hassle to mail though. Won't stop me from making someone's day with pretty happy mail!

What unusual size cards have you guys been making lately? Let me know down below!

xoxo,
Heather

Supply List


Sunday, August 3, 2014

Love for the Weekend!

Source
In an effort for you all to know me a little better, as well as spread the love to other bloggers, sites, etc that I enjoy, I will be posting various links every Friday. These links will be whatever I've found interesting, exciting, or what I've absolutely fallen in love with over the past 7-ish days. Enjoy!

I love watching any kind of tutorial. Lately, I've been watching mini album tutorials over on YouTube. One YTer, My Sisters Scrapper, makes gorgeous mini albums, as well as creates tutorials every once in awhile. This is something I would like to make soon. I see something like this going into my Etsy shop for the quickly approaching holiday season.

I am very intrigued by this. I would like to sign up, but it looks like the first "kit" doesn't come out until October. Do I sign up now and hope it's everything I love, or do I wait (forever) for October to see what they have to offer...? #firstworldproblems

I really enjoy it when bloggers put together this type of post. Especially when it directly correlates with my current obsession with planners!

I know I've featured this before in this series, but I want to highlight it again. I have absolutely fallen in love with this! It's helped me stay on track, pay better attention to my own body, as well as create a habit. You all should give this a try. I promise you, you will not be disappointed!

And, because I know you all are so curious as to what I'm reading right now, check it out.

xoxo,
Heather


Friday, August 1, 2014

Just Two Midwest Girls August Challenge Launch!

**Love for the Weekend post will up tomorrow, Saturday, August 2nd.**

DSCN2864

I'm revealing my project for the August Just Two Midwest Girls scrap challenge! Go check it out and make sure to play along! 

xoxo,
Heather