
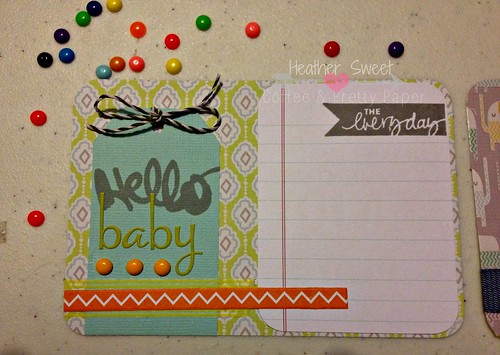
But, the discussion of productivity and the gratitude of life will be discussed at a later date here at Coffee & Pretty Paper. I am here, today, to show you all how I made my own "enamel" dots as seen here on the Practical Scrapper Frugal Finds post.
This is not original on my behalf. It's all the rage lately. And for me, it seems like this technique just seemed to flood the scrapbook forums, YouTube, and Pinterest just recently. I had absolutely no idea about this ingenious idea until I stumbled upon this pin on Pinterest...
 |
| DIY Enamel Dots via PaperCrafts & Scrapbooking blog |
Anyways, long story short...Practical Scrappers hosts a monthly post all about frugal finds. April's theme was an open buffet of sorts, so it was a perfect time to try out this new-to-me technique.
The Materials
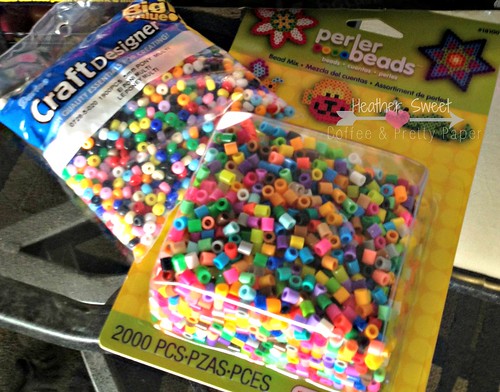
I purchased perler beads and small pony beads from JoAnn for this fun adventure. The perler beads were $4.99 AND I used a 40% off coupon. There are larger amounts available and packages of single colors. I wanted to start small with a variety of colors. As you can see in the photo, 2,000 beads is not small, but that's the smallest variety pack available at my JoAnn. I won't be buying any enamel dots in those colors for the next few decades...
I also wanted to try the pony beads because of the different material. I did not want the large pony beads though, as I tend not to use those large enamel dots as much. I was able to find a 5mm variety color bag of pony beads at JoAnn for $2.99. I went this size because I was hoping they would turn out a bit smaller than the melted perler beads. (They did not, as you will see below.)
The How-To
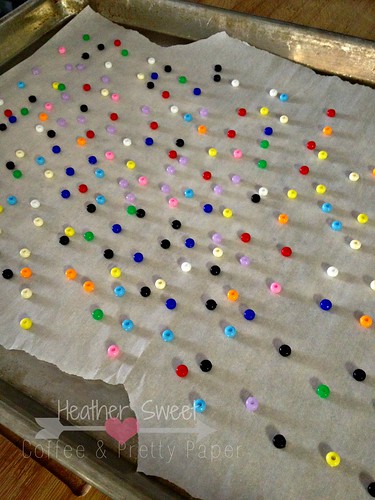
The above pin linking to the PaperCrafts & Scrapbooking blog has a tutorial. I did not use that one, but used this video I found on YouTube by . I used parchment paper to place my beads on to. DO NOT USE WAX PAPER!
Perler Beads: I melted these little guys in the oven at 275 degrees F for 30-40 minutes. It seemed to me that certain colors, e.g. black and light brown, took longer to melt. Even after 40 minutes, the center hole wasn't completely filled in. Next time I melt these, I think I'll set the oven to 300 degrees F and start paying attention around the 20 minute mark to the melting process. Also, there was absolutely no smell while these things were in the oven.
Pony Beads: I melted these guys in the oven at 425 degrees F for 8-12 minutes. The first batch I put in, the beads were completely melted in 8 minutes. The second batch took 12 minutes because it was a slightly larger baking sheet. There was that distinct melting plastic smell when I these were in the oven. I turned my oven fan on high and had a couple windows open in my house (because of the gorgeous spring-like weather we experienced in the Midwest this past weekend). It did not linger though. As soon I was done, the smell drifted away...
 |
| Pony Beads Before |
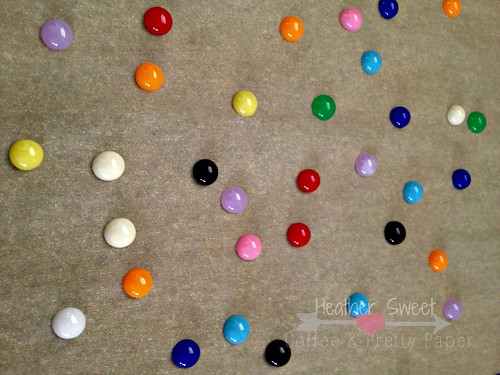
The Aftermath
Perler Beads
 |
| The perler beads in use (as an embellishment and as a scattering of photo props **clever**) |
Pony Beads
 |
| The pony beads straight from the oven! |
The Obligatory Comparison Photo
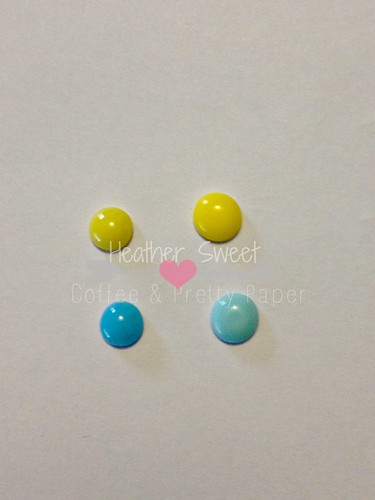 |
| Pony beads in yellow and blue on the left; Perler beads in yellow and blue on the right |
Overall, this will definitely be my go-to for acquiring those certain colored enamel dots. Does this necessarily mean I won't buy any enamel dots ever again? Probably not, but it's nice to be able to make these myself in almost any color imaginable.
This is also a good project to take on during a laundry or cleaning day at home. Because you just pop it in the oven, no prep or clean up, it's easy to do while doing other chores.
I hope you guys liked this Make It Monday tutorial! Let me know if you guys have tried it and what your thoughts are about this technique.
xoxo,
Heather
1 comment:
Many thanks for showing me how i can make these pony beads melt, will be a great way to make jewellery especially earrings and i can't wait to try it. Id never have known without your blog. Much appreciated! Keep crafting! Joy in these isolated lockdown times...xo
Post a Comment