Pages

Showing posts with label anniversary. Show all posts

Tuesday, July 8, 2014

Make A Card Monday...On Tuesday (Again)

You guys will have to forgive me. I had every intention of posting this yesterday (Monday), but I was struggling with the quality of the photo. Unfortunately, I had to use my phone to take photos of today's card. And, as it was being mailed out the day I remembered to snap photos, I had to work with what was available.

I need a new phone anyway; one with a much better camera. It is the camera I have on me AT ALL TIMES. I don't want the fact that I don't own a DSLR to get in the way of documenting my life and blogging. Again, I apologize for the quality of this photo.
Anniversary Card 002

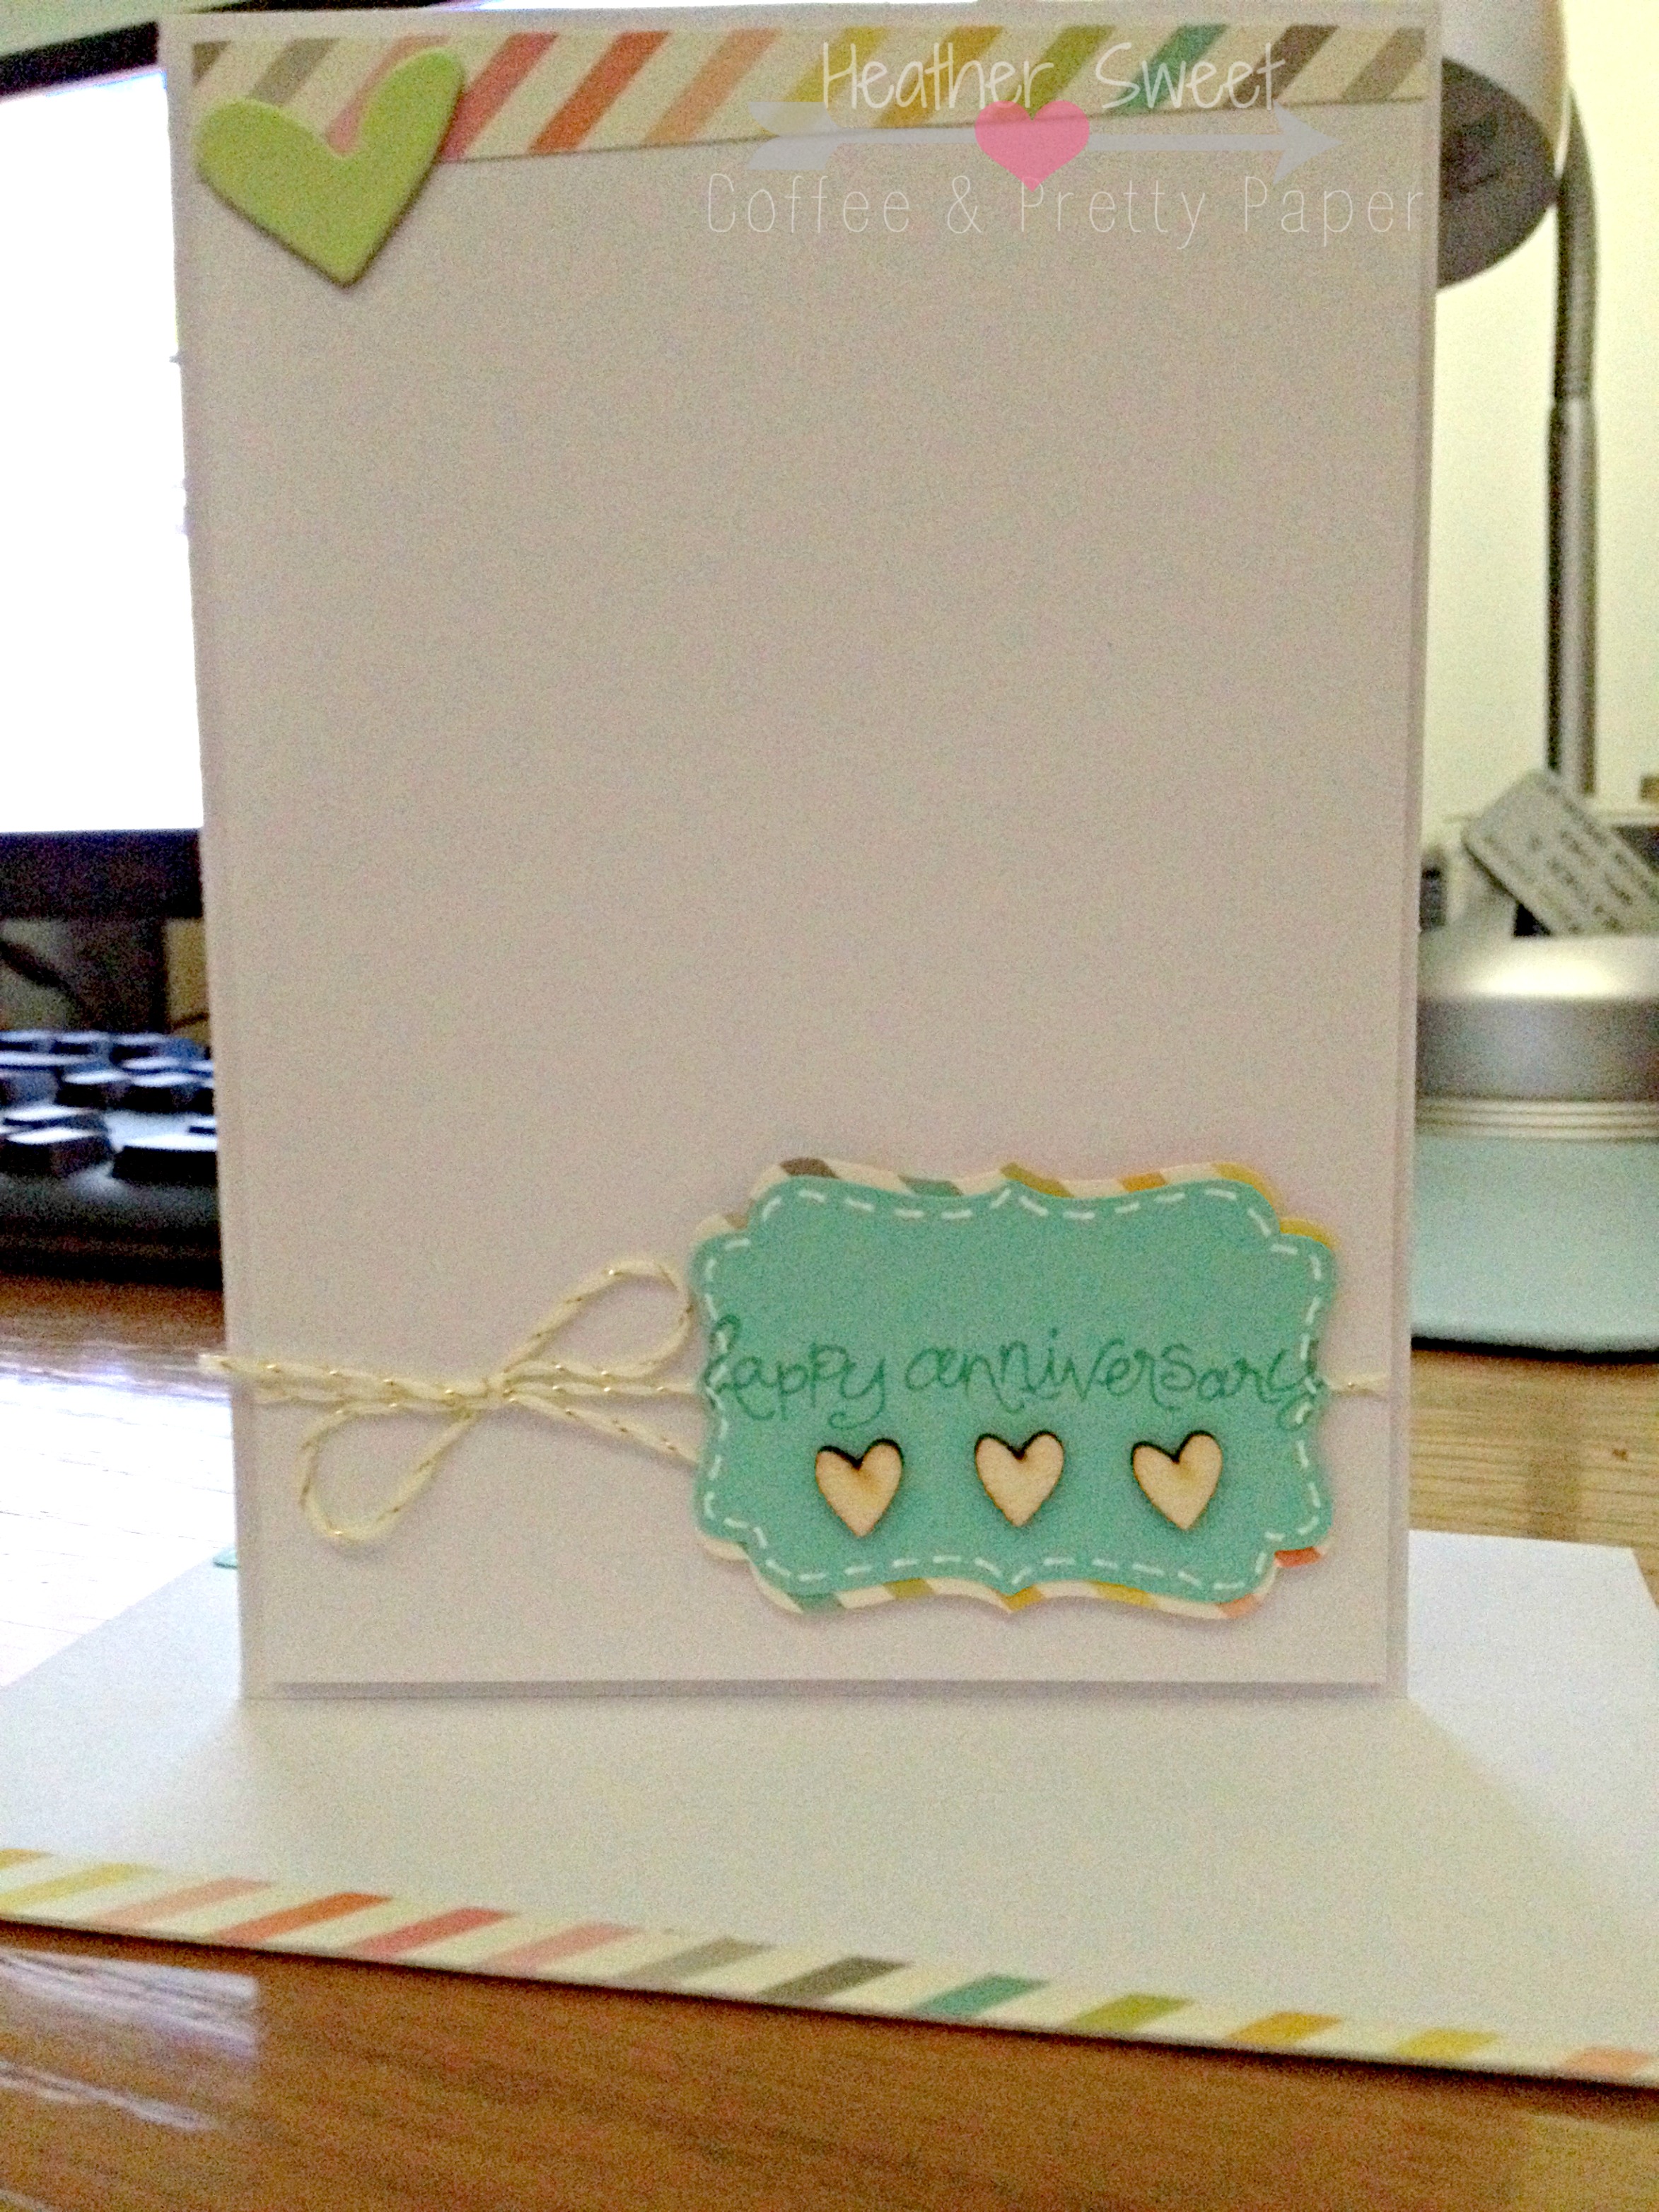
This card was super simple to make. I sent this to my best friend for her wedding anniversary last week. I was already running late on creating a card for her and her husband, so I needed something that wouldn't take me long at all.

This is not my standard sized card. It measures at 3.50" x 4.75". This is from my stack of pre- cut and scored card bases with envelopes. The white card front panel is mounted on a white card base. I used a Stampin' UP! clear mount stamp set. Unfortunately, it looks to be a retired stamp set because I cannot find it on the website and I don't remember the name. 

The sentiment was stamped in Coastal Cabana stamp ink  onto it's coordinating Coastal Cabana cardstock. I then used the decorative label punch to punch out the sentiment. I added faux stitching to the edge of the label with a white Gelly Roll pen. I adhered three wood veneer hearts underneath the stamped sentiment on the label.

To bring more interest to the focal point, i.e. the sentiment, I wanted to add a subtle layer. I used this patterned paper from the older Simple Stories Vintage Bliss line, but from my 6" x 6" paper pad. I cut the patterned paper label in half to give the cardstock label a shadowed effect. Before I adhered the sentiment cluster to the card panel, I wrapped metallic gold and white twine around the front panel, tying into a pretty bow. I adhered the sentiment cluster with Stampin' Dimensionals.

There was still something missing on this card. I was flying by the seat of my pants, coming up with the design as I went along. In my head, I pictured a simple card with lots of white space, but it just didn't look right. I decided to add something to the top of the card. I took the same multicolored striped patterned paper and cut a 1/4" wide strip. I adhered the strip at an angle to the top of the card. At the last minute, I decided to add that light green, almost lime green chipboard heart. This decision was purely based on the fact that my friend's favorite color is a bright, lime green. The front panel was adhered to the card base with Stampin' Dimensionals as well.

The coordinating envelope isn't shown that well in the photo, but I adhered a 1/4" wide strip of the same patterned paper on an angle to the bottom of the front of the envelope. I punched a decorative label from Coastal Cabana cardstock to write the return address. That label was also outlined in white. 

Hopefully this card provides inspiration for something quick and simple. This design would be great for an assembly line type card construction, for any event, especially thank you cards. 

What is your favorite quick and simple go-to card design? Let me know in the comments section!

xoxo,
Heather

Tuesday, November 26, 2013

"Year One: 2013" Layout

I know, it's supposed to be Project Lifein' It Tuesday, but I haven't completed a Project Life spread.  I do apologize.  But, I have a layout for you instead!  I haven't shared a layout in awhile, so I'm excited!  As you guys know from my video here (go check it out!  It's my first one!), that it's been quite the creative challenge for me recently to make a layout...


This layout here, came together so quickly!  I am so happy with it.  I didn't feel rushed in putting it together.  I didn't feel doubt about doing certain embellishing.  

Elle's Studio, Sketch Thursday

I used this sketch from Elle's Studio.  As you can tell, I followed it very closely.  What drew me to this particular sketch was the triangle cluster on the left side of the page and the banner cluster on the top of the page.  I LOVE BANNERS, so of course, I had to make a layout based on this sketch.  


I recently purchased the Maggie Holmes Flea Market by Crate Paper and the Amy Tangerine Cut & Paste 6x6 paper pads.  I wanted to use them right away.  I thought this sketch with all those triangles (23, to be exact) would be a great way to dig into my new paper pads.  I made my own triangle template/stencil to cut out all my triangles.  I then sewed them down with metallic gold thread (which I am loving right now too).  I love how well these two, very different lines, go together.  The photo is mounted on papers from these paper pads as well.  


This banner cluster was also made with papers from the same 6x6 paper pads.  I used two of my handmade embellishments I made with my Citrus Twist Kits October Main Scrapbook Kit.  The best thing about those pre-made embellishments:  they're made with papers from the Maggie Holmes Flea Market collection (well, except for the ampersand circle...)!  The light pink/dark pink striped ribbon is from a previous CT kit, I think from earlier in the year.  And the anchor flag is from a Studio Calico printable I believe from a class in March or June.  The light blue ribbon is from a Dear Lizzy collection, I believe 5th and Frolic, but I don't know for sure.  Those few things I've had sitting on my desk, waiting to be put on a layout.  The final touch was a splattering of Heidi Swapp Color Shine in Primrose.


Other supplies not mentioned above:  Alphas: Begonia Cut Outs Rubber Thickers-Amy Tangerine Cut & Paste; Stamps: Citrus Twist Kits September Main Scrapbook Kit; Ink:  Stampin' UP! Smokey Slate; Turquoise Arrow: Recorded Heart & Arrow Paperclips by Allison Kreft for Webster's Pages  (all supplies listed here, except for ink, are from CT main scrapbook kits)

In October, my husband and I celebrated our first anniversary!  This layout is to document our year one together.  We had my best friend take some pictures of us at the park where we were supposed to get married.  Long story short about our wedding day, it poured down rain all morning and we weren't able to get married outside at this gorgeous gazebo at this particular park.  So Michael and I decided that we'd visit the park each year on our anniversary.

Alright friends, that is it for me today.  Come back tomorrow to see more on my wishlist.  Black Friday is in a few days!

xoxo,
Heather