Pages

Showing posts with label Make A Card Monday. Show all posts

Monday, August 4, 2014

Make A Card Monday: A Multitude of Thanks

And here we are, another lovely week. I had a pretty relaxing weekend, at least compared to some more busy and chaotic weekends I've had as of late. Surprisingly, I'm welcoming the start of this week! It's another pretty week in my DIY Planner (a photo of which can be found here). That really helps to put an optimistic spin on a Monday.


DSCN2851

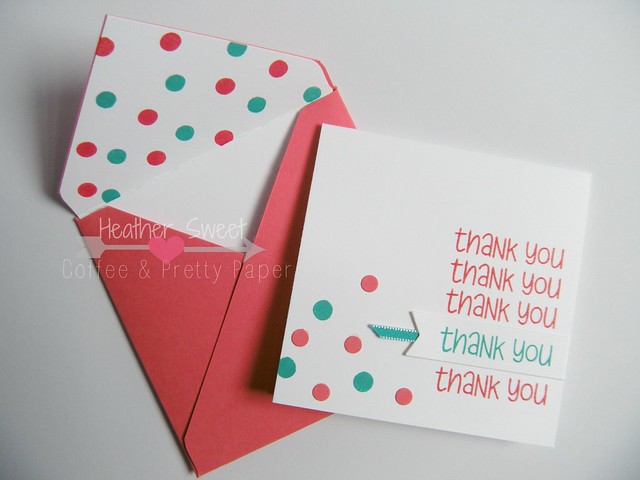
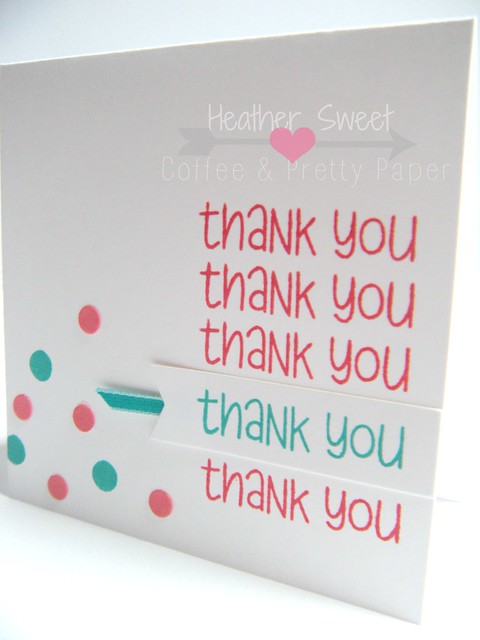
I am back with a super cute and easy square thank you card! It seems like I can never have enough thank you or birthday cards. This is something you can whip up really quickly and is perfect for assembly-card-making. It's also really simple to change out the sentiment.

How To

  1. Cut your white cardstock to 4" x 8". Fold in half, making the card a square at 4" x 4".
  2. Die cut a banner using white cardstock. Stamp the sentiment using a teal blue ink onto the die cut banner.
  3. Figure out where you want the banner with the stamped sentiment. This is important as it will serve as a focal point and a placeholder to stamp the additional, identical sentiments above and below the banner. Line up the straight edge of the banner with the edge of the card. Adhere onto card front. **Before you do this, make sure to adhere a thin piece of ribbon that coordinates with your stamped sentiment under the flag/pennant side of the diecut, making sure to extend the ribbon a little past the ends of your banner points. Again, this is to bring more attention to your focal point.**
  4. Once the banner is adhered, stamp the same "thank you" 3 times above the banner and once below in a pink stamp ink.
  5. Using a standard size single hole punch, punch small circles out of a coordinating pink cardstock. (Mine matched, as I was using Stampin' UP! products.)
  6. Sprinkle and adhere those punched circles in the opposite corner of your stamping.
  7. Using a similar size solid circle stamp as your cardstock circles, stamp a few circles in the same corner with a teal blue stamp ink. Make it a little haphazard or confetti-like.
  8. Envelope: Make using the We R Memory Keepers Envelope Punch Board-follow the measurements for an envelope that will hold a 4" x 4" card. I used the same color pink cardstock I used on the card.
  9. Envelope Liner: Using the same technique in last week's tutorial, I made the white envelope liner. That tutorial can be found here. On the envelope liner, I used the small solid circle stamp to stamp the confetti look in both the pink and teal blue found on the card.
DSCN2854 

Next week sometime, I will be posting a picture tutorial on using the envelope punch board to make an envelope and envelope liner. Stay tuned for that!

So, there you have it. I quick and simple thank you card! I do have to say, I really enjoy this square size. I will definitely be making more square cards. Too bad that weren't such a hassle to mail though. Won't stop me from making someone's day with pretty happy mail!

What unusual size cards have you guys been making lately? Let me know down below!

xoxo,
Heather

Supply List


Monday, July 28, 2014

Make A Card Monday: Hello My Friend

My goodness, I can't believe another week flew by! I'm back on what I hope will be a lovely Monday. Today, I have a very simple, clean, and quick card for you.

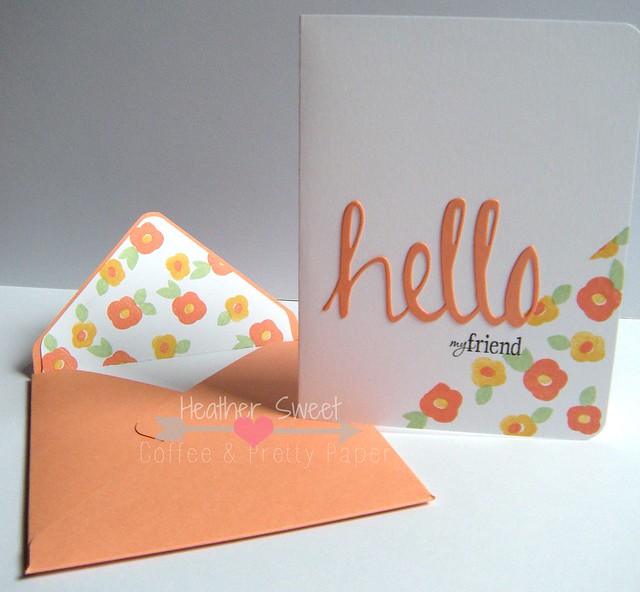
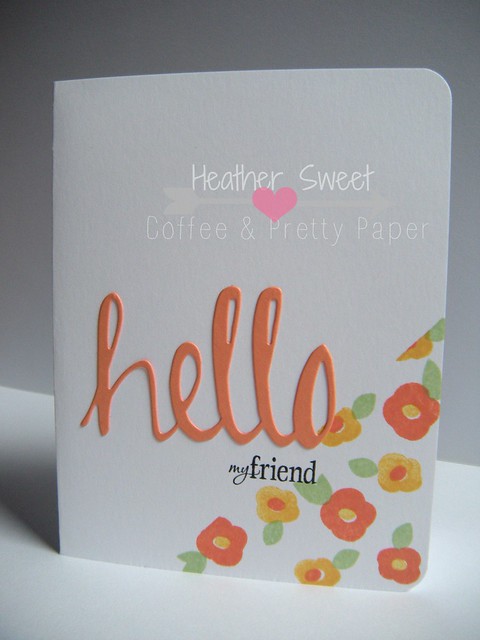
Hello My Friend Card

This card was so much fun to make! It came together pretty quickly after I figured out the colors I wanted to use.

How To:
The Card

  1. Cut your white cardstock (8.5" x 11") in half at 5.5" on the long side. This, of course, gives you two card bases. Fold one of the two pieces in half. My card measures 4.25" x 5.5". Round your corners.
  2. Take a piece of washi tape to section off the lower right corner of your card front. This is where you will be stamping the flower images.
  3. Using any small flower stamp image (I used Avery Elle's Oh Happy Day stamp set), stamp the flower a few times in the corner in one stamping ink color.
  4. Using another small flower stamp image, stamp this flower a few times in a coordinating stamping ink color.
  5. My stamp set-the Avery Elle set mentioned above-has a couple flower center stamp images. I used this flower center stamp to stamp a yellow center in the peach-y flowers and the peach center in the yellow flowers.
  6. Using a small flower leaf stamp, stamp leaves on each flower in a green stamping ink.
  7. Remove the washi tape to display that crisp "line" between white cardstock and stamped images.
The Sentiment

  1. Using a peach-y colored cardstock that coordinates with your peach-y stamping ink, die cut the word "hello." (The color coordination of the stamping ink and cardstock was simple, as I'm using Stampin' UP! products.) 
  2. Adhere the die cut "hello" towards the bottom of the card front, making sure to overlap the word slightly with your pretty flower corner. 
  3. I decided to add a little more to the "hello" sentiment. With another stamp, I stamped the additional sentiment, my friend, in black ink, right justifying this smaller sentiment below the larger "hello."
  4. Your card is done!
The Envelope

Hello My Friend Card

Using the We R Memory Keepers envelope punch board, I made my coordinating envelope for my card.
Hint: the WRMK's board does not have the measurement for the common card size of 4.25" x 5.5", but I have those measurements!

  1. Using the same colored cardstock you used to die cut "hello," cut a square 8" x 8". 
  2. Using the punch board, make your first score mark at 3.5", continuing to make your score marks around the square. 
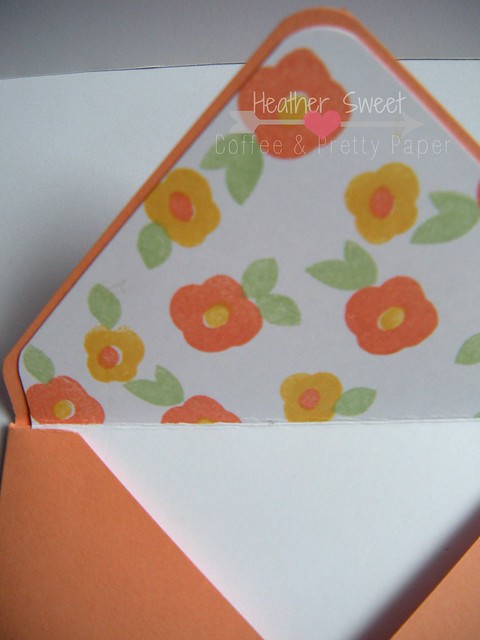
  3. To make the envelope liner, you're going to act like you're making another envelope, but with white cardstock. BUT, cut your square a 1/4" smaller than your envelope. In this case, cut a square 7.75" x 7.75". Still make the first score mark, using the board, at 3.5". 
  4. Depending on how you will have your envelope open, cut the side flaps of the white "envelope" off. Then you're left with the middle of the envelope (or the top and bottom). Cut this piece in half. This will give you 2 white envelope liners.
  5. I used the same stamps and stamping ink on the envelope liner as I used on the card, to coordinate the envelope even more with the card.

Hello My Friend

I hope these instructions made sense. If you have any questions, especially with the envelope liner (I felt that may have been a little confusing), just let me know in the comments section! Supply list is below!

xoxo,
Heather

Supply List

Monday, July 14, 2014

Make A Card Monday: A Thank You Card

Happy Monday! (I know, the "happy" is questionable.) Let's kick off the week with some lovely card inspiration, shall we?

One type of card I seem to be creating a lot, as well as never seem to have enough of, is a thank you card. This thank you card I recently created to go out with a Just Two Midwest Girls scrap challenge prize winner. But, this card design can be used to thank anyone in your life.

Thank You Card

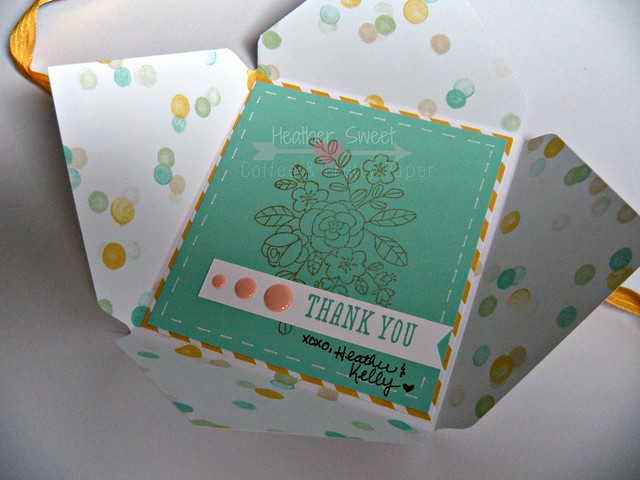
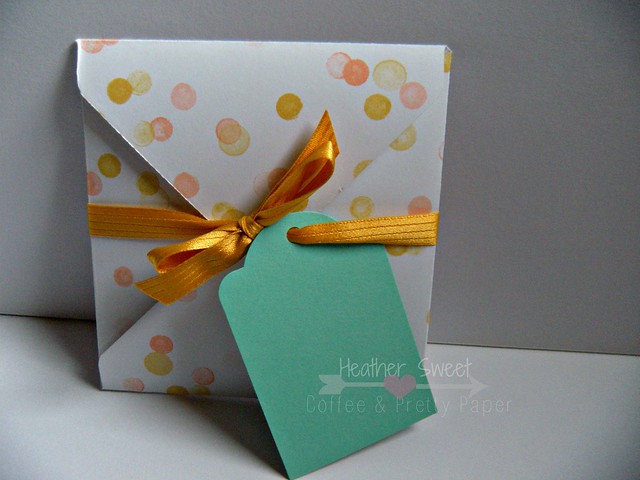
This card was really fun to make. I used my We R Memory Keepers Envelope Punch Board, which I LOVE! If you don't have one, definitely invest in one. I've been wanting to create this type of envelope card for awhile, but never sat down to make it happen. 

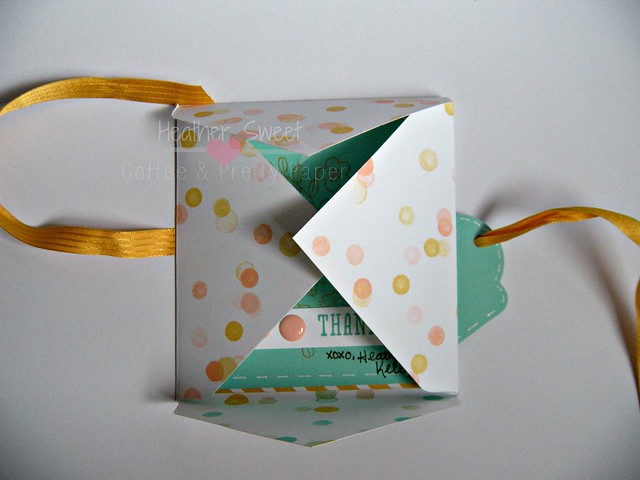
I made an envelope, according to the directions on the punch board, for a 4" x 4" card. Using the envelope I created as my card base, I layered my patterned paper and cardstock inside. On my cardstock, I stamped the flowers using a gold metallic stamp ink right in the center of my square. I stamped the sentiment on white cardstock and cut it into a thin strip to make a banner. I adhered that to my solid colored cardstock, layering three pink/salmon enamel dots on one end to balance the banner cut on the opposite end. Then, I added faux stitching along the edge using my white gel pen.

Thank You Card

Once the inside of the card envelope was complete, I used ribbon to keep it closed. The tag you see on the front holds my message to the prize winner. You can definitely add your message inside of the envelope. I was thinking of making my top layer of cardstock a flip up, adding the message on the next layer. I decided to use a tag on the outside instead. 

Thank You Card

So, the person receiving this fun and lovely card just has to untie the ribbon and open up the envelope to see the "card" on the inside. 

This card didn't take me long to create. I definitely see more cards like this in my cardmaking future! 

What new card designs have you come across lately? Anything you want to try or have tried recently? Let me know in the comments! 

xoxo,
Heather

Tuesday, July 8, 2014

Make A Card Monday...On Tuesday (Again)

You guys will have to forgive me. I had every intention of posting this yesterday (Monday), but I was struggling with the quality of the photo. Unfortunately, I had to use my phone to take photos of today's card. And, as it was being mailed out the day I remembered to snap photos, I had to work with what was available.

I need a new phone anyway; one with a much better camera. It is the camera I have on me AT ALL TIMES. I don't want the fact that I don't own a DSLR to get in the way of documenting my life and blogging. Again, I apologize for the quality of this photo.

Anniversary Card 002

This card was super simple to make. I sent this to my best friend for her wedding anniversary last week. I was already running late on creating a card for her and her husband, so I needed something that wouldn't take me long at all.

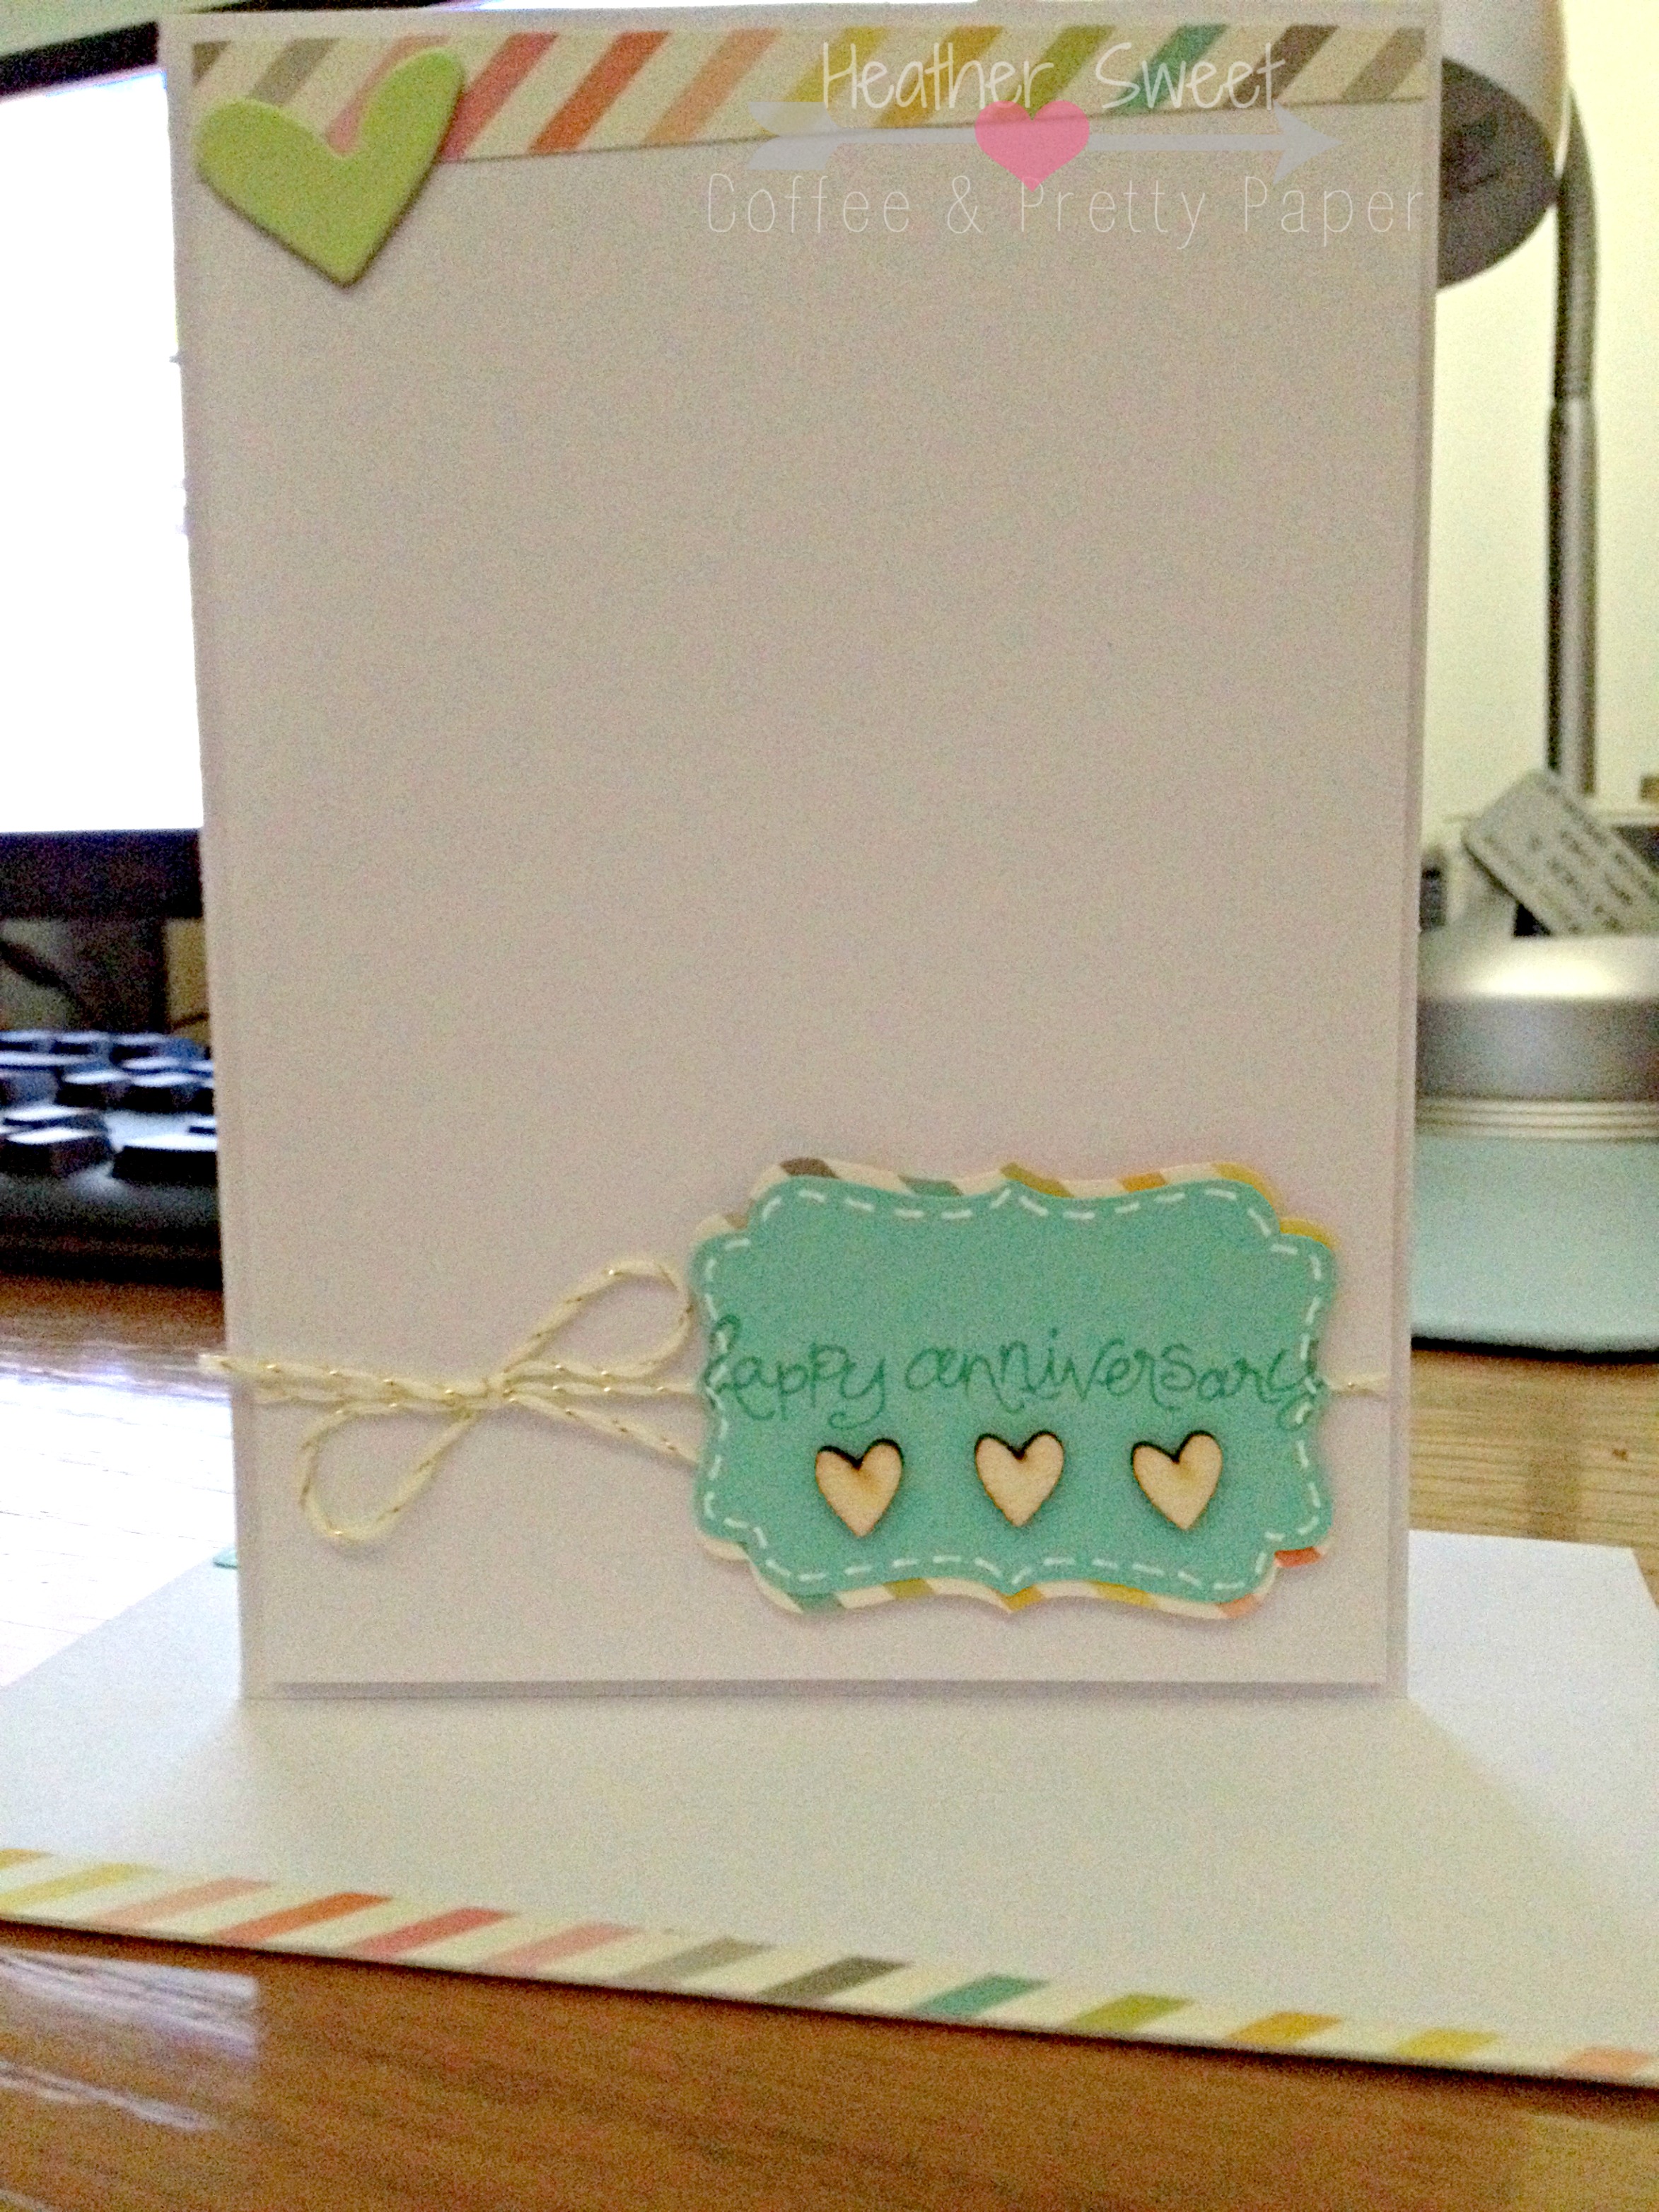
This is not my standard sized card. It measures at 3.50" x 4.75". This is from my stack of pre- cut and scored card bases with envelopes. The white card front panel is mounted on a white card base. I used a Stampin' UP! clear mount stamp set. Unfortunately, it looks to be a retired stamp set because I cannot find it on the website and I don't remember the name. 

The sentiment was stamped in Coastal Cabana stamp ink  onto it's coordinating Coastal Cabana cardstock. I then used the decorative label punch to punch out the sentiment. I added faux stitching to the edge of the label with a white Gelly Roll pen. I adhered three wood veneer hearts underneath the stamped sentiment on the label.

To bring more interest to the focal point, i.e. the sentiment, I wanted to add a subtle layer. I used this patterned paper from the older Simple Stories Vintage Bliss line, but from my 6" x 6" paper pad. I cut the patterned paper label in half to give the cardstock label a shadowed effect. Before I adhered the sentiment cluster to the card panel, I wrapped metallic gold and white twine around the front panel, tying into a pretty bow. I adhered the sentiment cluster with Stampin' Dimensionals.

There was still something missing on this card. I was flying by the seat of my pants, coming up with the design as I went along. In my head, I pictured a simple card with lots of white space, but it just didn't look right. I decided to add something to the top of the card. I took the same multicolored striped patterned paper and cut a 1/4" wide strip. I adhered the strip at an angle to the top of the card. At the last minute, I decided to add that light green, almost lime green chipboard heart. This decision was purely based on the fact that my friend's favorite color is a bright, lime green. The front panel was adhered to the card base with Stampin' Dimensionals as well.

The coordinating envelope isn't shown that well in the photo, but I adhered a 1/4" wide strip of the same patterned paper on an angle to the bottom of the front of the envelope. I punched a decorative label from Coastal Cabana cardstock to write the return address. That label was also outlined in white. 

Hopefully this card provides inspiration for something quick and simple. This design would be great for an assembly line type card construction, for any event, especially thank you cards. 

What is your favorite quick and simple go-to card design? Let me know in the comments section!

xoxo,
Heather

Tuesday, July 1, 2014

Make A Card Monday...on Tuesday!

Today, I will be starting a new weekly series: Make A Card Monday. Now, I am fully aware it's Tuesday when I'm posting this first installment; I did not have time over the weekend to get this post typed up, so I had to postpone it.

Engagement Photo 001

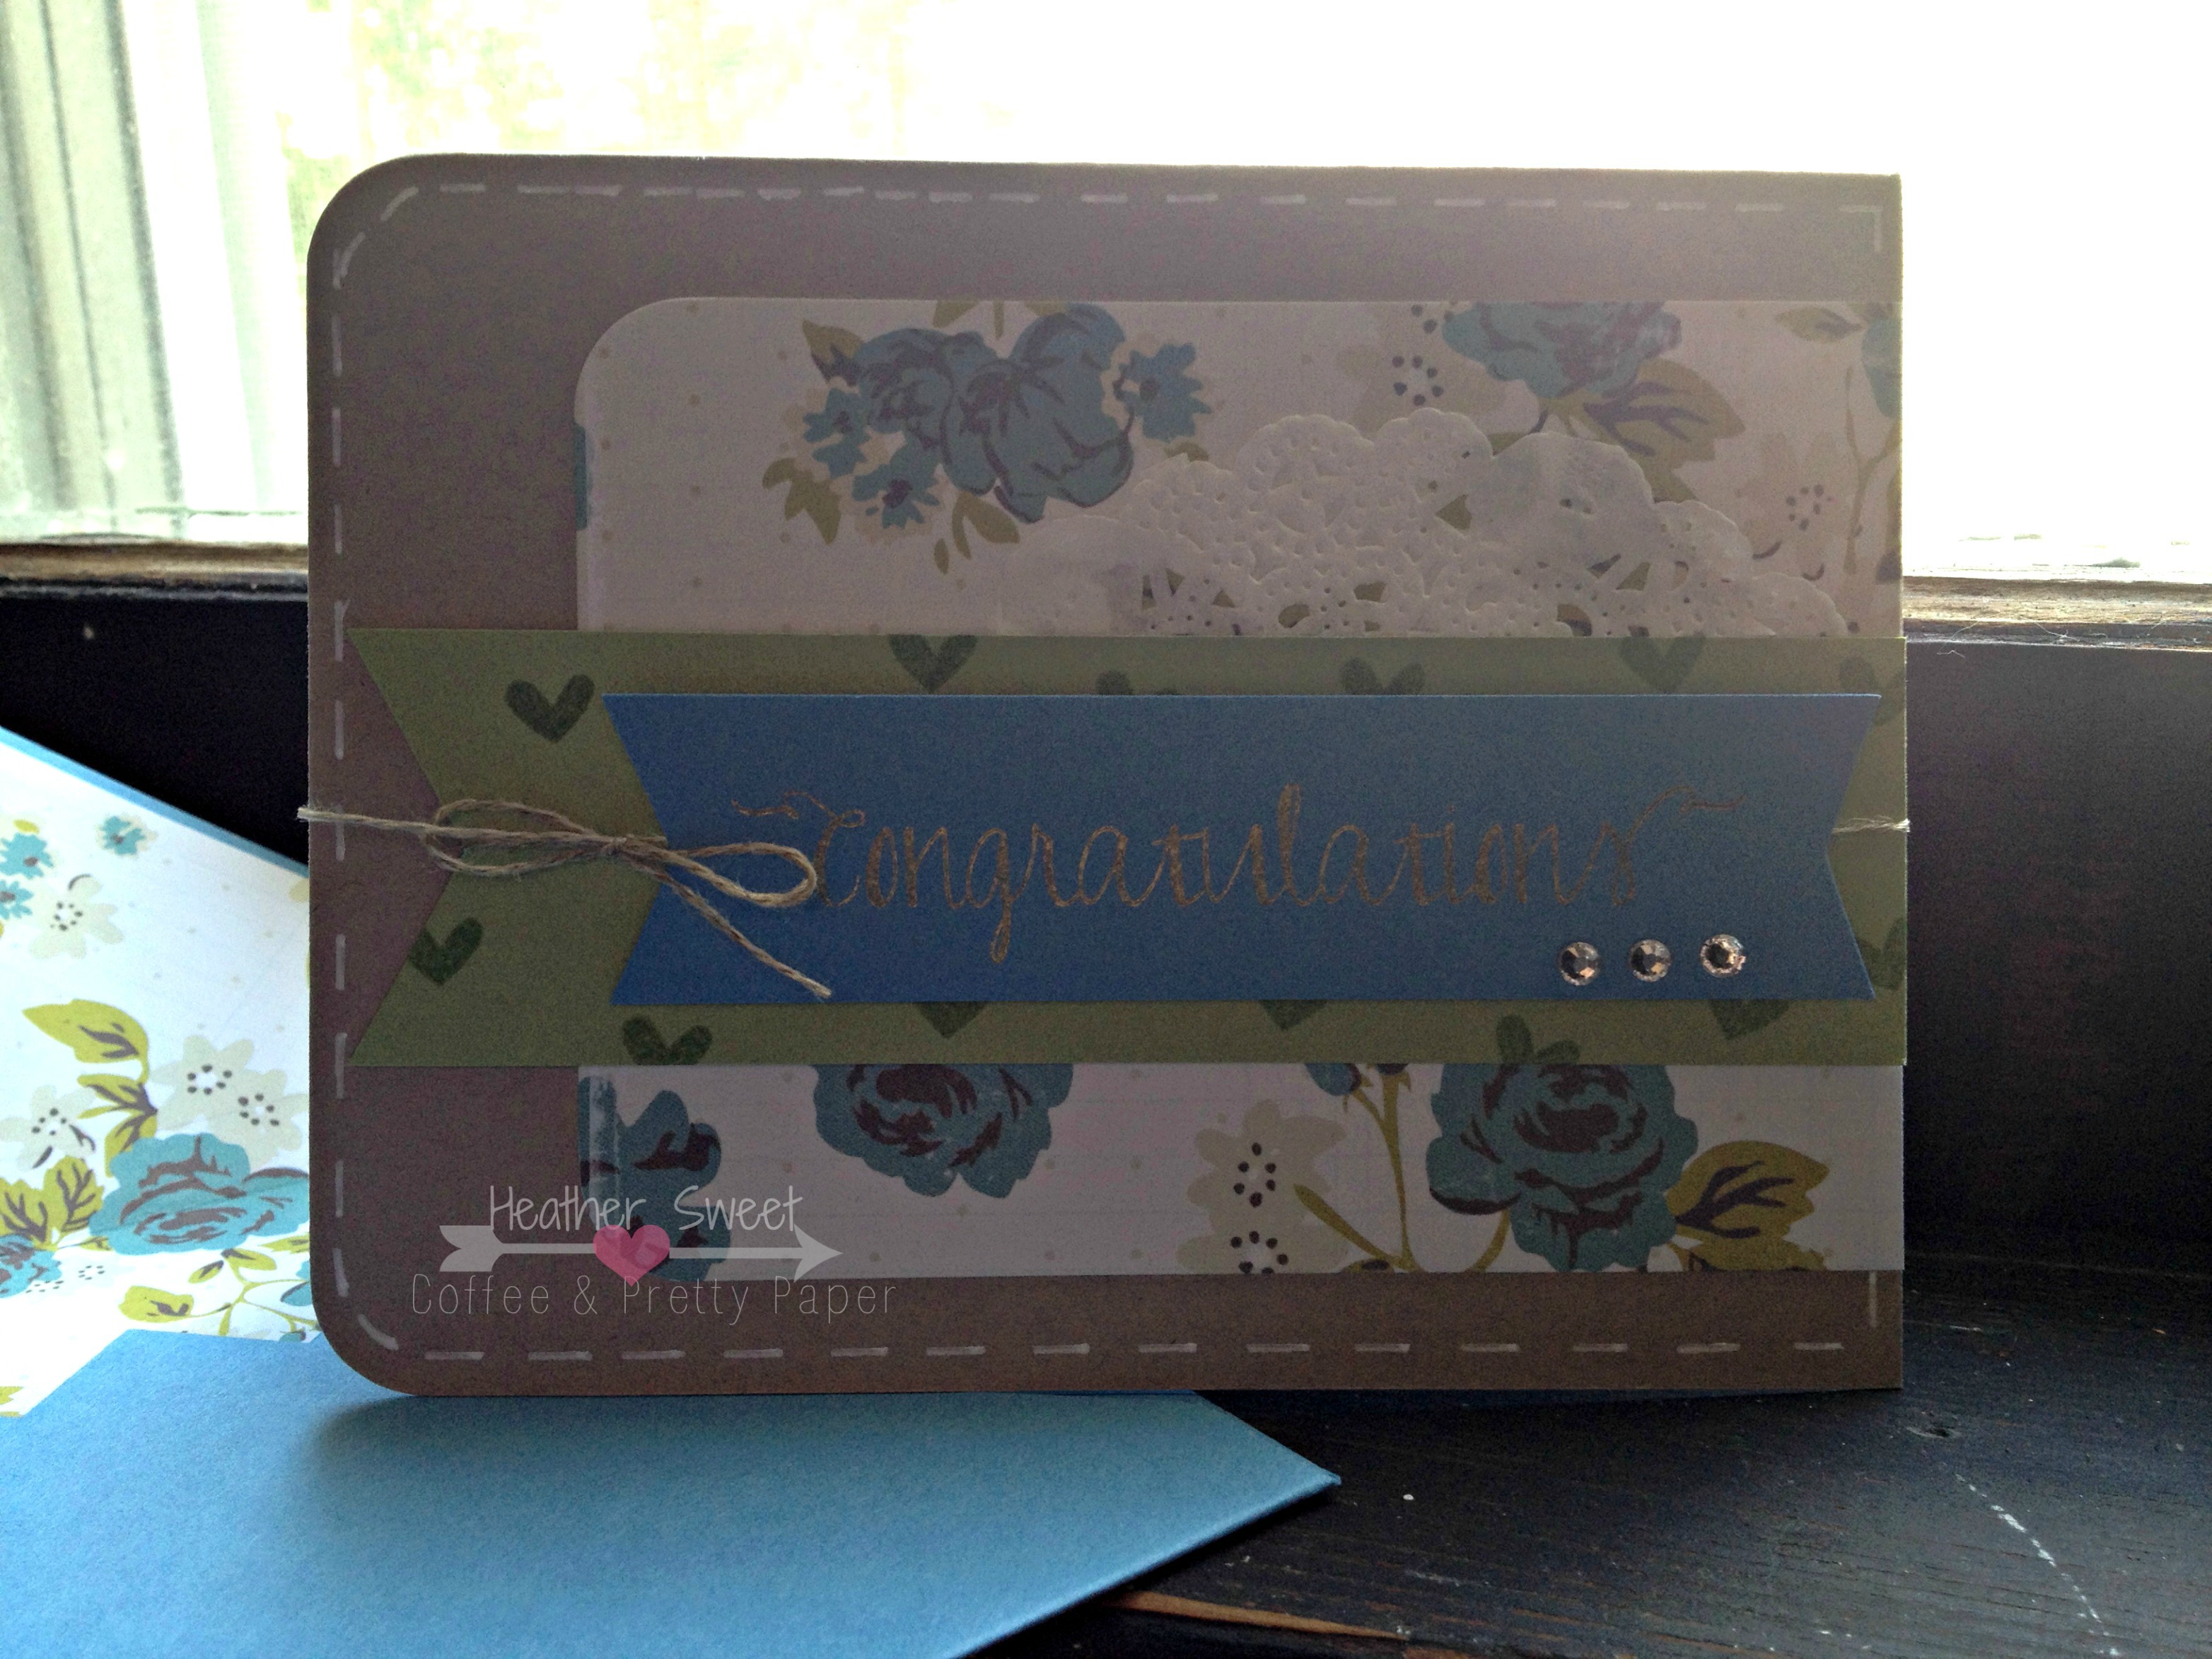
This past weekend, Mr. Sweet and I attended an engagement party for one of his good friends. As always, I made a card for the event. This is actually the first card I enjoyed making in a long time, well, a long time for me.

Engagement Photo 002

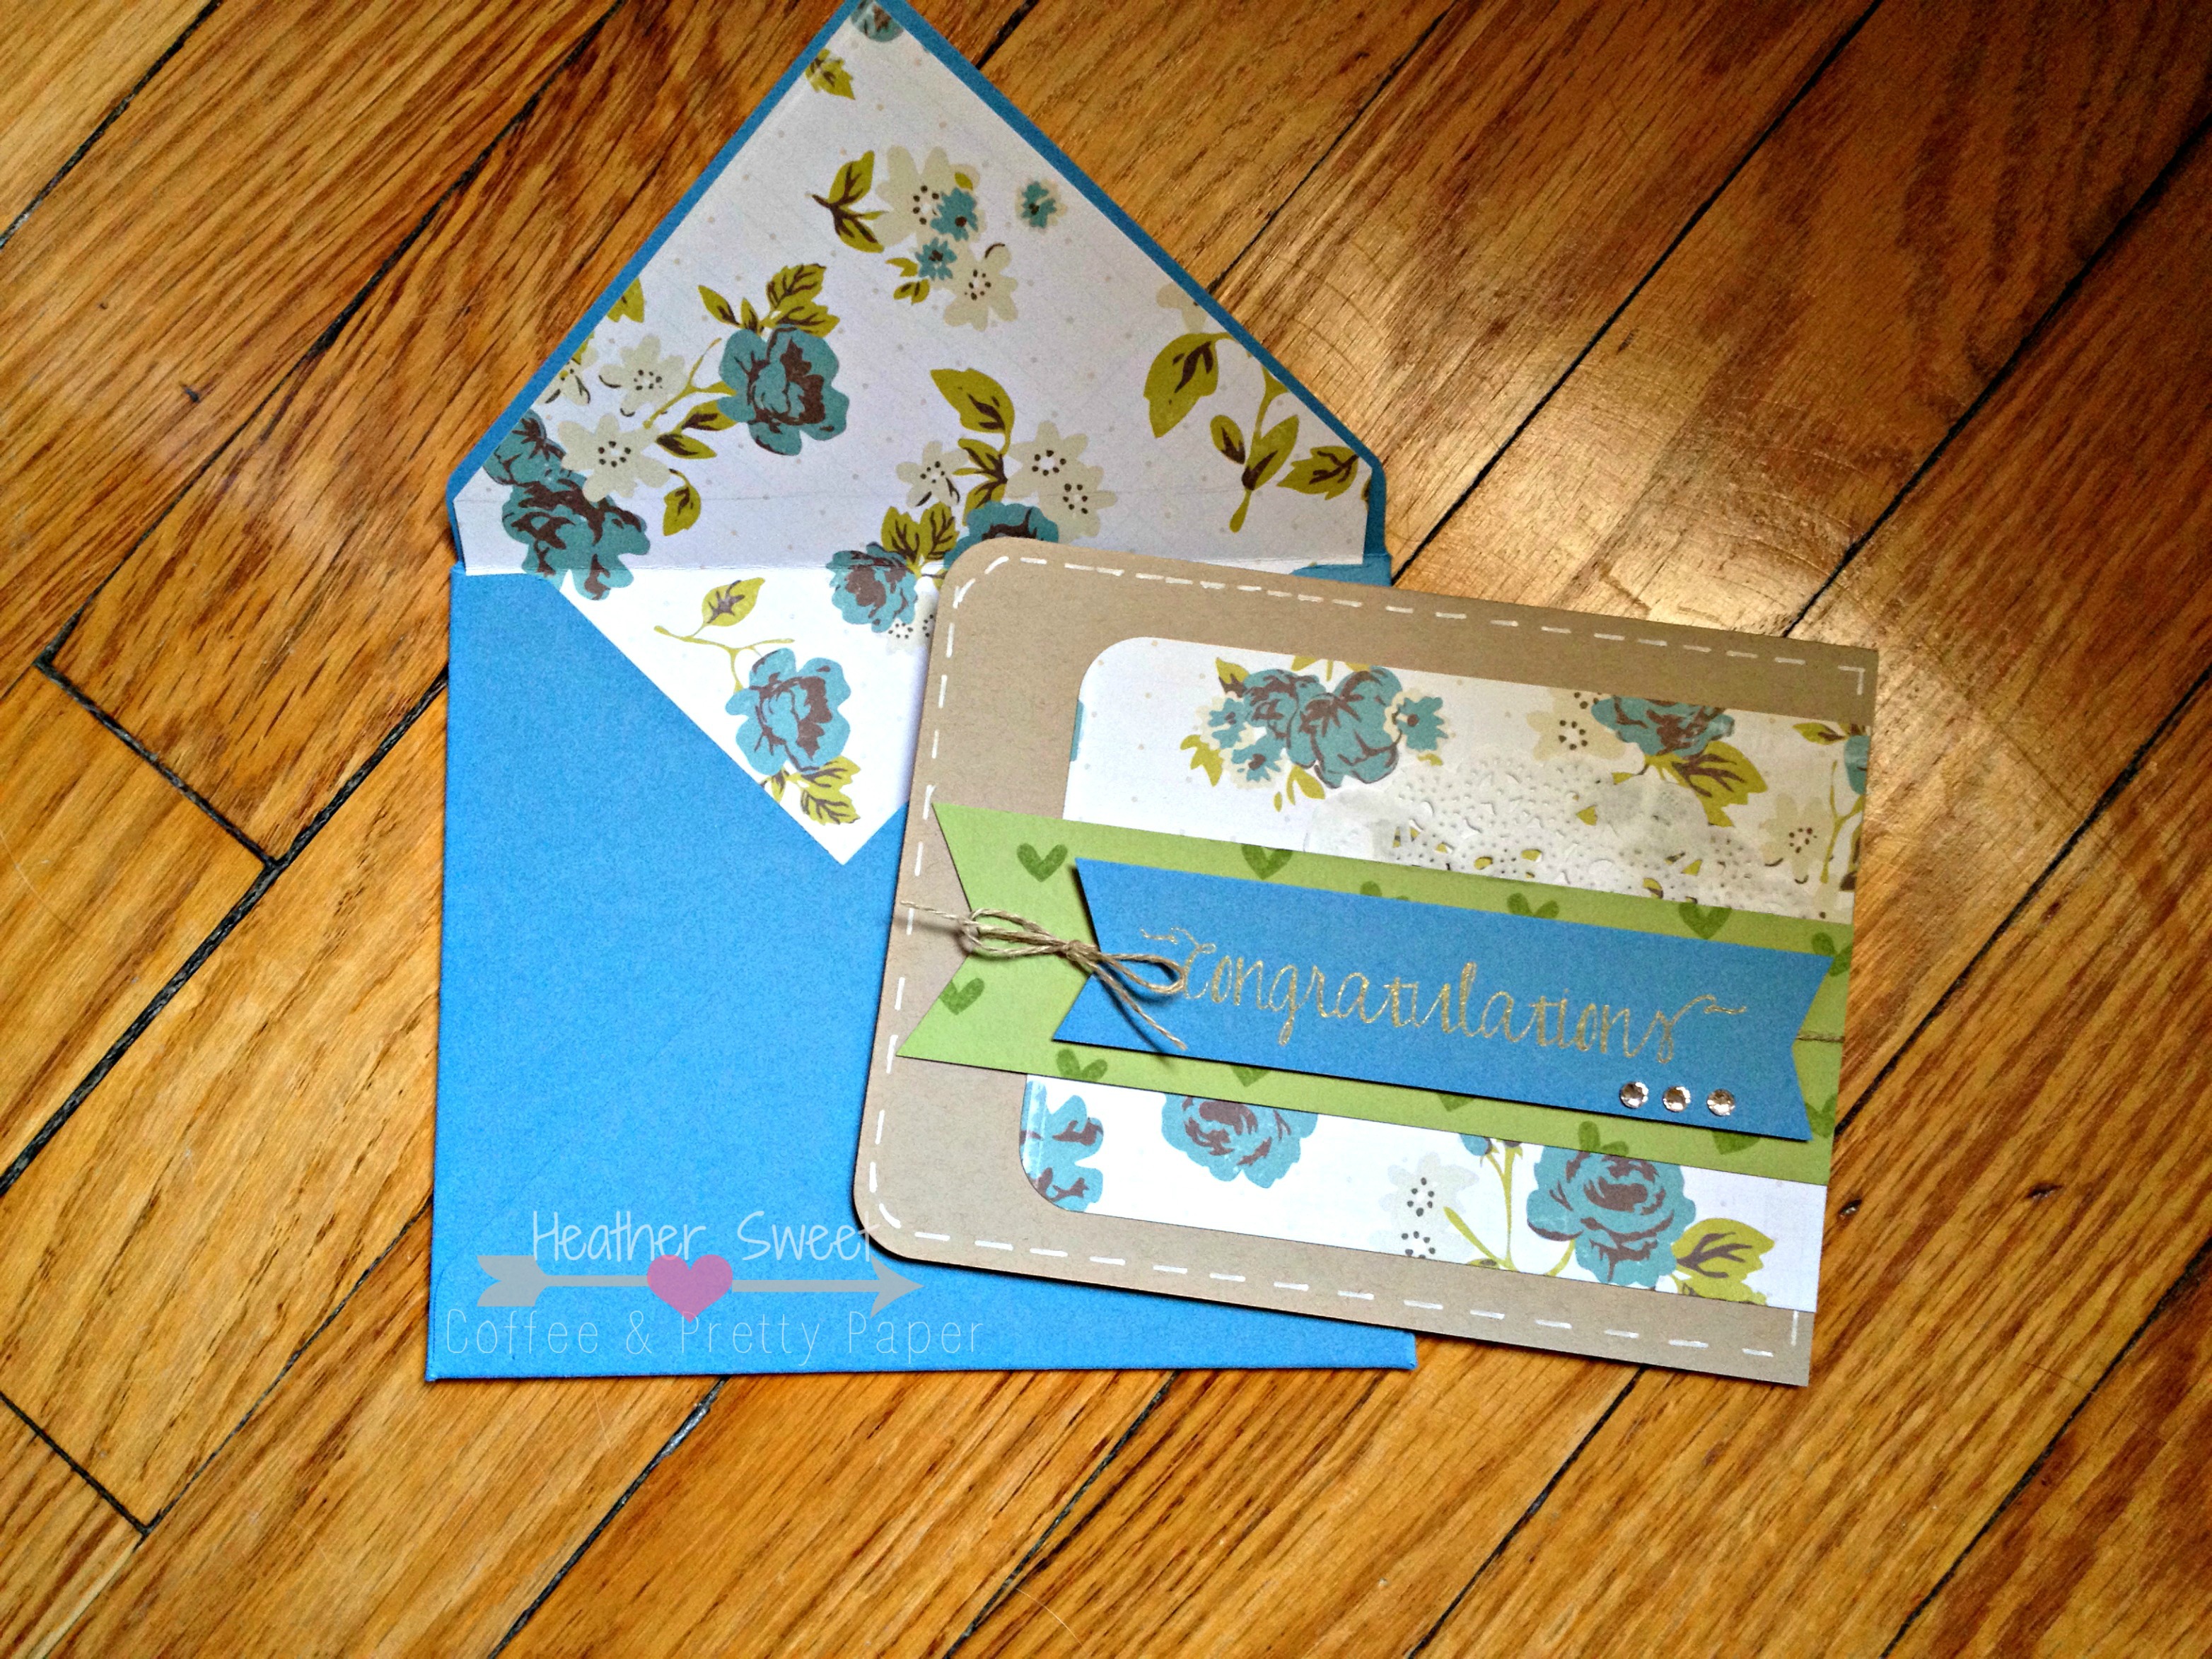
This engagement card was inspired by this pin on my Cards Pinterest board. And, this lovely patterned paper inspired the colors for this engagement card. 

Engagement Photo 003

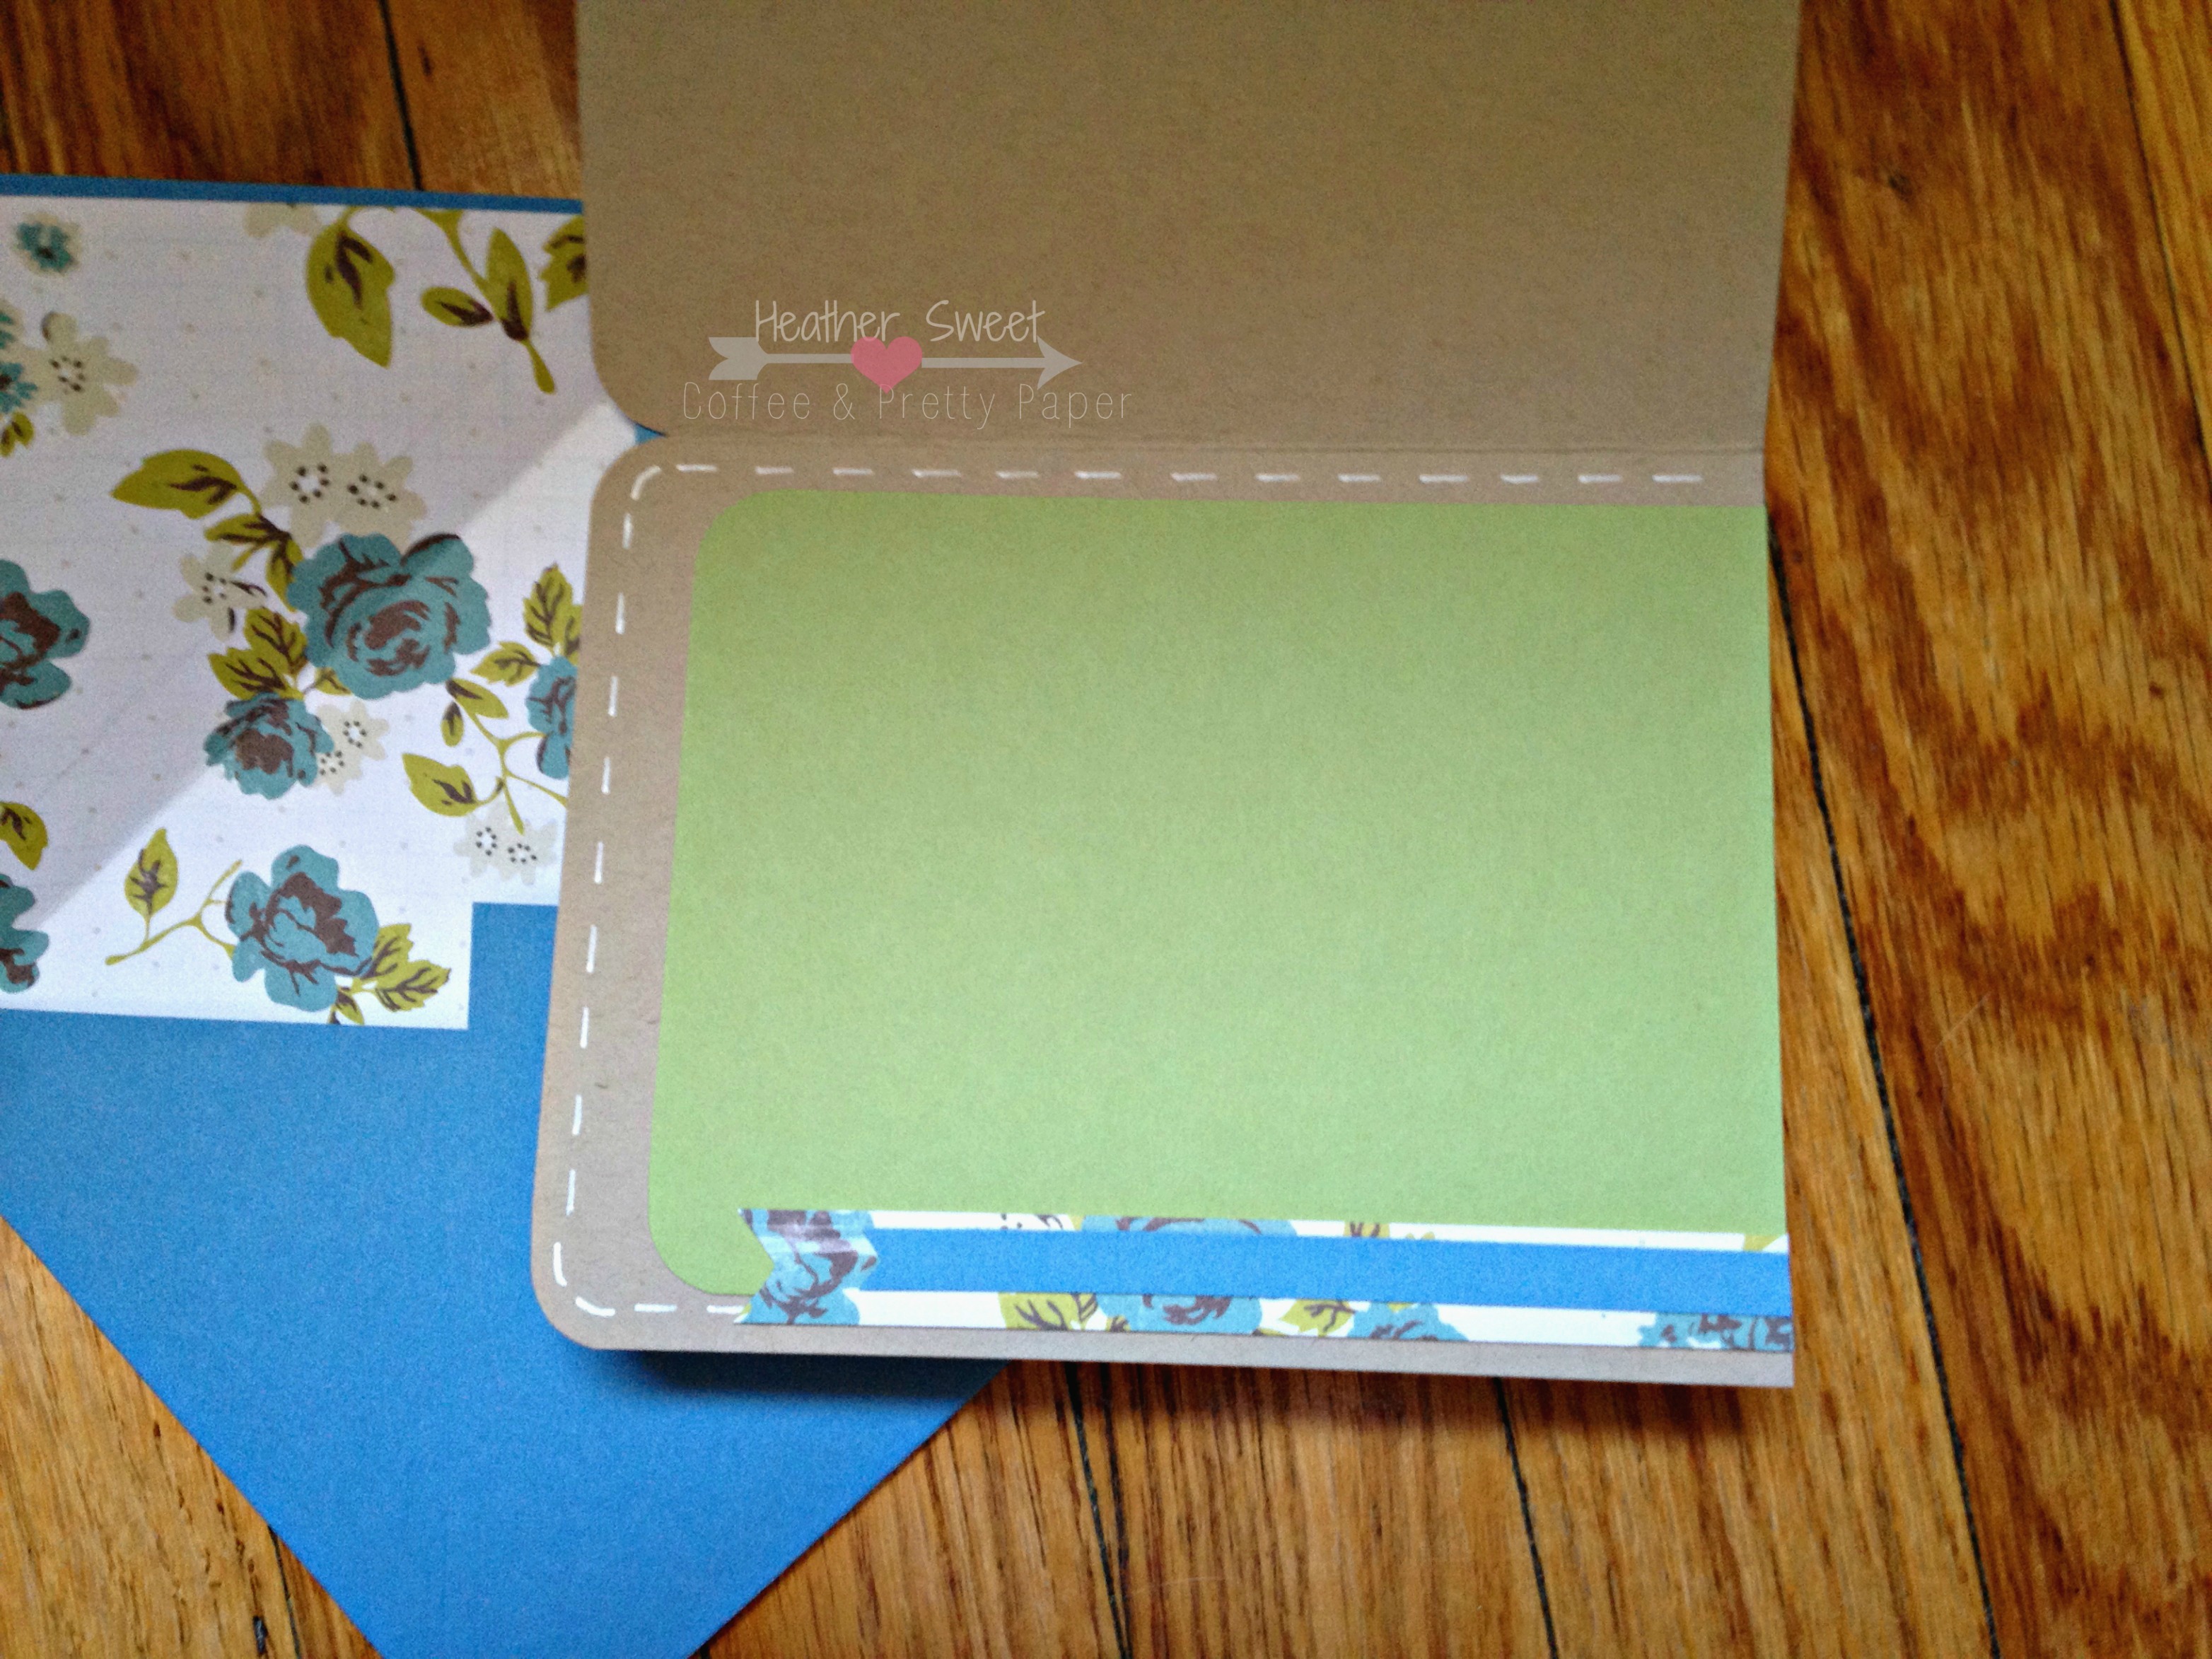
I've also been getting better at decorating the inside of my cards as well. Although, that's a much harder feat than the card front! And, I've been paying more attention to coordinating my envelopes too. 

There's my first card in my Make A Card Monday series. Have you guys made any cards lately? Link up what you've made so I can take a look!

xoxo,
Heather