
I need a new phone anyway; one with a much better camera. It is the camera I have on me AT ALL TIMES. I don't want the fact that I don't own a DSLR to get in the way of documenting my life and blogging. Again, I apologize for the quality of this photo.
This card was super simple to make. I sent this to my best friend for her wedding anniversary last week. I was already running late on creating a card for her and her husband, so I needed something that wouldn't take me long at all.
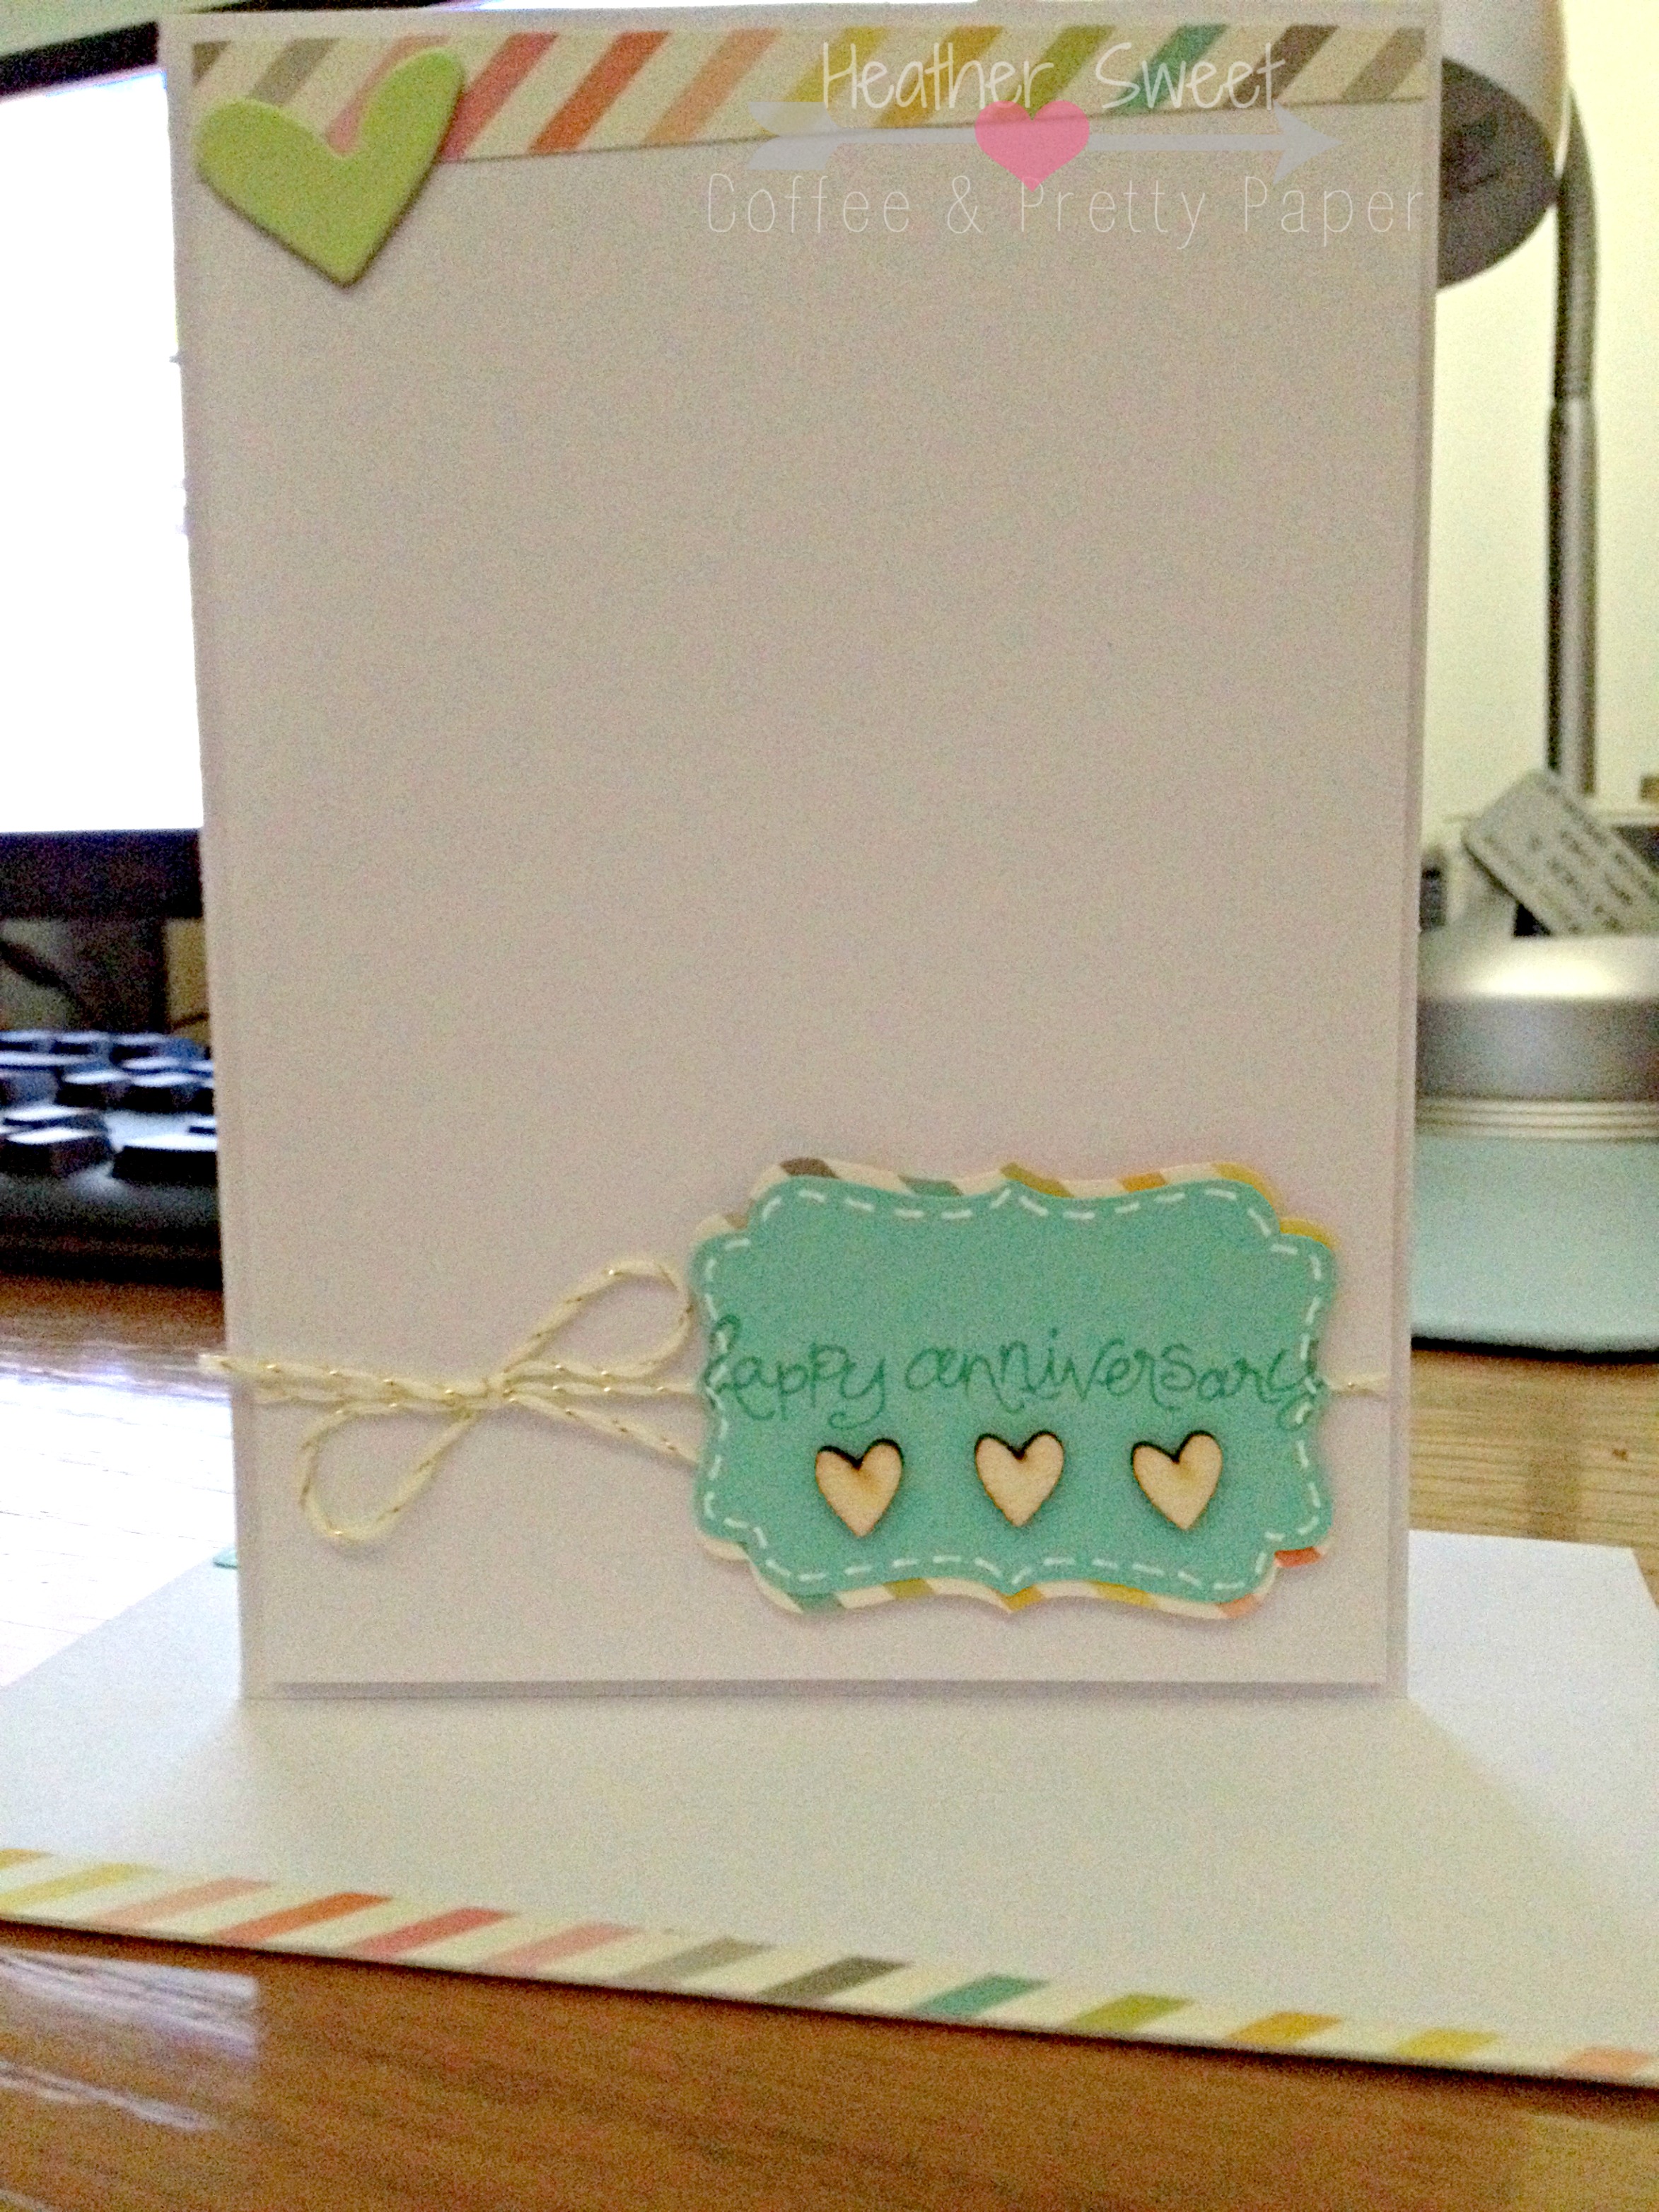
This is not my standard sized card. It measures at 3.50" x 4.75". This is from my stack of pre- cut and scored card bases with envelopes. The white card front panel is mounted on a white card base. I used a Stampin' UP! clear mount stamp set. Unfortunately, it looks to be a retired stamp set because I cannot find it on the website and I don't remember the name.
The sentiment was stamped in Coastal Cabana stamp ink onto it's coordinating Coastal Cabana cardstock. I then used the decorative label punch to punch out the sentiment. I added faux stitching to the edge of the label with a white Gelly Roll pen. I adhered three wood veneer hearts underneath the stamped sentiment on the label.
To bring more interest to the focal point, i.e. the sentiment, I wanted to add a subtle layer. I used this patterned paper from the older Simple Stories Vintage Bliss line, but from my 6" x 6" paper pad. I cut the patterned paper label in half to give the cardstock label a shadowed effect. Before I adhered the sentiment cluster to the card panel, I wrapped metallic gold and white twine around the front panel, tying into a pretty bow. I adhered the sentiment cluster with Stampin' Dimensionals.
There was still something missing on this card. I was flying by the seat of my pants, coming up with the design as I went along. In my head, I pictured a simple card with lots of white space, but it just didn't look right. I decided to add something to the top of the card. I took the same multicolored striped patterned paper and cut a 1/4" wide strip. I adhered the strip at an angle to the top of the card. At the last minute, I decided to add that light green, almost lime green chipboard heart. This decision was purely based on the fact that my friend's favorite color is a bright, lime green. The front panel was adhered to the card base with Stampin' Dimensionals as well.
The coordinating envelope isn't shown that well in the photo, but I adhered a 1/4" wide strip of the same patterned paper on an angle to the bottom of the front of the envelope. I punched a decorative label from Coastal Cabana cardstock to write the return address. That label was also outlined in white.
Hopefully this card provides inspiration for something quick and simple. This design would be great for an assembly line type card construction, for any event, especially thank you cards.
What is your favorite quick and simple go-to card design? Let me know in the comments section!
xoxo,
Heather
No comments:
Post a Comment