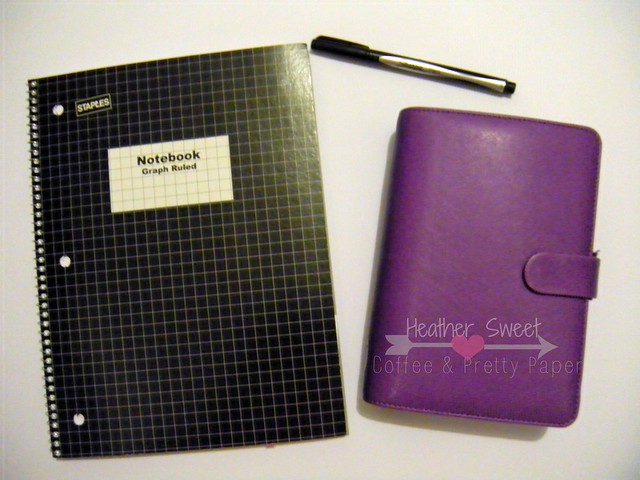
As of right now, I'm using two planners: my beloved Filofax and my DIY planner.
Right now, in my Filofax, I'm using these DIYfish inserts (although mine are obviously August, as it isn't September yet). Next month, I'll be doing a review on those, so stay tuned for that.
Today, I'll be talking about my DIY planner.
My planner is inspired by the infamous Erin Condren Life Planner. I would LOVE to get my little manic planner hands on one of these. They are a bit pricey upfront, but it lasts you until the end of 2015. In my mind, it's worth it. **I say that as I'm making my own planner from a notebook...**
The only reason I haven't purchased one is because I'm trying to save up money for a DSLR. And Mr. Sweet and I are going to Tennessee in September for a wedding, which we're extending a bit as his birthday and our anniversary celebrations. So, I do mean it when I say I think the investment is worth it (even though I haven't used one); I'm just trying to be more financially responsible.
Enough about that boring stuff, let's dive into my planner.
Now, I'm not the originator of using a notebook to make your own planner. There are various Pinterest planner boards I follow-such as this one and this one. But lately, this particular board has been my absolute favorite, Composition Book Planners and Bullet Journals. And this board is where I found a post on the transformation of a moleskine notebook.
I used Kyla's (from kylaroma.com) post as the additional inspiration for my DIY planner.
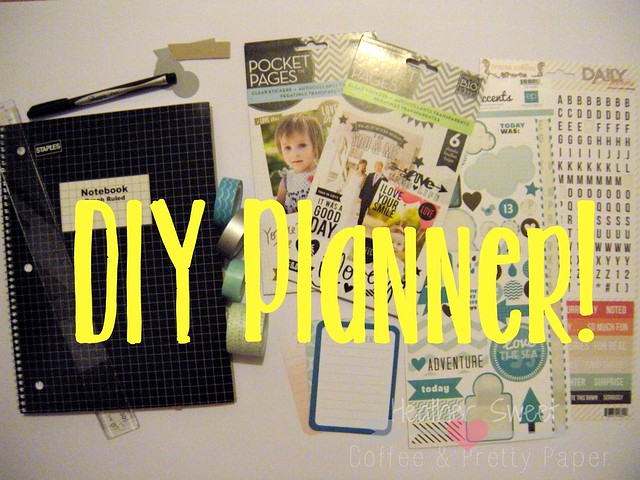
Supplies
- a graph paper notebook-I purchased mine at Staples for a whole $2
- a ruler
- a pen/pencil-I use a Sharpie fine point black pen
- Post-Its
- optional: stickers, washi tape, alphas, patterned paper/cardstock, diecuts
The Inside
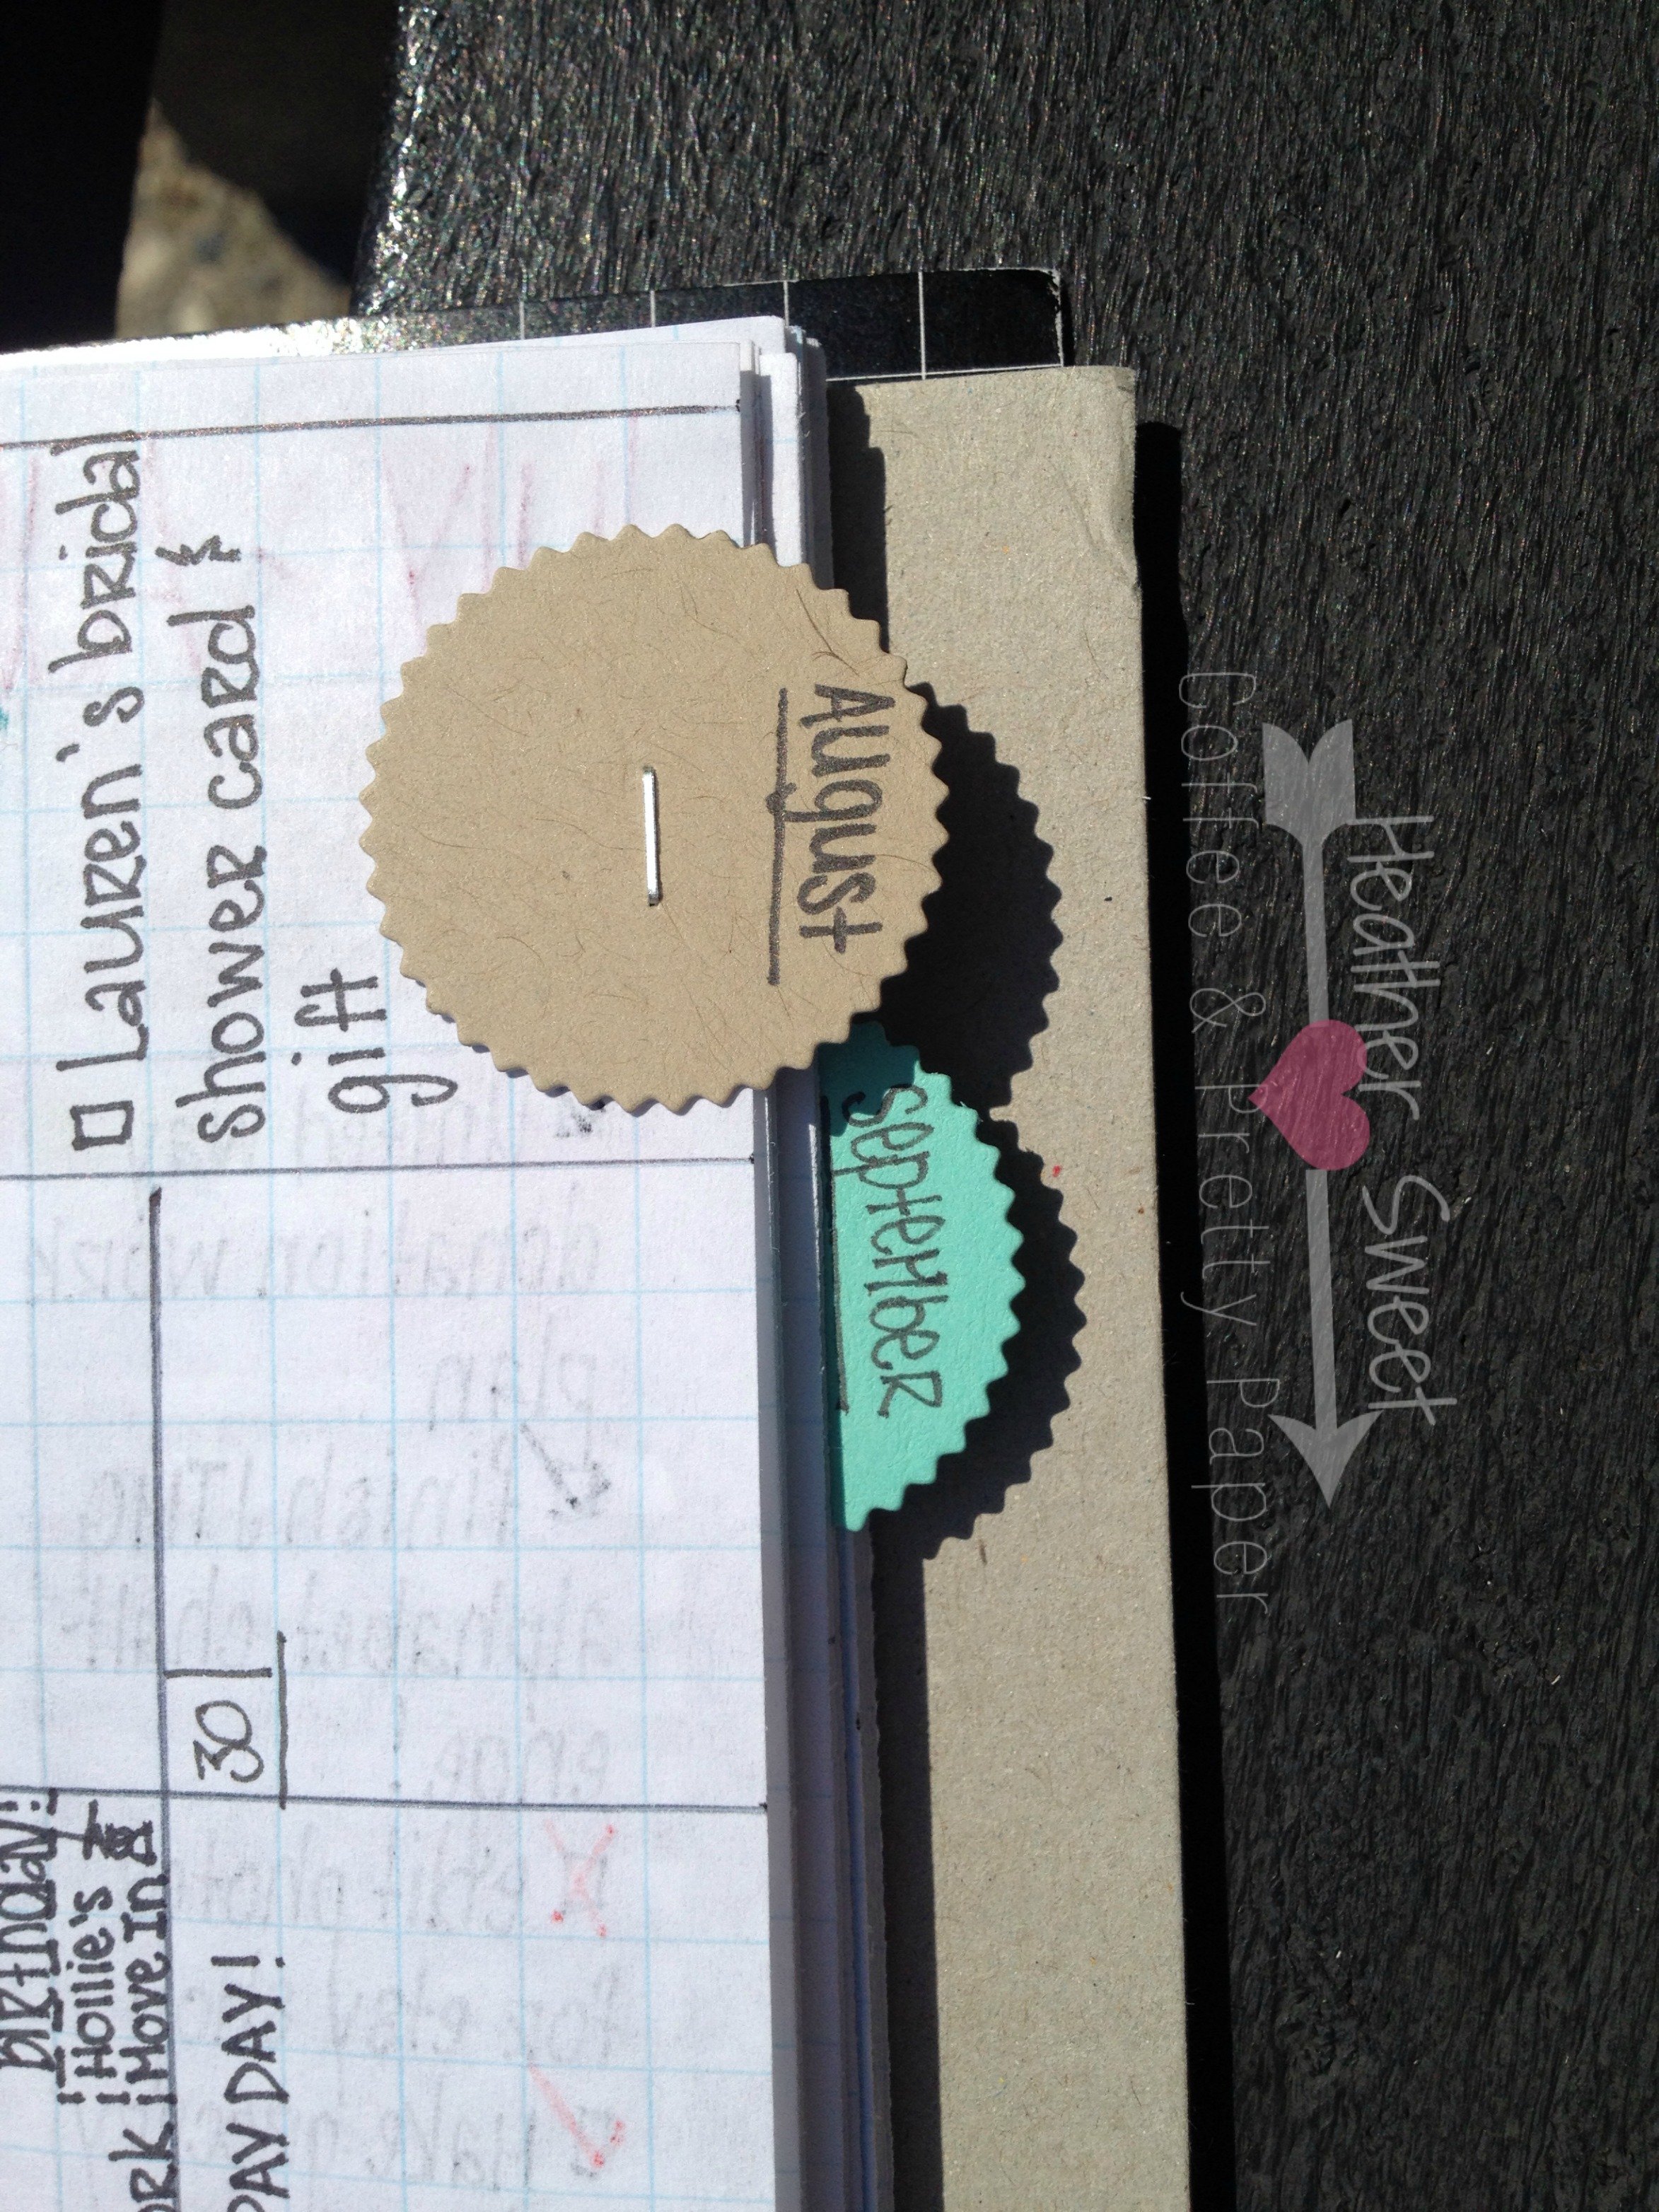
Before I even started outlining my month(s) and weekly spreads, I cut about 1/2" off the long edge of all the pages in the notebook.
This was to facilitate the use of monthly tabs. I didn't want the tabs to stick out from the width of the front and back covers because I didn't want them getting bent or torn when my planner is in my work bag.
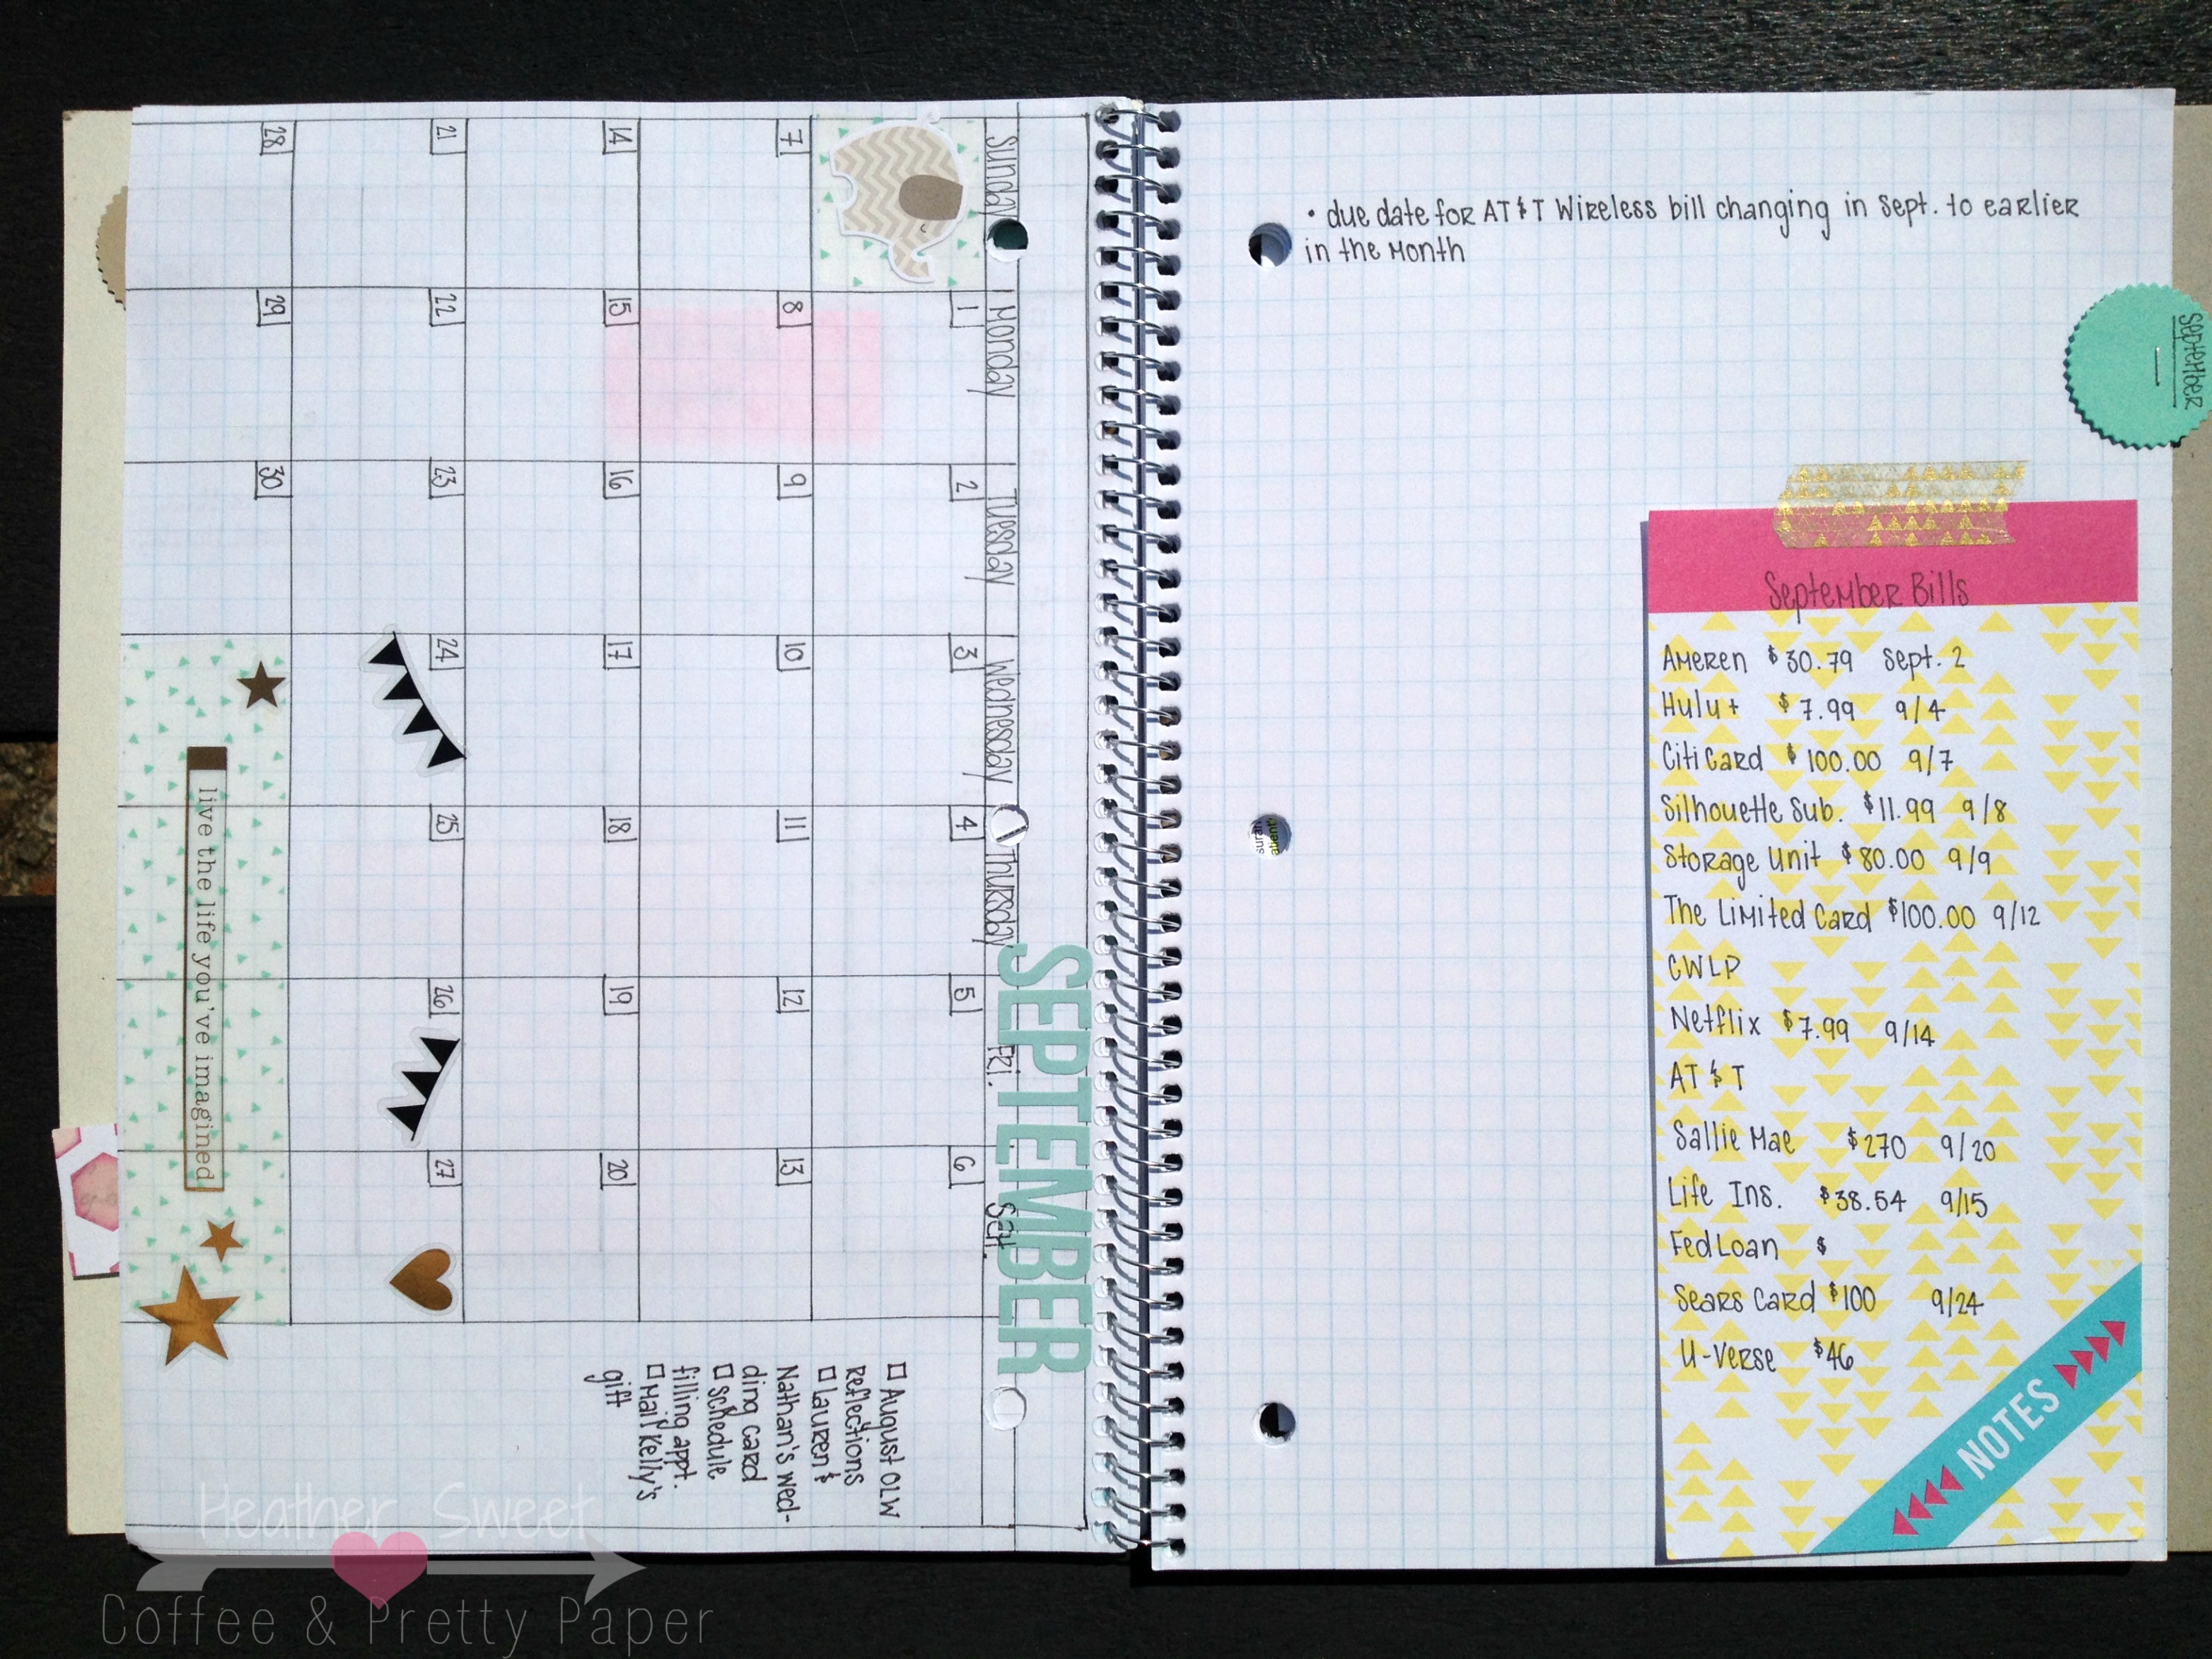
Monthly Calendar
The most important part of my calendar page is the column to write my monthly tasks. I really like having a place to write these tasks that I don't designate to specific weeks until I'm ready/have time to work on them.
As my calendar is on the left side of my notebook, I had a blank page on the right. Of course, I couldn't start a weekly spread on the right, so I'll be using this space to write notes for the month. For instance, it's still August. I've been writing notes (and making a "September Bills" list) for September on this blank page to help me remember things going on that month.
Weekly Spread for the Daily Stuff
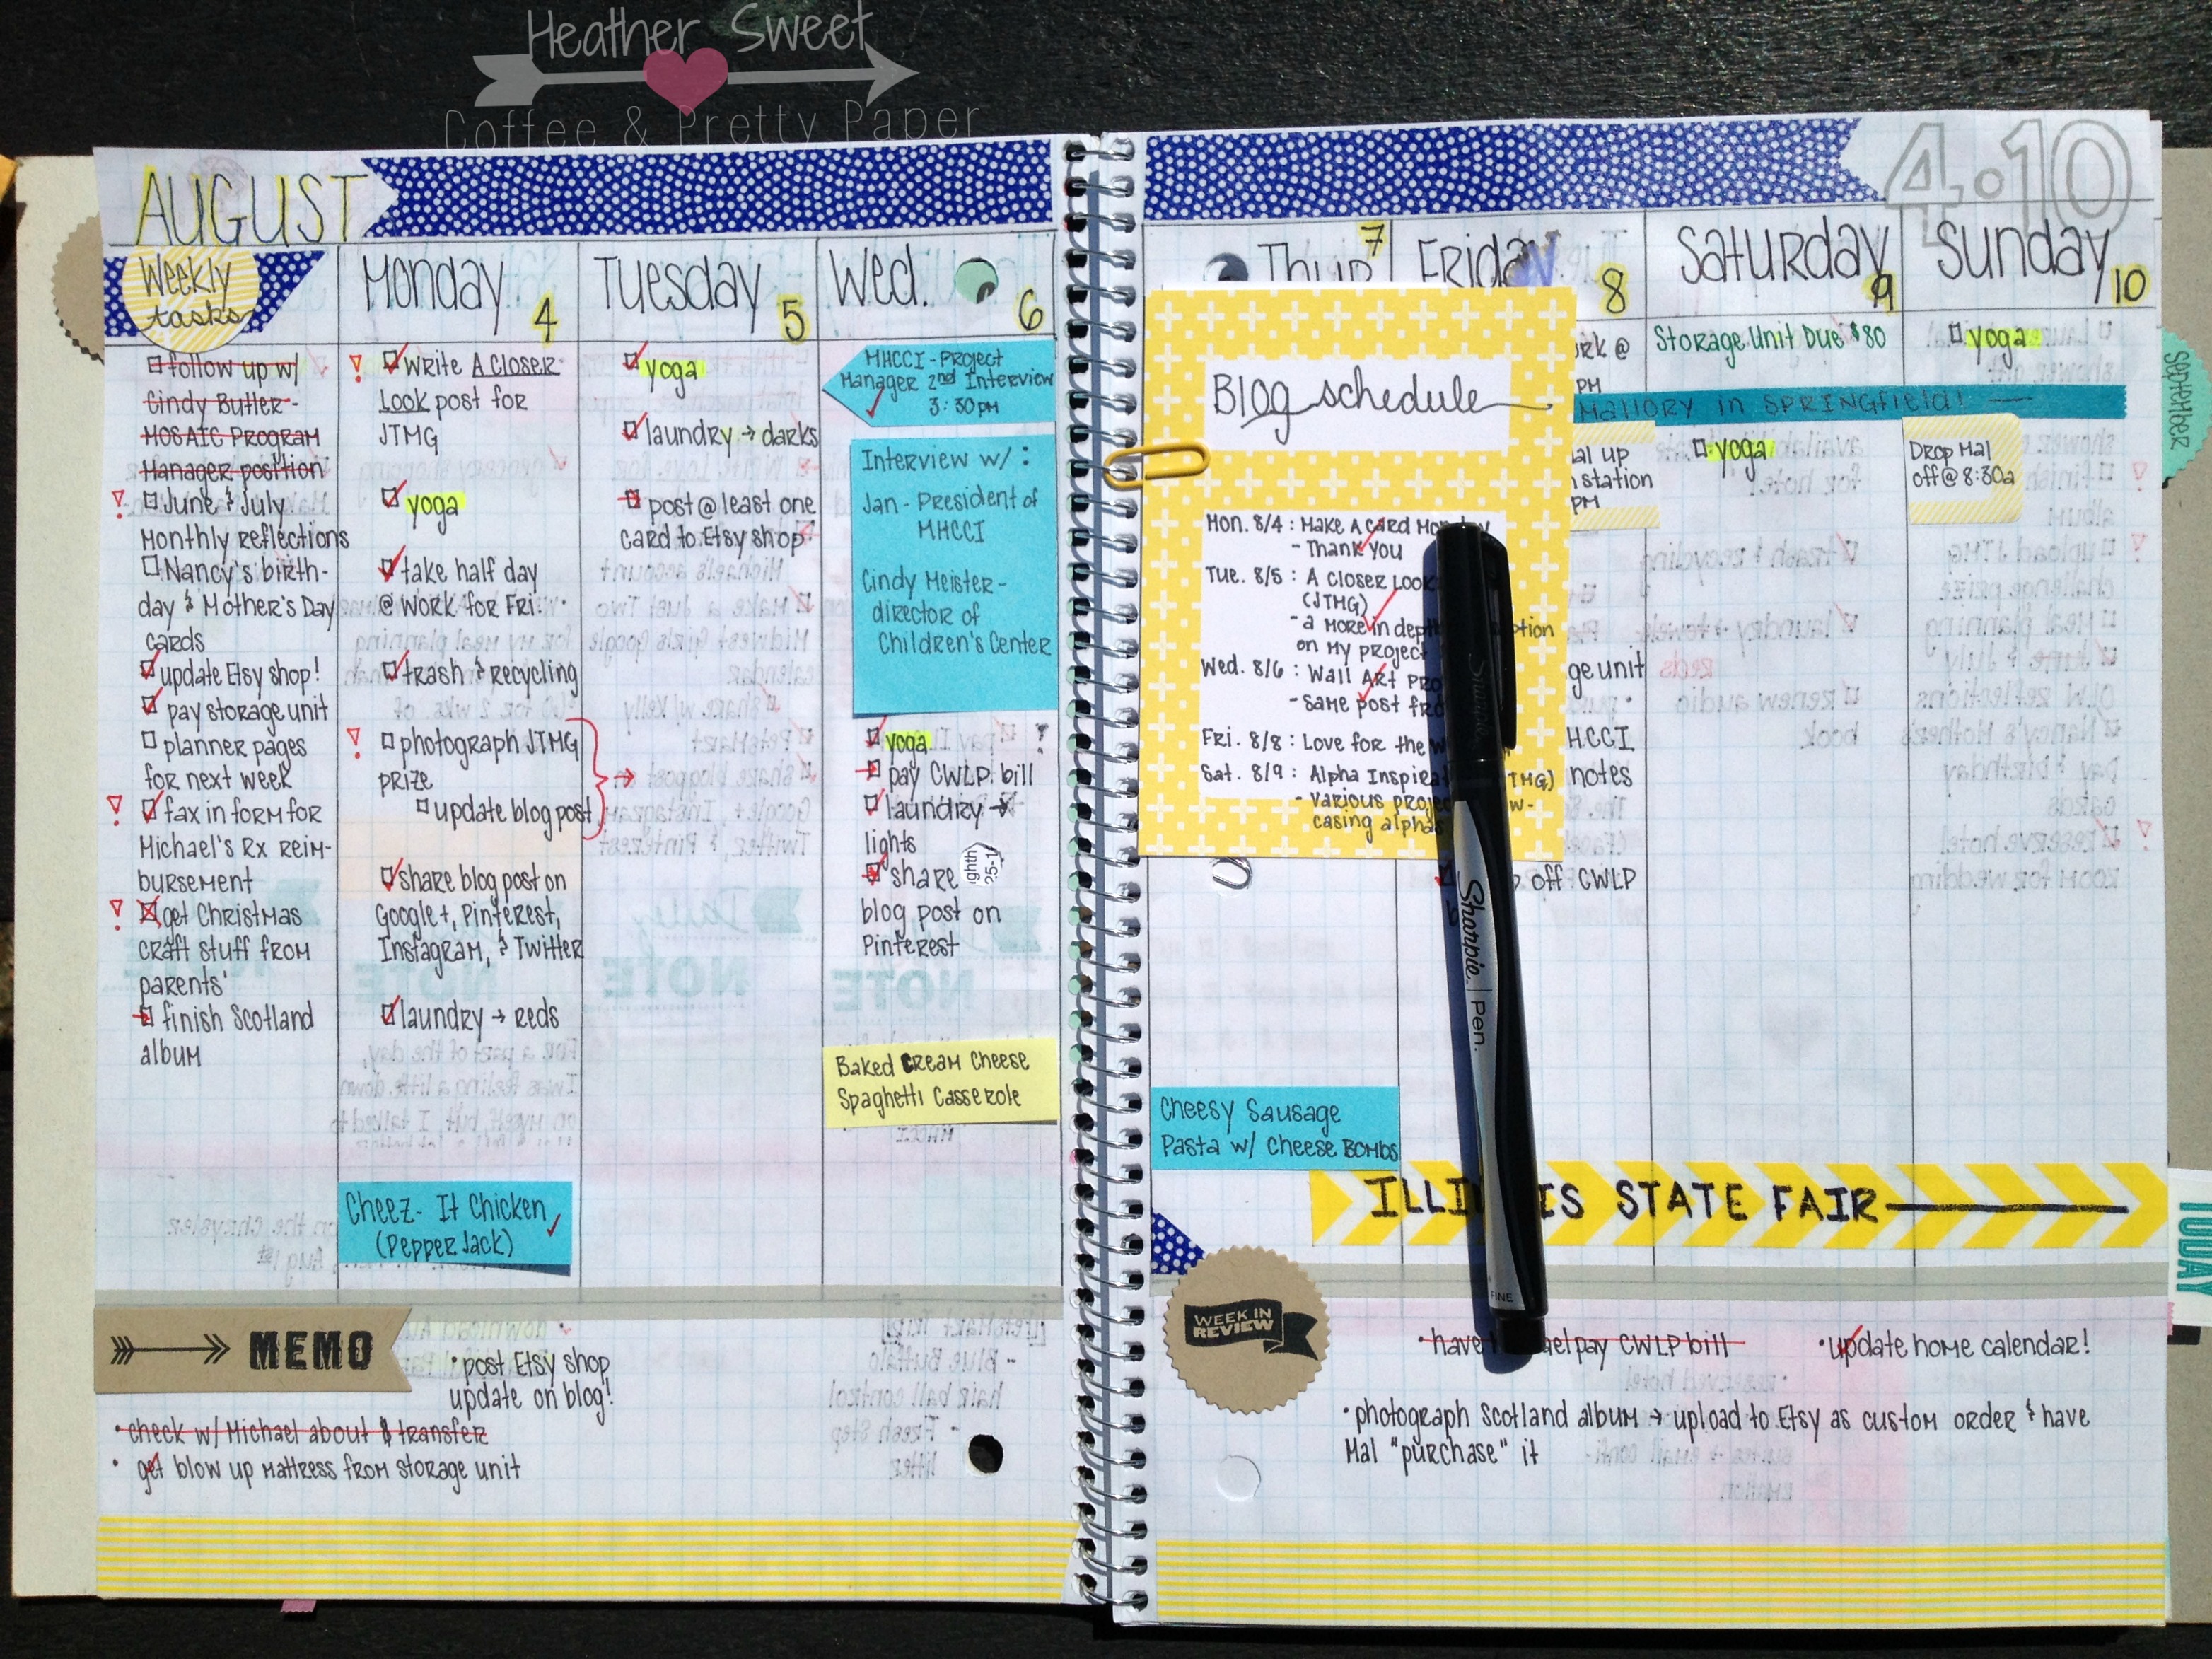
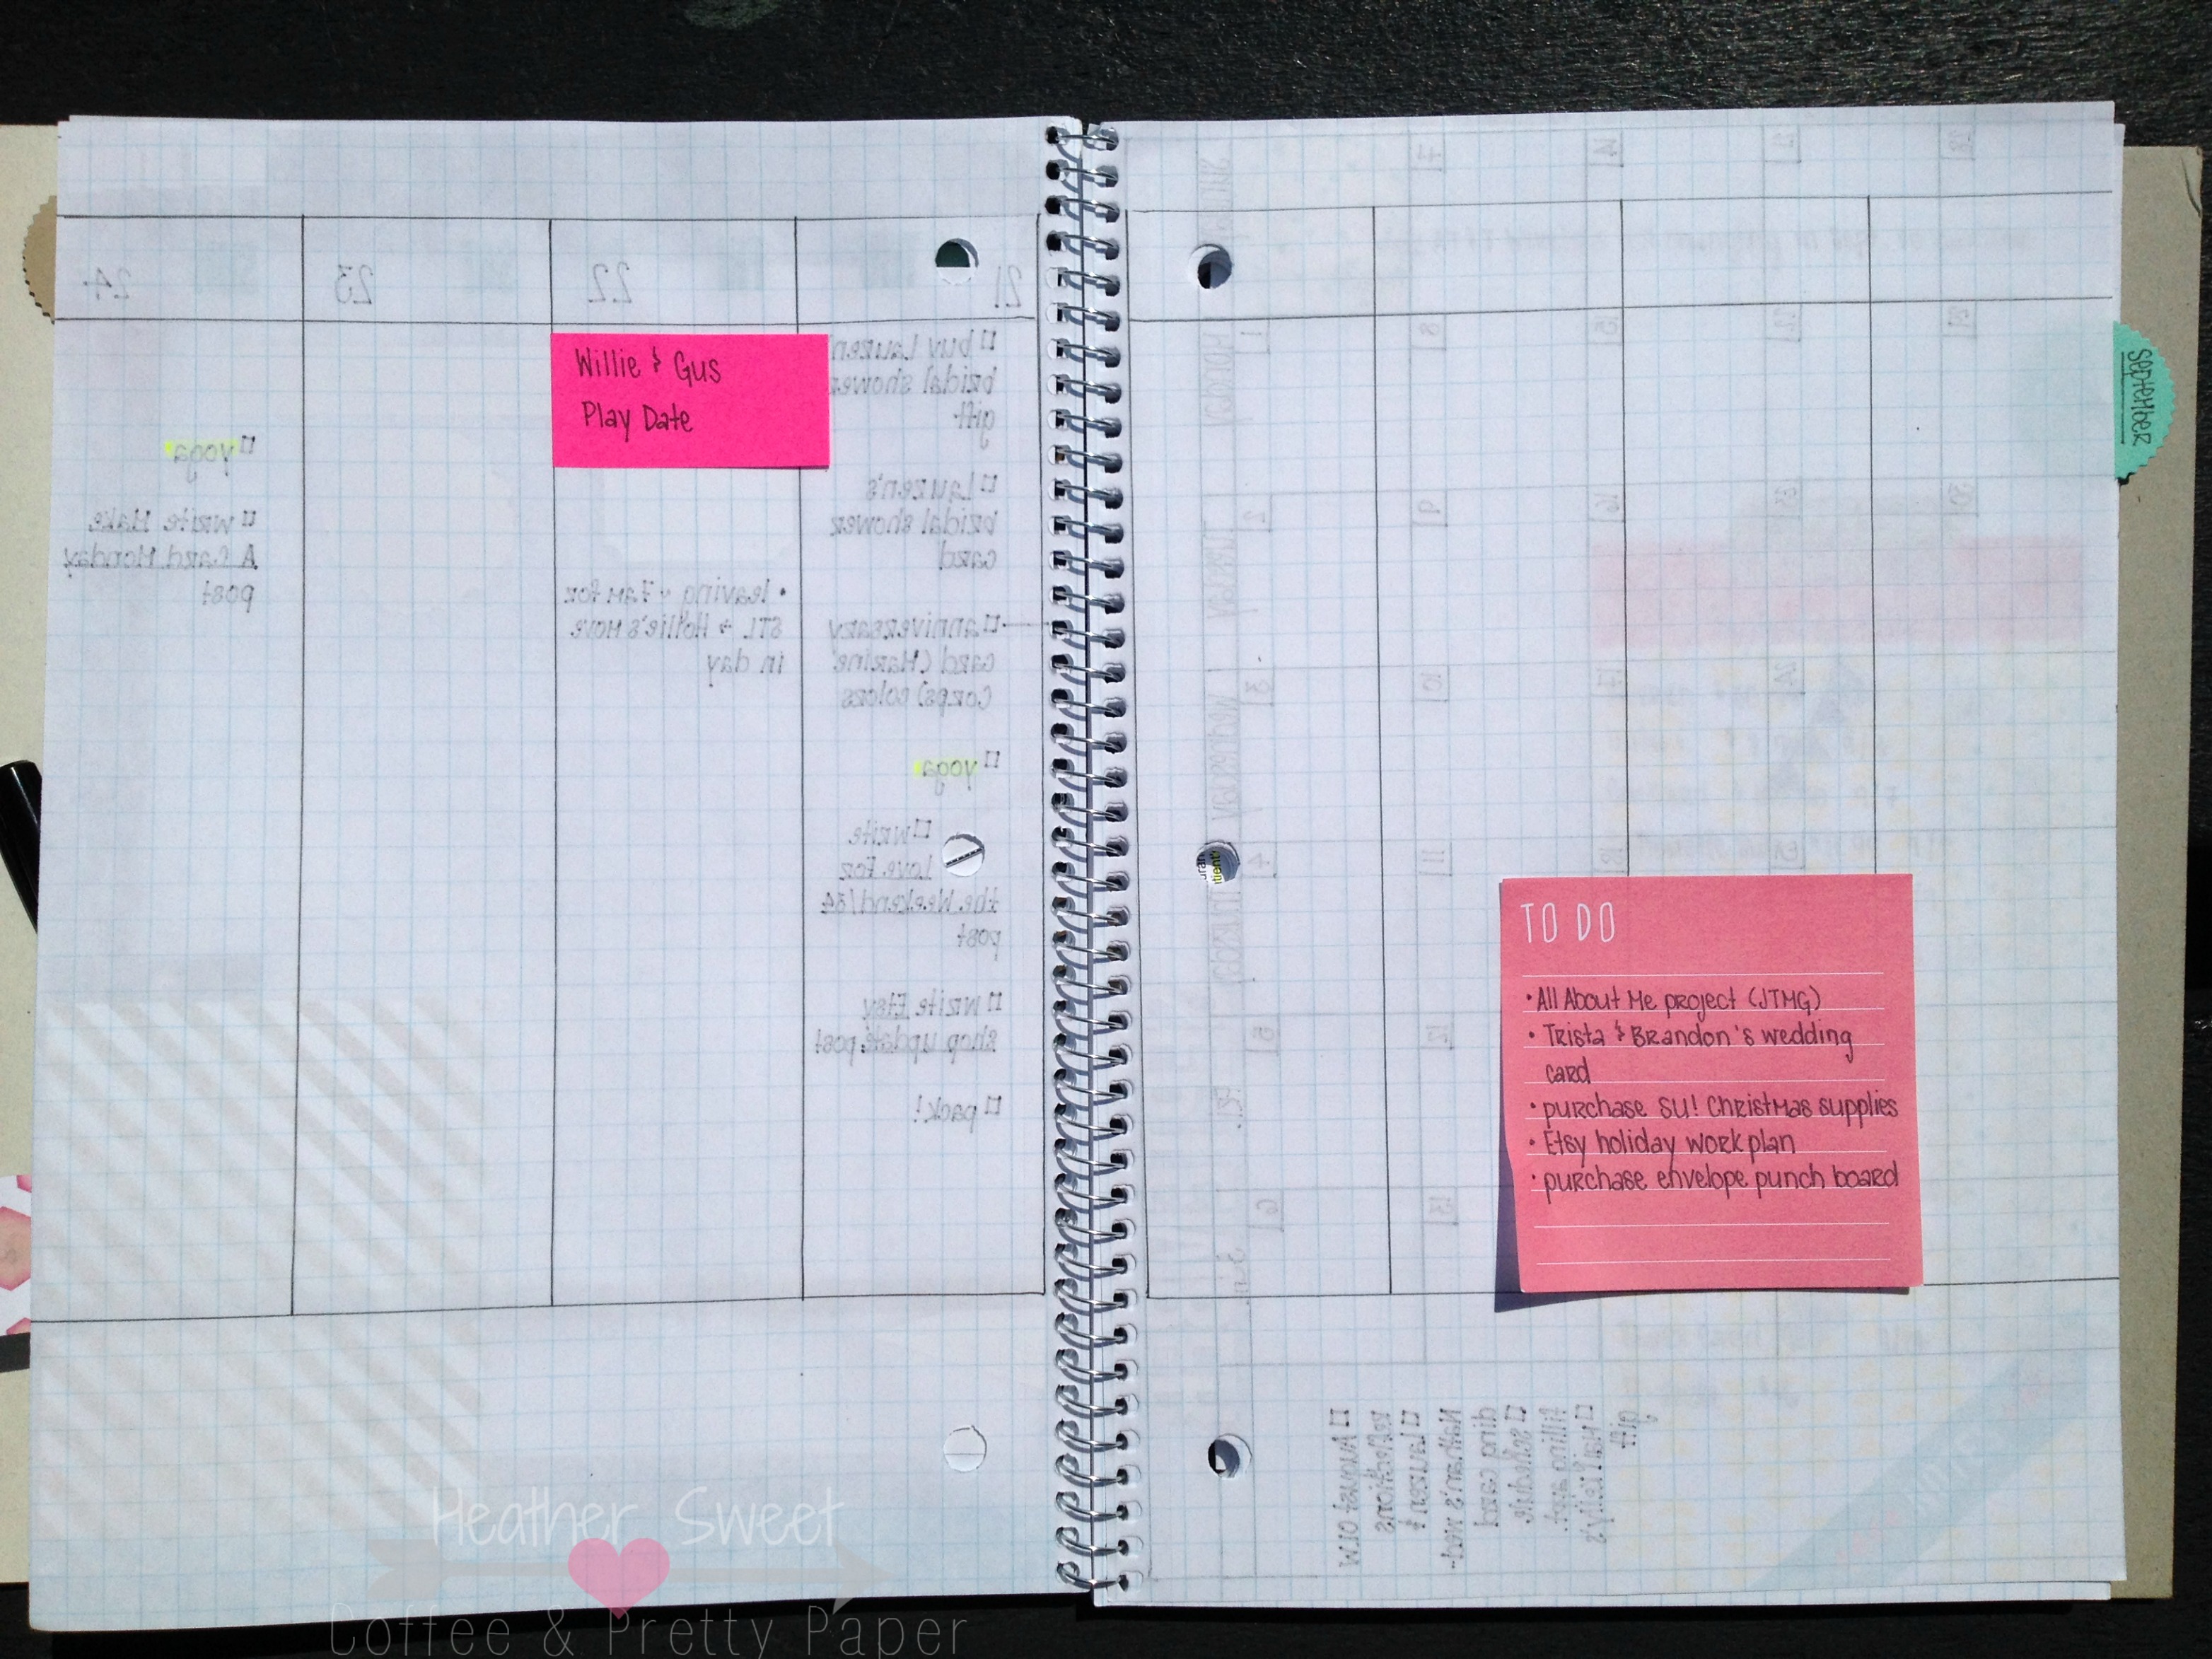
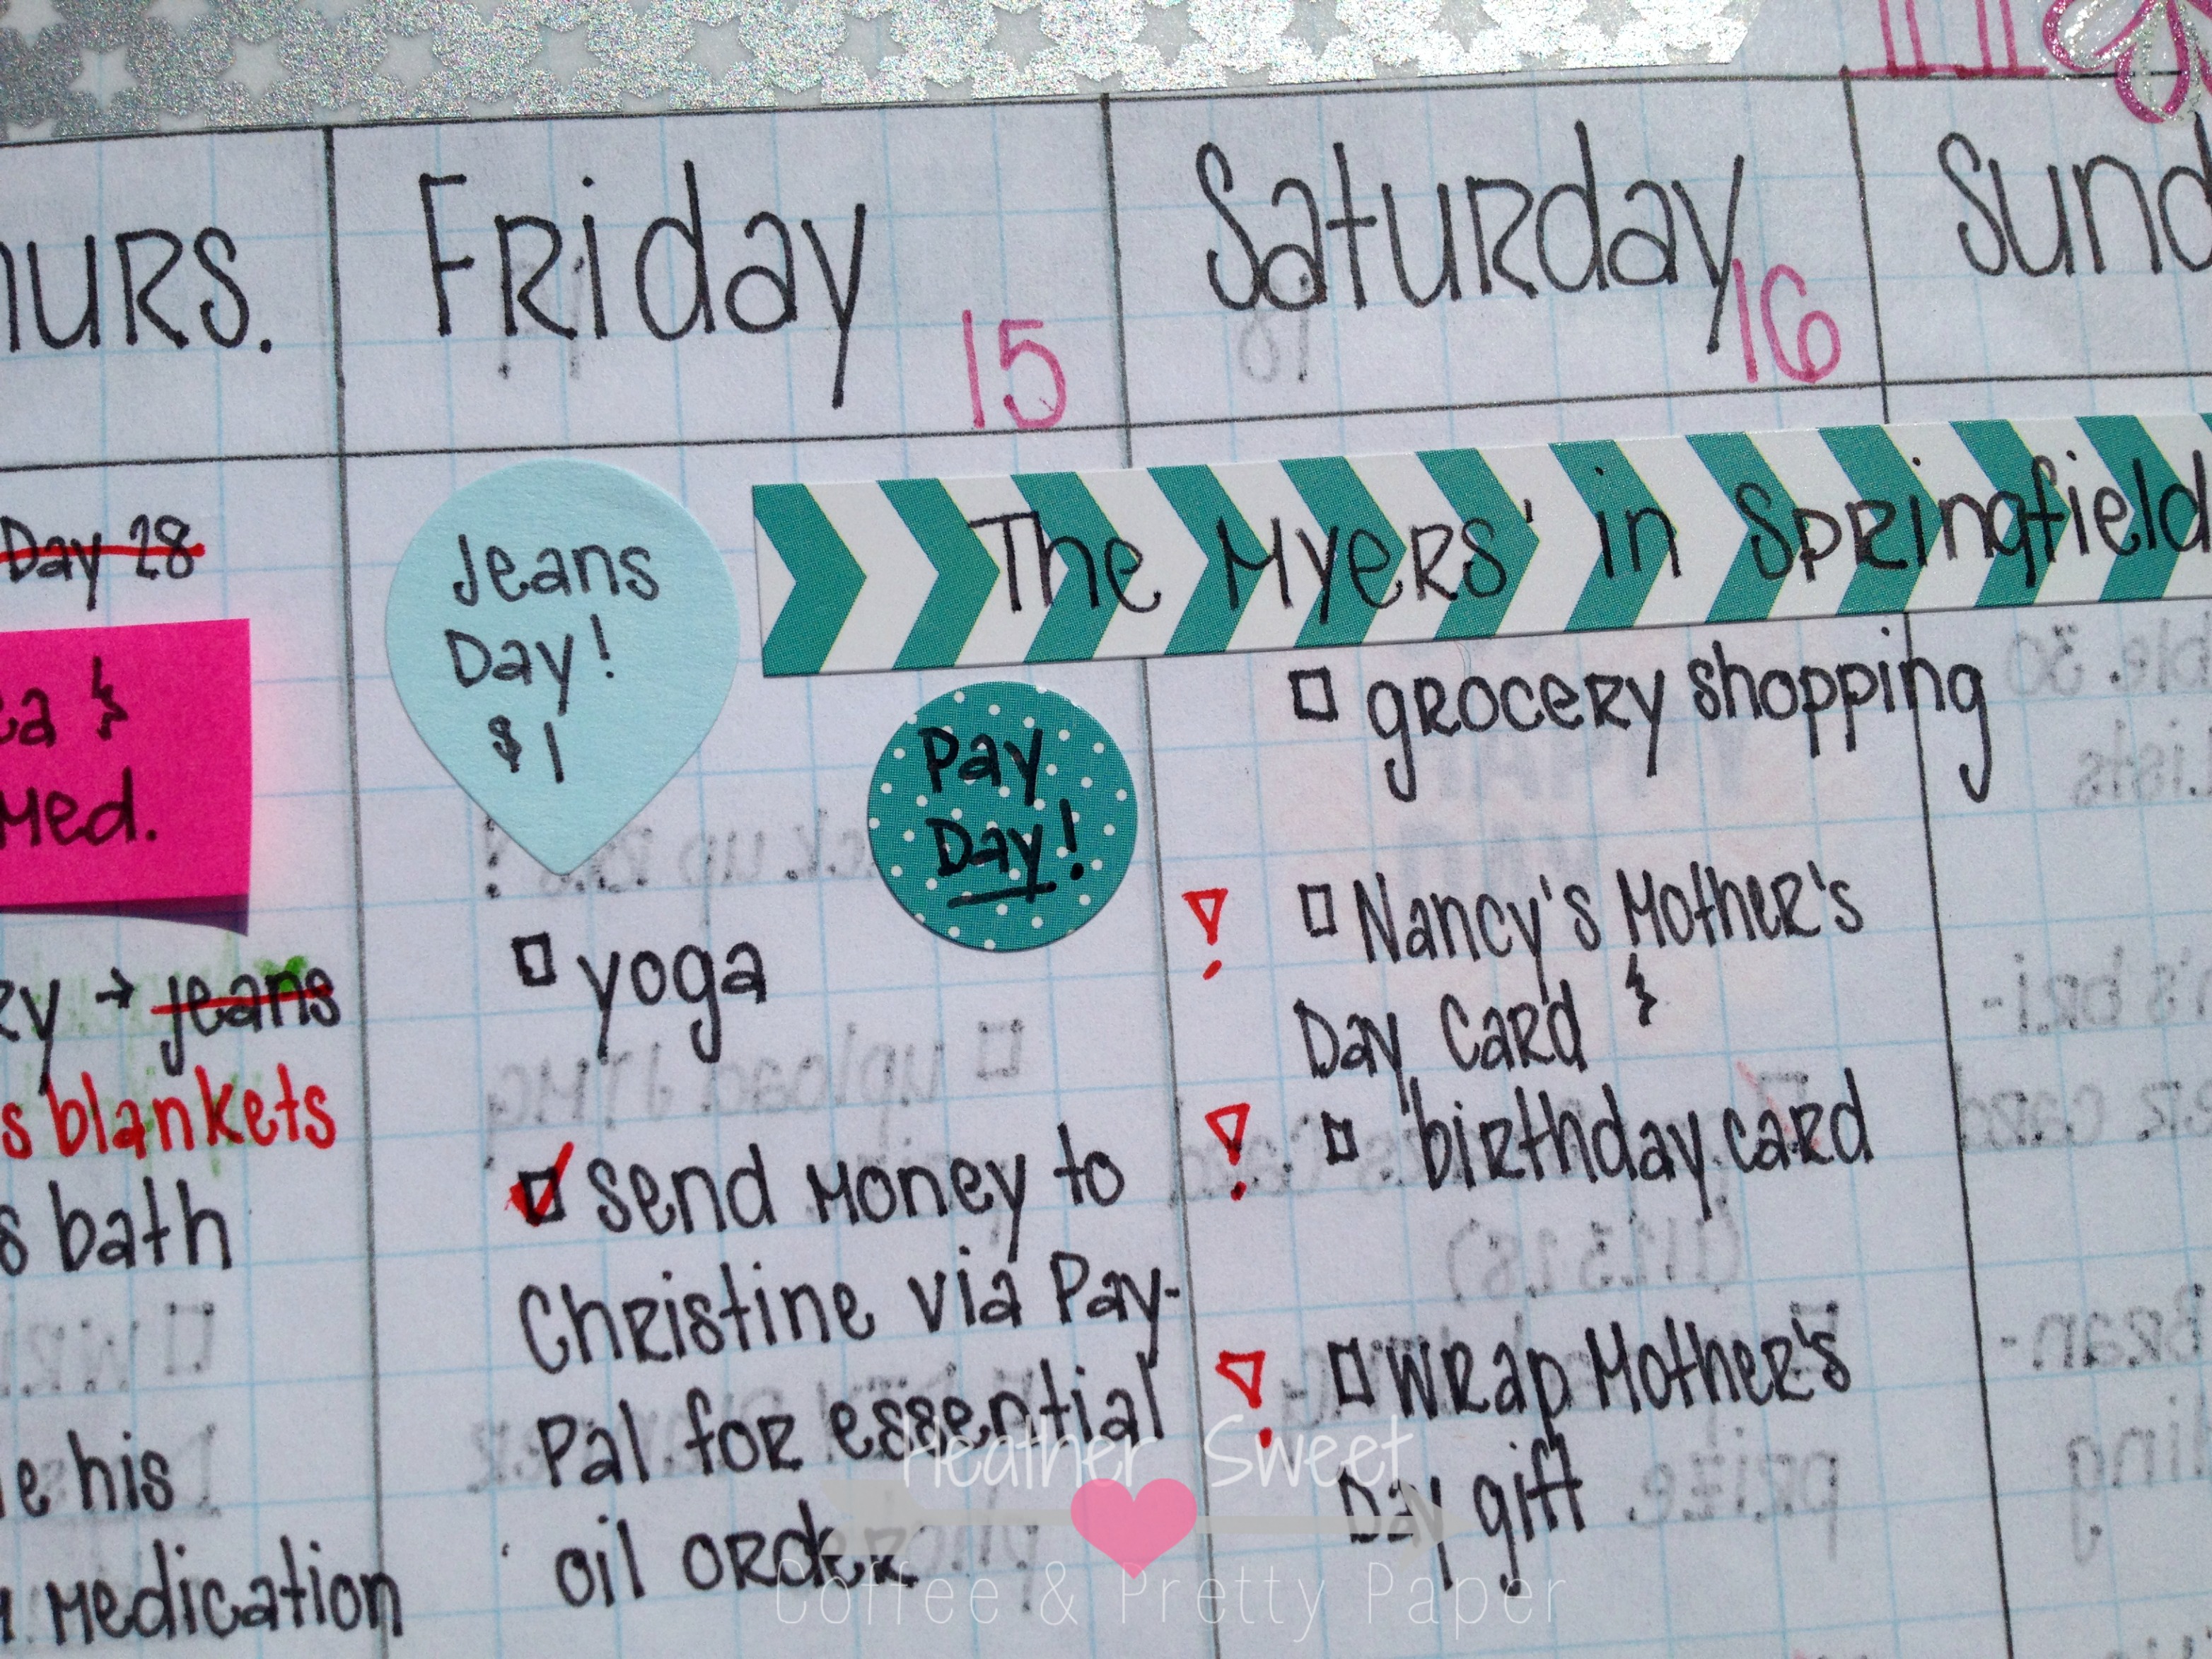
This is how I outline my weekly spreads. There are eight large columns: one for each day of the week and one column for my weekly tasks.
The bottom of my spread is for additional notes throughout the week.
How I Use My Planner
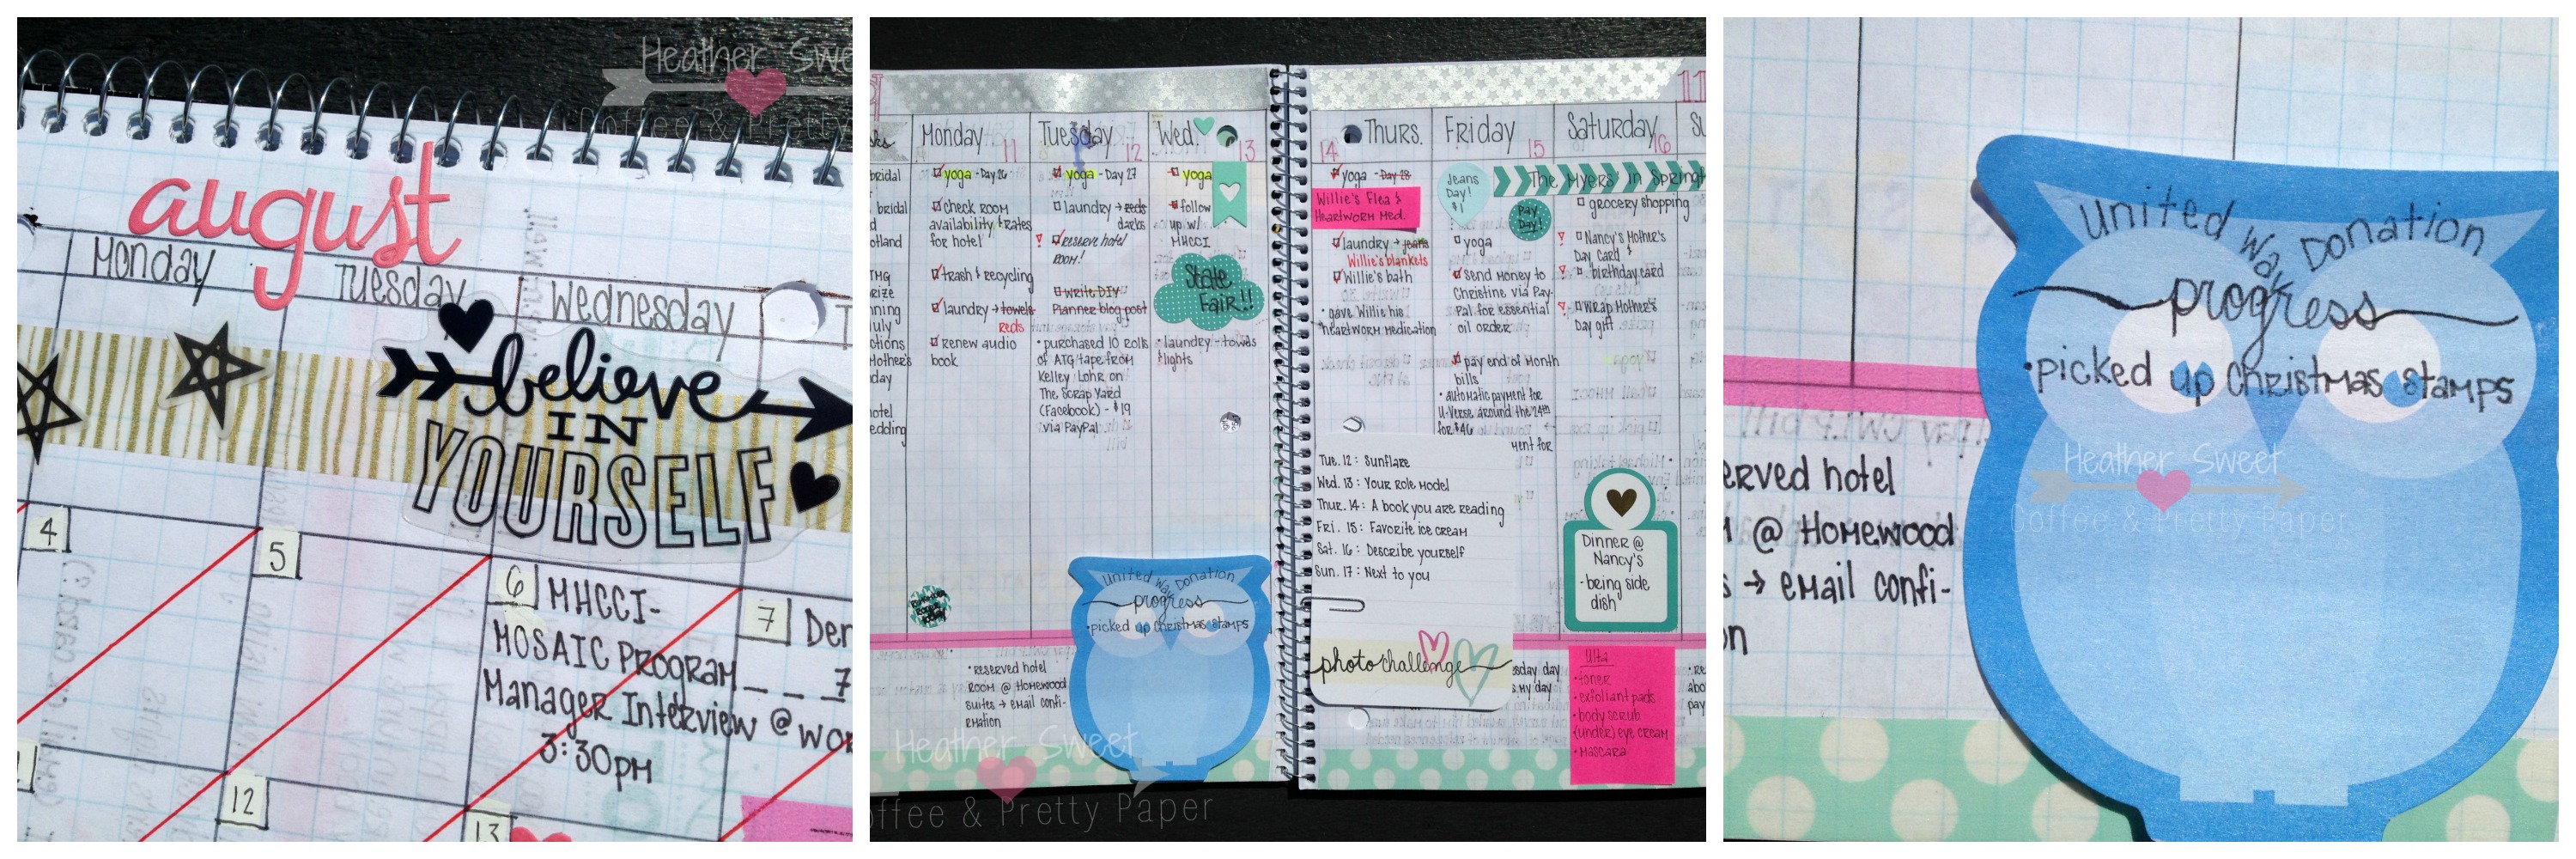
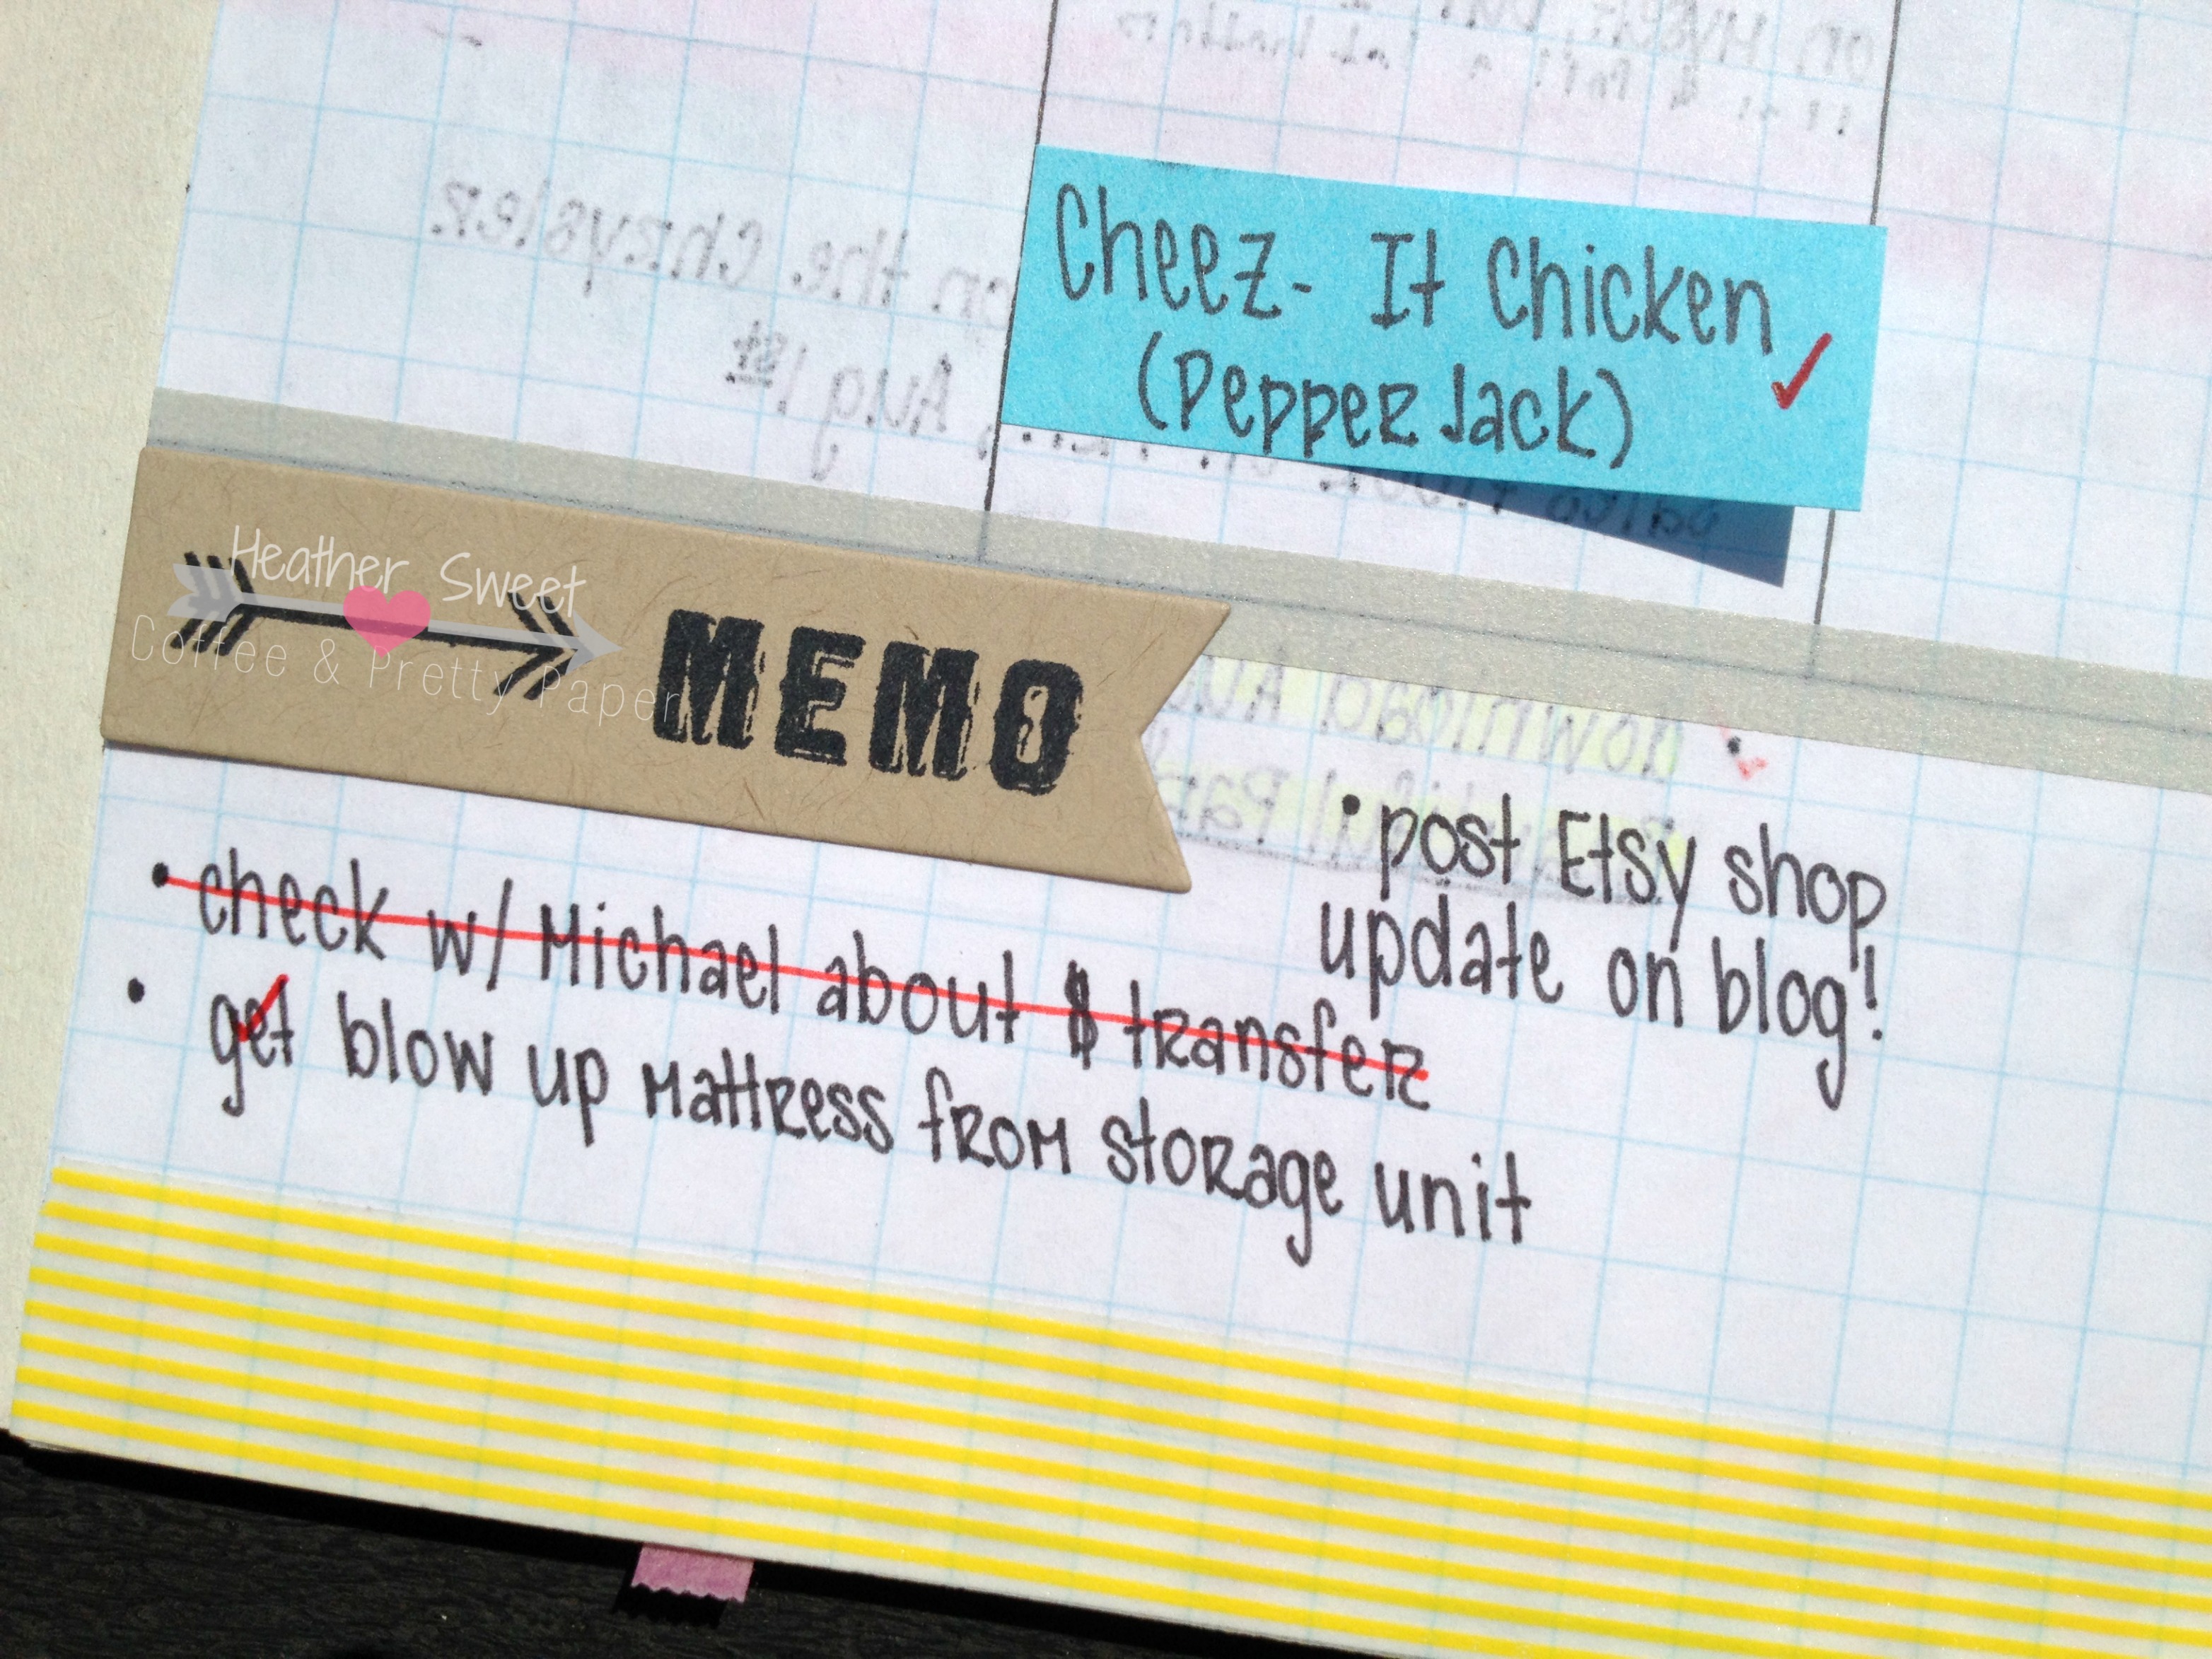
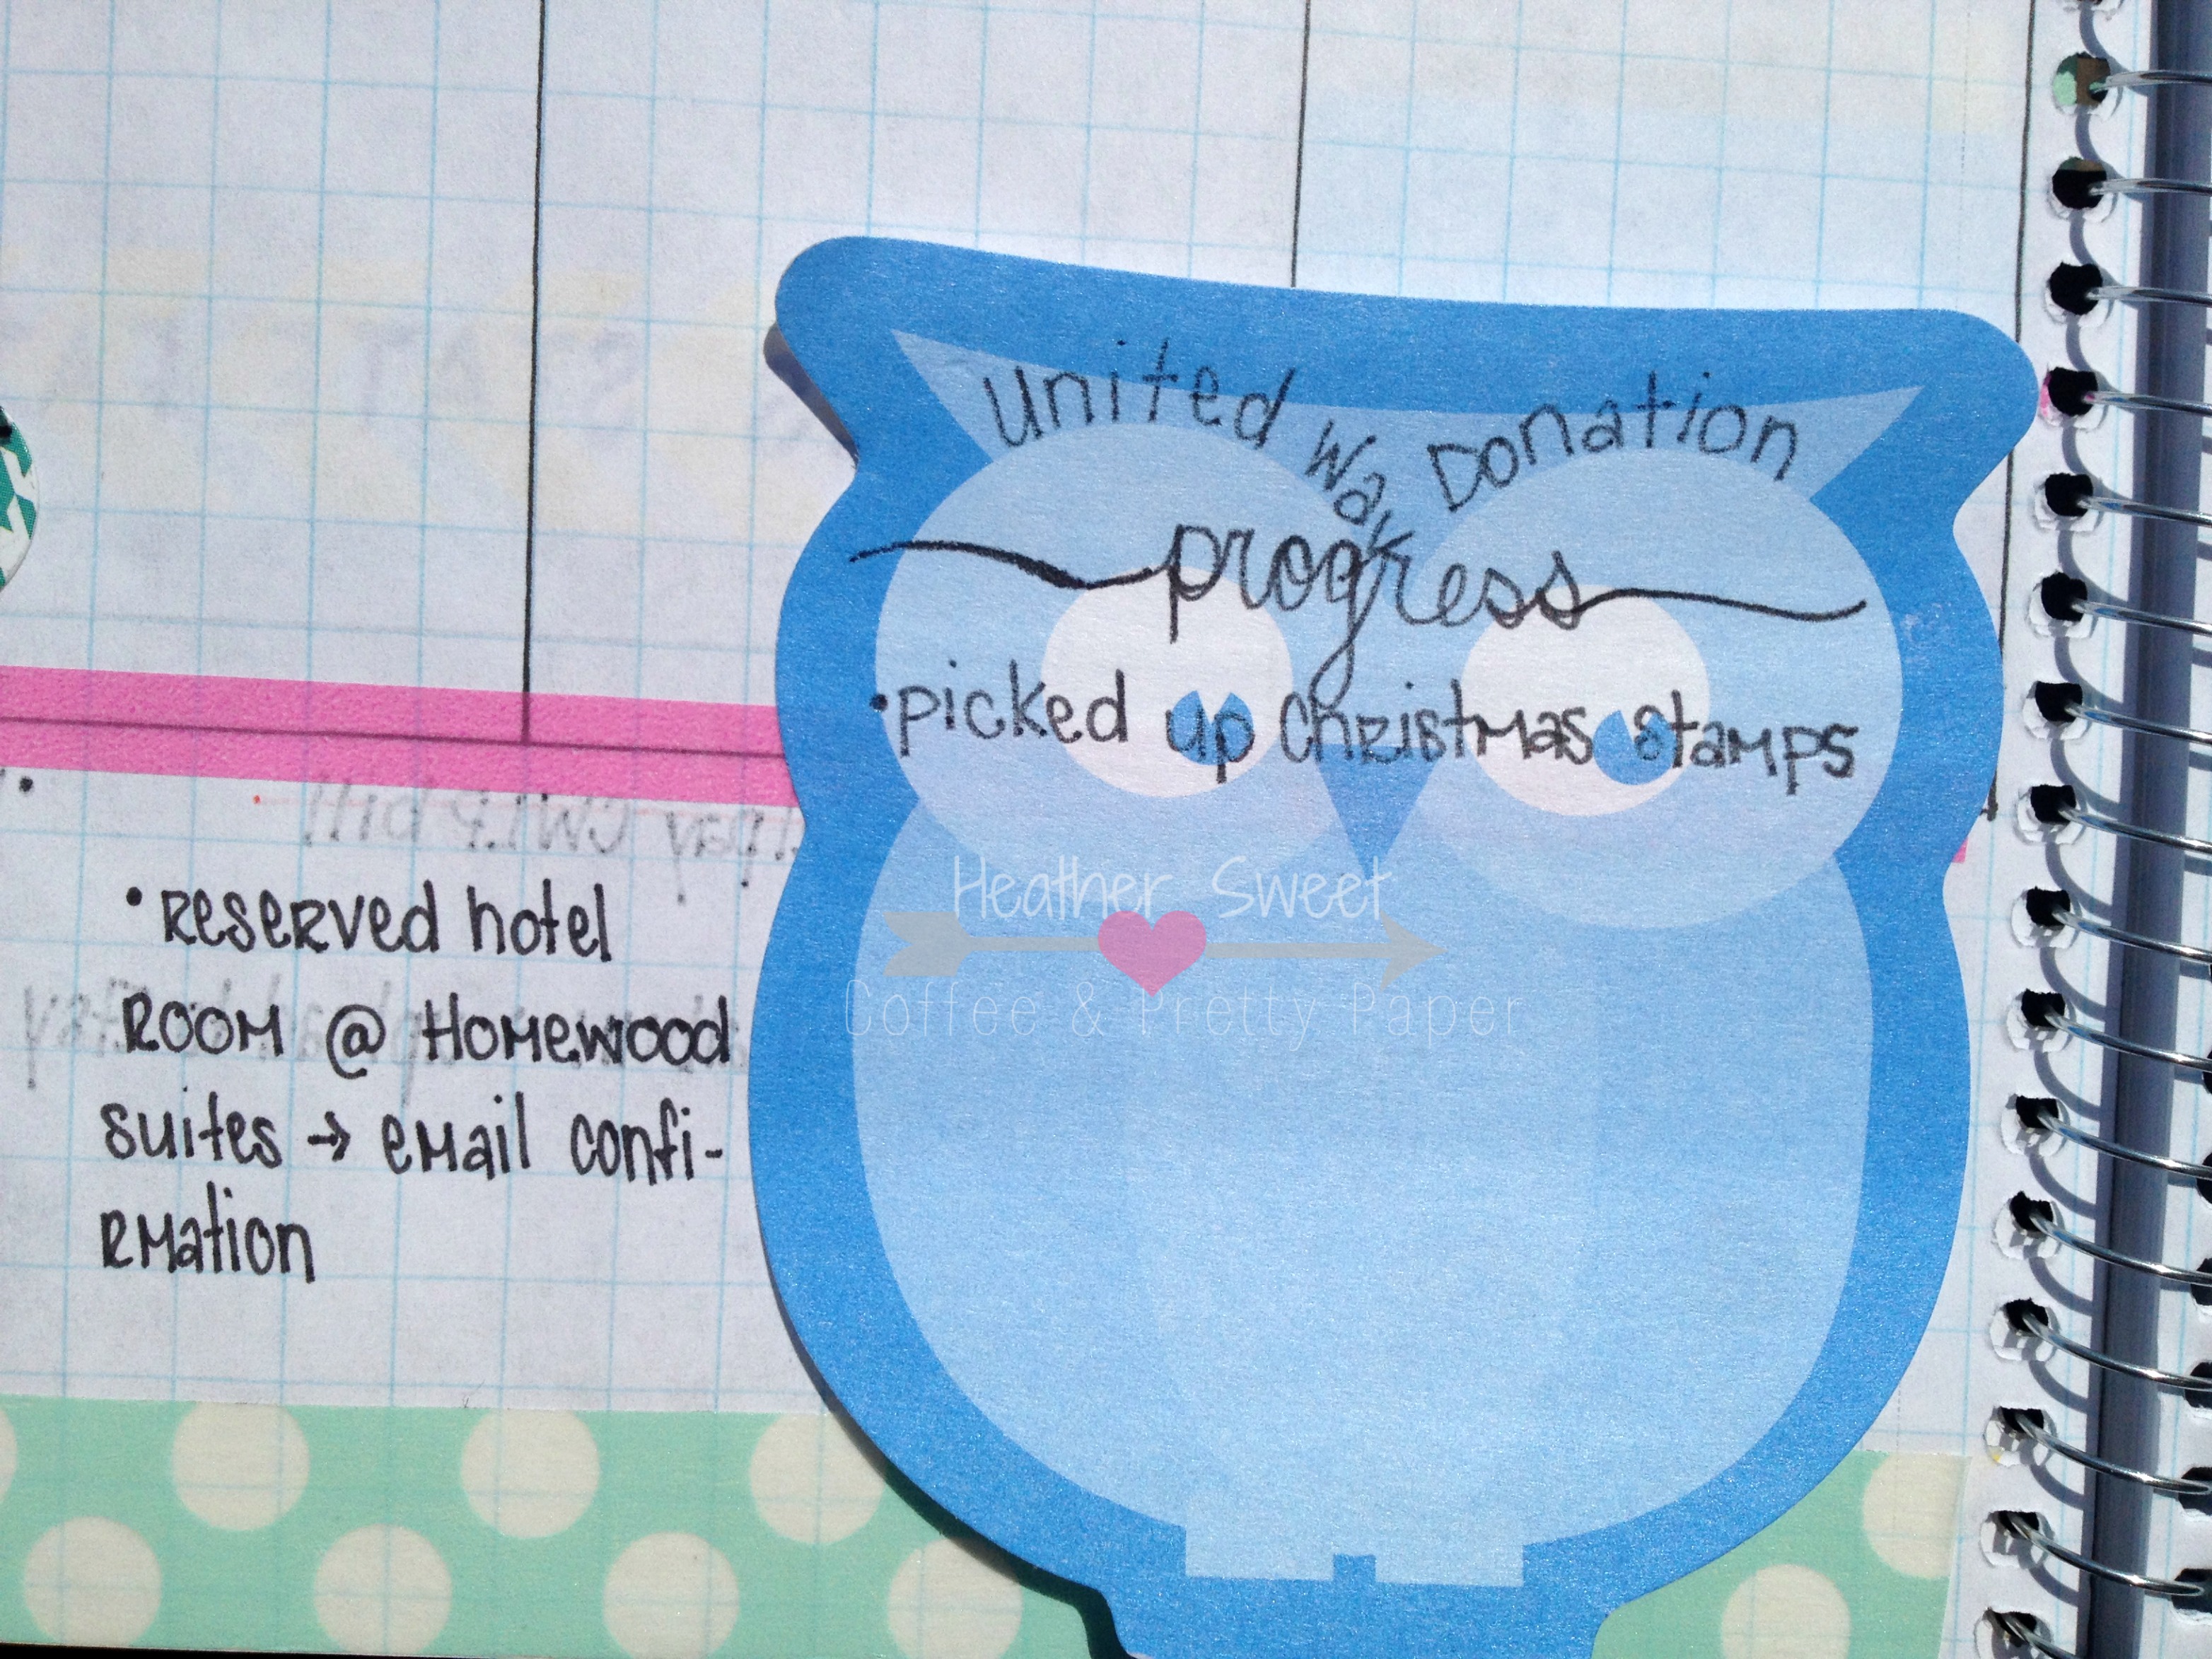
Decorating your planner is completely optional. I love to add some color and personality with washi tape and stickers. I use Post-Its for reminders for the next week, for daily events, for meals.
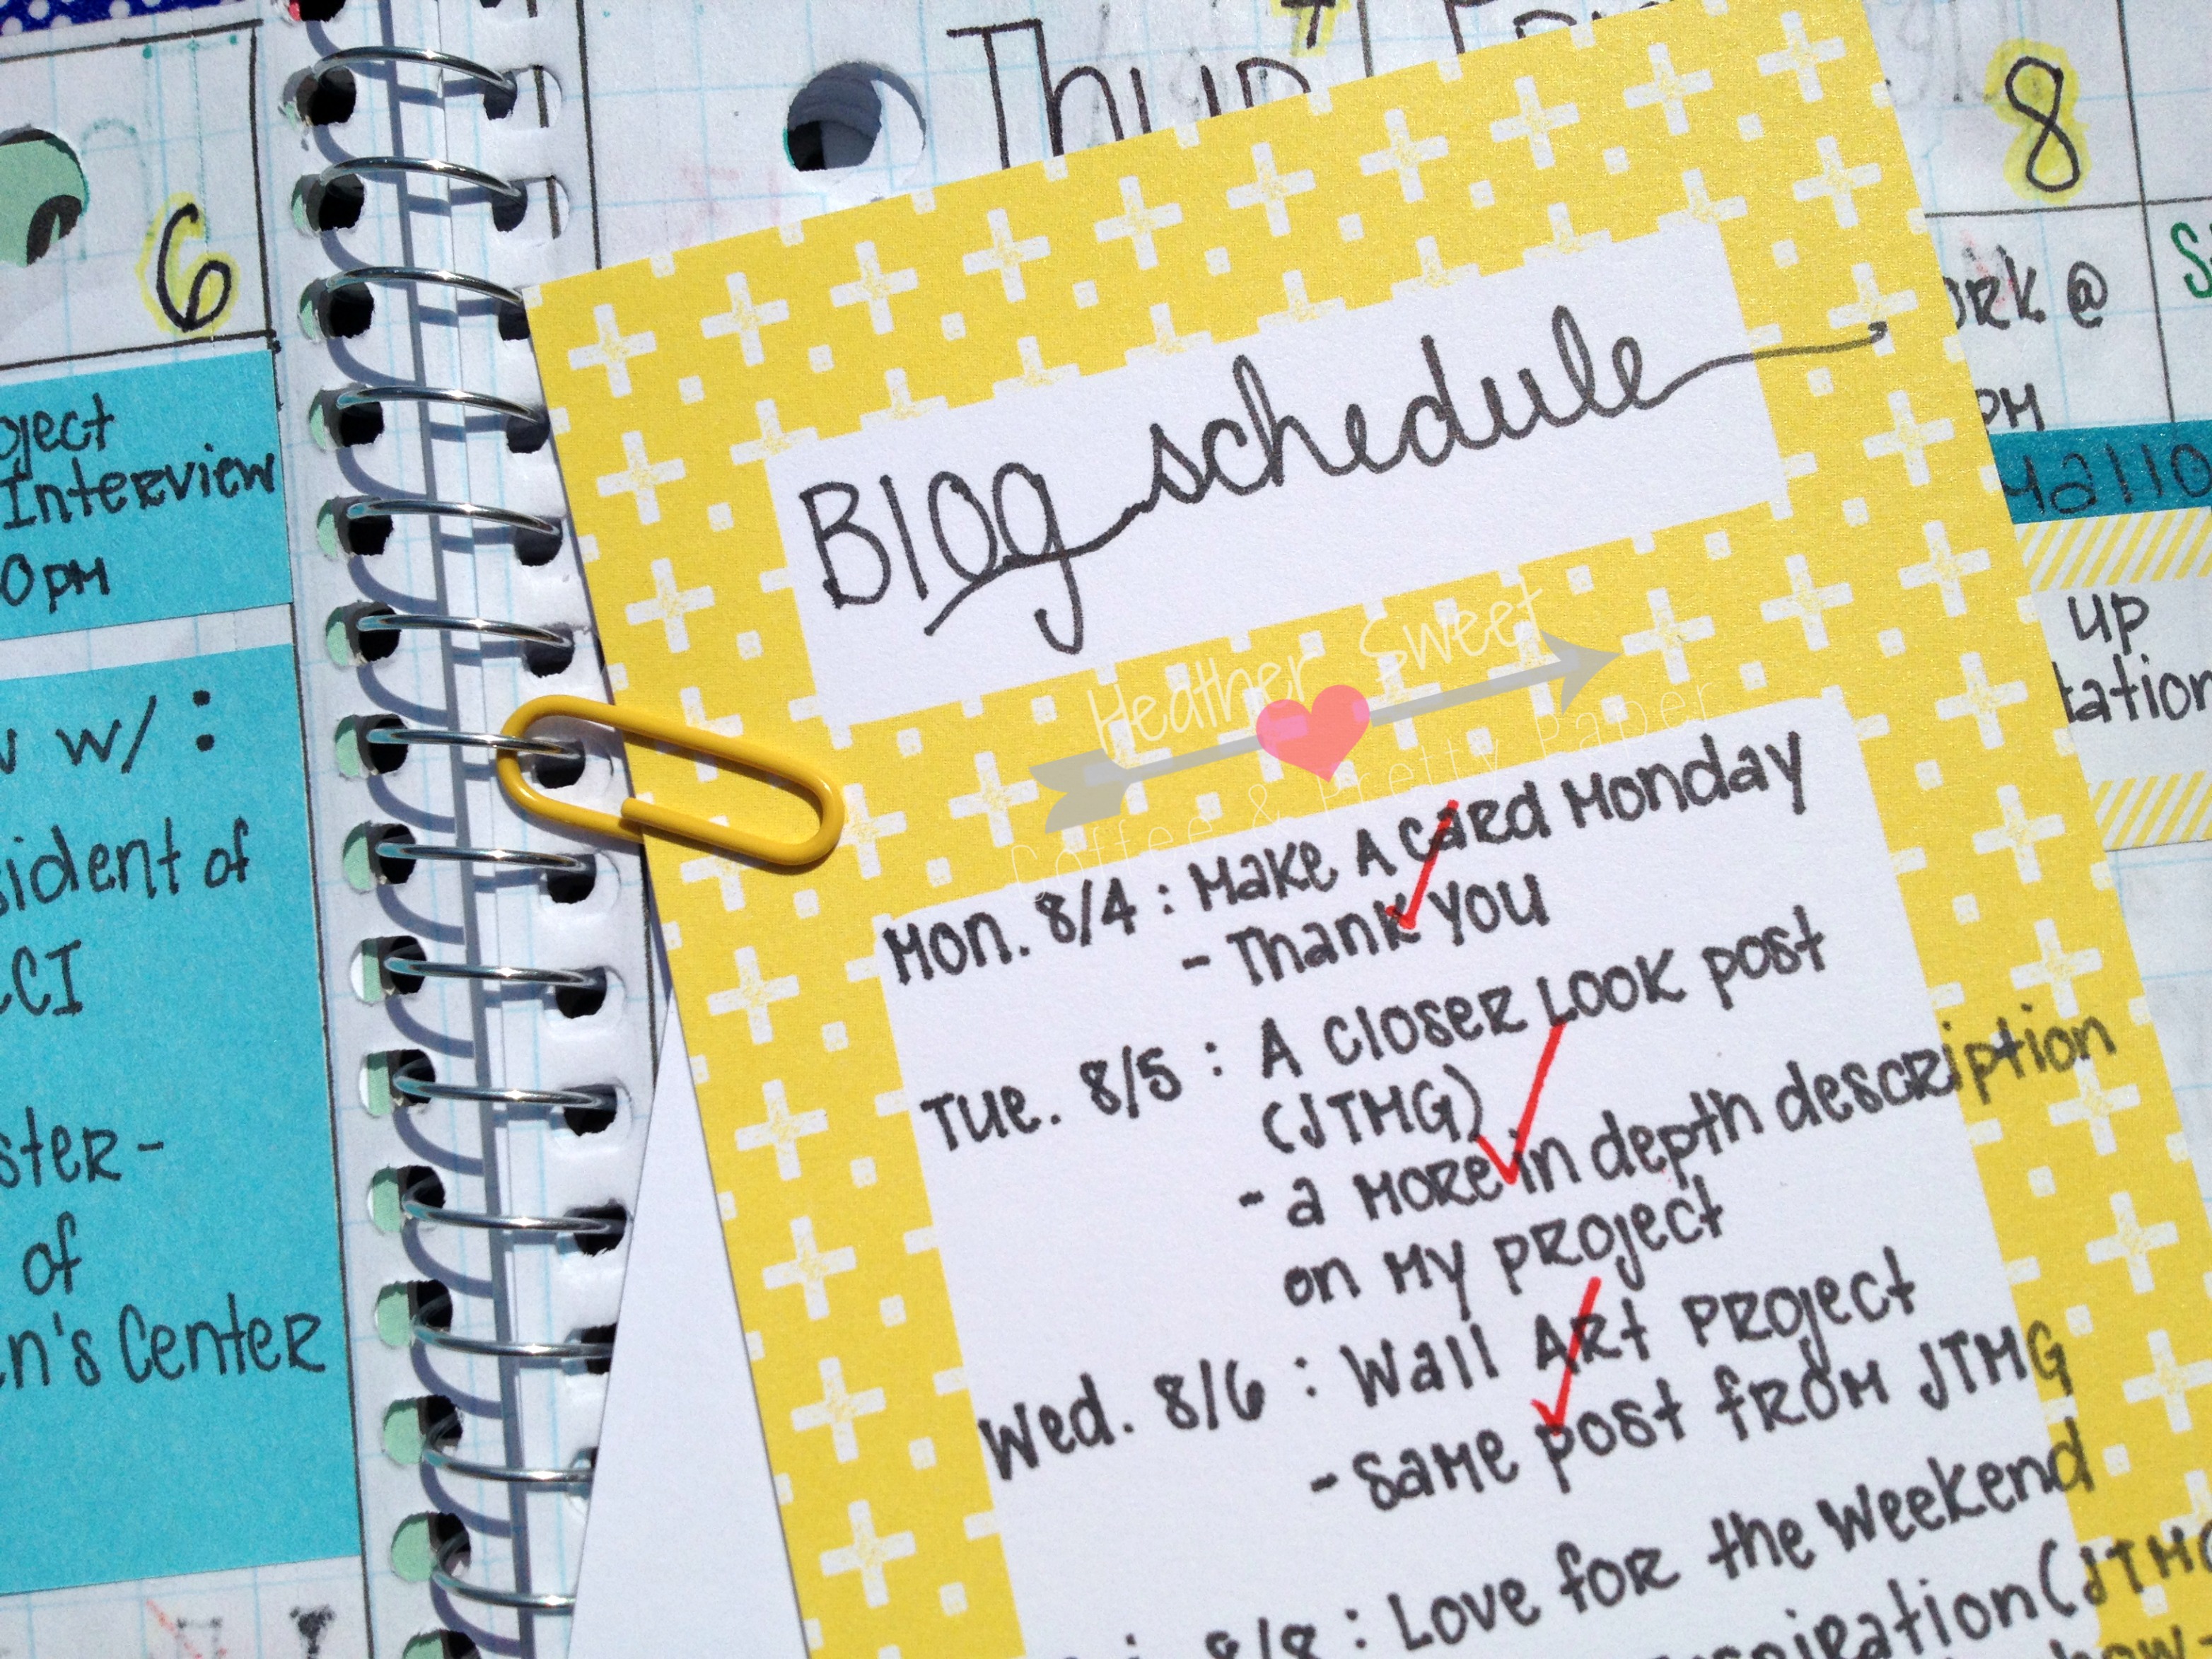
I can even attach additional lists or papers to my weekly spread with washi tape, or, this is my favorite, with a paper clip in the notebook coil!
So far, I really like my planner. It's a little big, so it's not something I can carry around in my purse, but it does come to work with me in my work tote. This is part of the reason I'm still using my personal Filofax. It's much smaller and can fit in my medium/big purse (I usually carry big purses. I love them!).
I hope this post has inspired all my fellow planner nerds to make your own planner; a planner that works for you! It's difficult to stay organized if you're using something-whether it be a planner or system-that just doesn't work for your lifestyle. Making my own has obviously helped me customize a planner to my wants and needs.
If you have any questions, just let me know below!
xoxo,
Heather



No comments:
Post a Comment